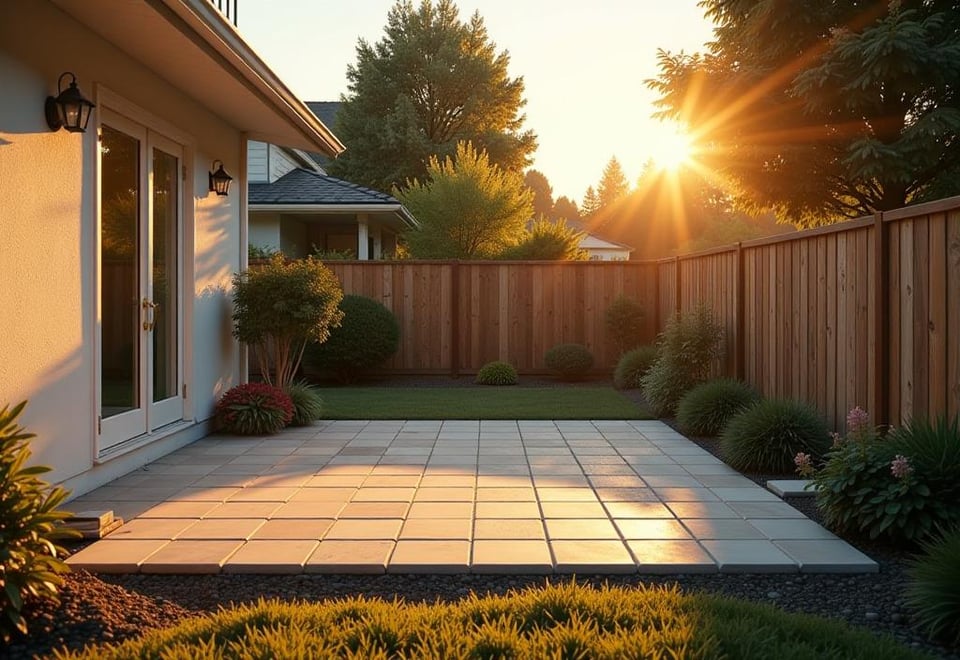
Picture this: A crisp Alaskan morning, the sun peeking over snow-capped mountains, casting a warm glow on your newly installed backyard patio. The scent of pine mingles with the aroma of freshly brewed coffee as you step out onto your handcrafted oasis. This scene may seem like a distant dream, but with the right guidance, it’s within your reach – no matter where you call home.
Welcome to your comprehensive guide on DIY backyard patio installation. Like the vast Alaskan wilderness, your backyard holds untapped potential, waiting to be transformed into a harmonious blend of nature and human craftsmanship. Whether you’re nestled in the heart of Anchorage or basking in the warmth of a southern state, this guide will equip you with the knowledge and confidence to embark on your patio installation journey.
As we navigate through this process together, we’ll draw parallels between the art of patio building and the delicate balance of Arctic ecosystems. Just as every element in nature plays a crucial role, each step in your DIY backyard patio installation contributes to creating a space that’s not just beautiful, but also sustainable and in harmony with its surroundings.
Before we dive in, let’s take a moment to consider the importance of planning your backyard patio. Like charting a course through uncharted territories, a well-thought-out plan will be your compass, guiding you through each stage of the installation process.
So, grab your favorite mug, settle in, and let’s embark on this exciting journey of DIY backyard patio installation. By the end of this guide, you’ll be ready to transform your outdoor space into a personal retreat that rivals the beauty of the Alaskan landscape.
Key Takeaways: Your Patio Installation Toolkit
Before we venture into the depths of DIY backyard patio installation, let’s equip ourselves with some essential knowledge:
- Strategic Planning: Like mapping out a wilderness expedition, careful planning of your patio layout is crucial. It ensures your new space harmonizes with your existing landscape and meets your functional needs.
- Material Selection: Choose materials as carefully as an Arctic explorer selects gear. Opt for durable options that can withstand your local climate and align with your maintenance preferences.
- Solid Foundation: Just as a glacier shapes the land beneath it, properly preparing and leveling your patio base prevents future instability.
- Precision in Installation: Follow each step with the care of an Inuit crafting an igloo. Attention to detail during installation results in a professional-looking finish.
- Finishing Touches: Like the final brushstrokes on a landscape painting, elements such as edging, landscaping, and furniture complete your patio’s aesthetic.
- Patience is Key: Remember, nature takes its time in creating masterpieces. Approach your DIY backyard patio installation with the same patience and respect for the process.

Planning Your Patio: Charting Your Course
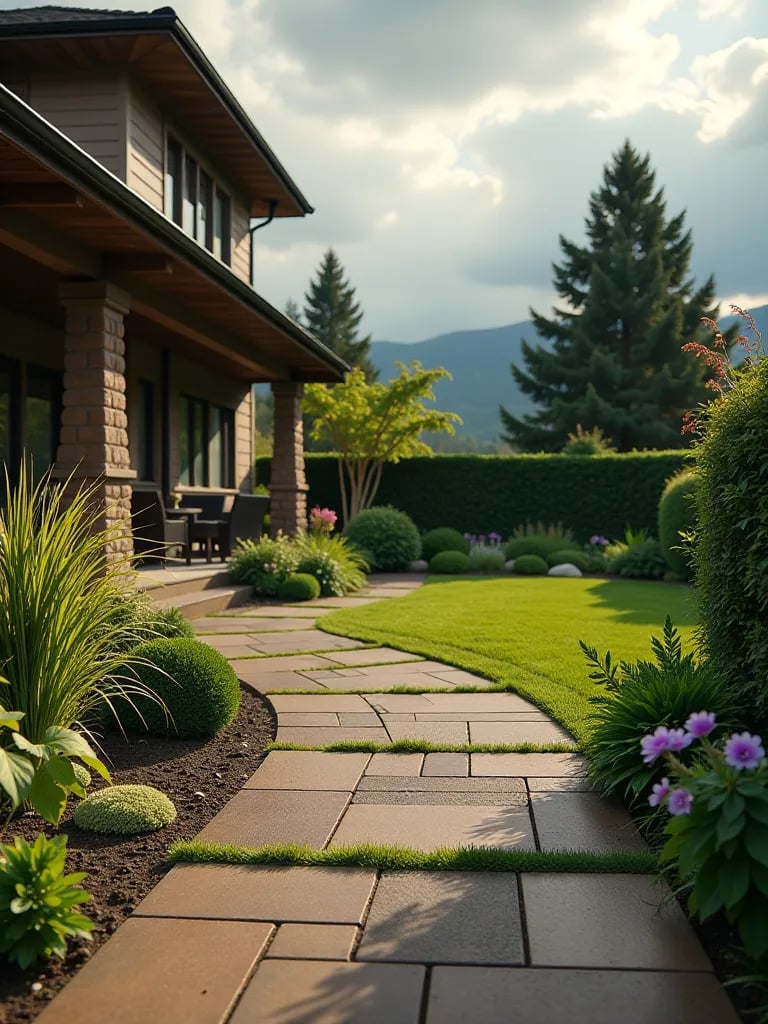
Embarking on a DIY backyard patio installation is like planning an expedition into the Alaskan wilderness – it requires careful consideration and mapping. Begin by surveying your terrain. Measure your available space with the precision of a cartographer, ensuring you create a patio that’s both functional and proportionate to your backyard.
Sketch out your layout, considering how it will interact with existing features of your yard, much like how a river shapes the landscape around it. Think about the flow of movement across your patio – will it be a central gathering place like a woodland clearing or a secluded nook like a hidden mountain lake?
Remember, a well-planned layout is the foundation of a successful DIY backyard patio installation. It’s the difference between a space that feels naturally integrated into your yard and one that seems out of place.
Choose the Right Location
Selecting the perfect spot for your patio is akin to finding the ideal campsite in the backcountry. Seek a location that offers a balance of sun and shade throughout the day, creating a microclimate as diverse and comfortable as the Alaskan tundra.
Consider proximity to your home for convenience, much like how Alaskan villages are strategically placed near essential resources. Avoid low-lying areas prone to water accumulation – your patio should be a dry refuge, not a makeshift pond.
A thoughtfully chosen location enhances the success of your DIY backyard patio installation, creating a space that feels like a natural extension of both your home and the surrounding environment.
Gather Necessary Permits
Before breaking ground on your DIY backyard patio installation, it’s crucial to navigate the regulatory landscape. Just as explorers must respect the rules of the wilderness, homeowners must adhere to local building codes and regulations.
Contact your local authorities to understand the permit requirements for your project. This step might seem as daunting as facing a bureaucratic glacier, but it’s an essential part of the process. Obtaining the necessary permits ensures your project is legal and meets safety standards.
Think of permits as your official trail map for the DIY backyard patio installation journey – they keep you on the right path and prevent costly detours down the line.
Selecting Materials: Choosing Your Patio’s Building Blocks
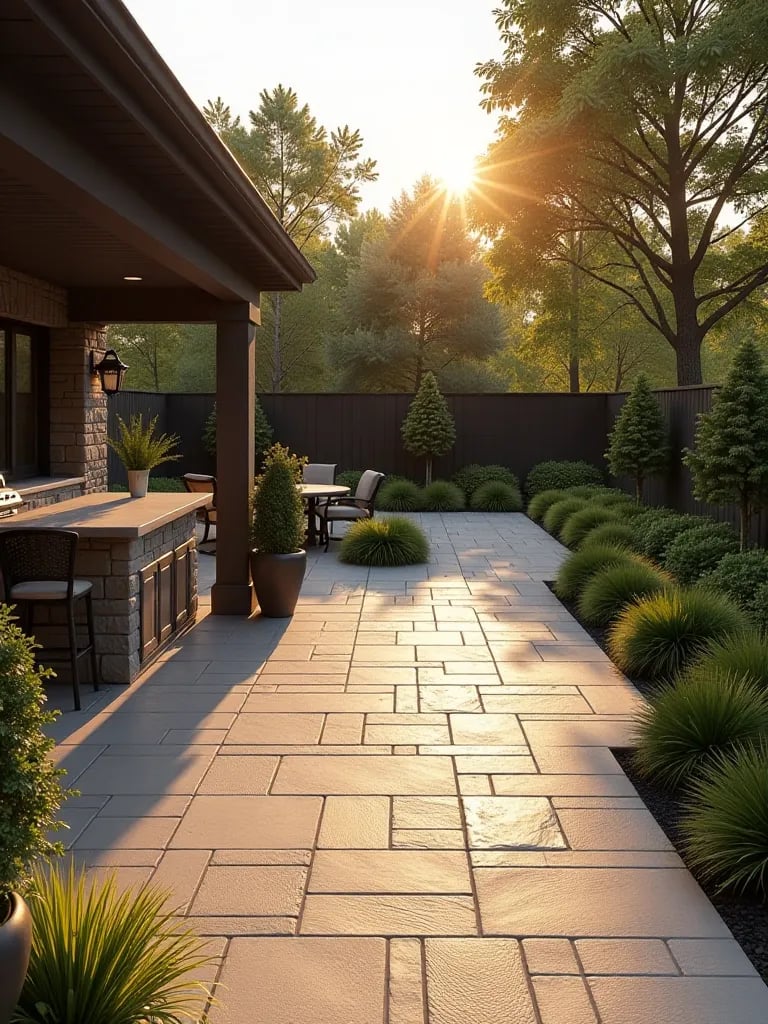
As you embark on your DIY backyard patio installation, selecting the right pavers is like choosing the perfect stones to cross a rushing Alaskan stream. Each option has its unique characteristics, much like the diverse geology of the Last Frontier.
Concrete pavers offer a modern aesthetic and are relatively easy to install, reminiscent of the clean lines of glacial moraines. Brick pavers bring warmth and classic charm, echoing the rustic appeal of an old Alaskan cabin. Natural stone pavers, while often more challenging to work with, provide an organic look that seamlessly blends with the surrounding landscape, much like the rugged beauty of Denali.
Consider how each material complements your home’s architecture and your yard’s natural features. Remember, the pavers you choose will set the tone for your entire outdoor space, so select wisely.
Evaluate Durability and Cost
In the harsh Alaskan climate, durability is key to survival – the same principle applies to your patio materials. When planning your DIY backyard patio installation, consider the longevity of different paver options.
Concrete pavers, like the sturdy spruce trees of the taiga, can last around 25 years with proper care. Brick pavers, resilient as the Arctic willow, may endure even longer. Natural stone, akin to the ancient rock formations of the Alaska Range, offers unparalleled durability but often at a higher cost.

Weigh the initial investment against long-term value. A more expensive option upfront might prove more economical over time if it requires less maintenance and replacement. Like choosing gear for an Arctic expedition, investing in quality materials for your DIY backyard patio installation can save you from costly repairs down the trail.
Choose Complementary Colors
Selecting colors for your DIY backyard patio installation is like painting with the palette of an Alaskan landscape. The hues you choose should complement your home’s exterior and blend harmoniously with your yard’s natural tones.
Just as the northern lights dance across the sky in a spectacular display, consider adding visual interest to your patio with contrasting borders or patterns. Use color samples to see how your chosen shades appear in natural light, much like how the colors of the tundra change with the seasons.
Remember, the colors of your patio will influence the overall ambiance of your outdoor space. Choose wisely to create a cohesive look that enhances your home’s curb appeal.
Preparing the Base: Laying the Groundwork
Embarking on the physical phase of your DIY backyard patio installation is like setting out on a mapping expedition in the Alaskan wilderness. Your first task is to clearly define your patio’s boundaries, much like marking the perimeter of a base camp.
Start by driving stakes into the ground at each corner of your planned patio area. Connect these stakes with string, creating a visual outline of your future outdoor oasis. This string line serves as your guide, much like the carefully plotted route of an Arctic explorer.
Double-check your measurements with the precision of a cartographer. Ensure your outline is square and symmetrical, adjusting as necessary. Remember, a well-marked area is the foundation of a successful DIY backyard patio installation, setting the stage for all subsequent steps.
Clear and Level the Ground
With your patio area marked, it’s time to prepare the land, much like clearing a campsite in the backcountry. This crucial step in your DIY backyard patio installation requires patience and attention to detail.
Begin by removing all grass, rocks, and debris from within your marked area. Use a shovel to dig out any unwanted materials, creating a clean slate for your patio. This process is akin to the way glaciers sculpt the Alaskan landscape, clearing away obstacles to reveal a smooth surface beneath.

Once cleared, use a rake to level the ground, ensuring a flat base for your patio. After leveling, compact the soil using a plate compactor or hand tamper. This compaction is essential, preventing future settling that could compromise your patio’s integrity. Think of it as creating a solid foundation, much like the permafrost that supports Arctic structures.
Install Edging for Stability
Installing edging is a critical step in your DIY backyard patio installation, much like building a retaining wall to protect against erosion in Alaska’s dynamic landscape. Edging serves as a barrier, keeping your pavers in place and maintaining the structure of your patio.
Choose durable edging materials that can withstand the elements, just as Alaskan wildlife adapts to harsh conditions. Plastic or metal edging are popular choices for their longevity and ease of installation.
Secure the edging along the perimeter of your patio area, ensuring it’s level and flush with the ground. This step is crucial for maintaining the shape and stability of your patio over time. Proper edging installation contributes to a polished look and helps prevent pavers from shifting or spreading.
As you complete this phase of your DIY backyard patio installation, take a moment to appreciate the progress. Like the first signs of spring after a long Alaskan winter, your patio is beginning to take shape, promising the beauty and functionality to come.
Installing the Patio: Bringing Your Vision to Life
As we progress in our DIY backyard patio installation journey, laying the base material is akin to establishing the foundation of a glacier – it’s the sturdy platform upon which everything else rests. This step is crucial for the longevity and stability of your patio.
Begin by spreading a layer of gravel or crushed stone across your prepared area. This base should be about three to four inches deep, mimicking the layers of sediment deposited by ancient glacial movements. Use a rake to distribute the material evenly, ensuring consistent depth across the entire patio area.
Once spread, compact this base layer thoroughly using a plate compactor. This process, reminiscent of the way ice sheets compress the land beneath them, creates a stable surface that will prevent future settling. Take your time with this step – a well-compacted base is the key to a durable patio.
Spread and Compact Sand Layer
With your base material in place, it’s time to add a layer of sand, much like the fine silt left behind by retreating glaciers. This sand layer acts as a cushion for your pavers and helps to create a level surface.
Spread a layer of sand about one inch deep over your compacted base. Use a screed board (a straight piece of lumber) to ensure an even distribution, running it across the surface like a gentle Alaskan breeze smoothing fresh snow.
Once spread, use a plate compactor or hand tamper to compress the sand firmly. This compaction is crucial for creating a smooth, stable surface for your pavers. Check for levelness as you go, adjusting as necessary. Remember, patience and attention to detail at this stage of your DIY backyard patio installation will pay dividends in the final product.
Place Pavers in the Desired Pattern
Now comes the most visually rewarding part of your DIY backyard patio installation – laying the pavers. This step is like arranging the stones of an inukshuk, each piece contributing to the overall structure and beauty of your outdoor space.
Start at one corner of your patio area, working methodically across the space. Use spacers to maintain consistent gaps between pavers, ensuring a uniform look. As you work, step back occasionally to admire your progress and check the overall pattern, much like an artist stepping back from their canvas.
For a professional finish, you may need to cut some pavers to fit around edges or obstacles. Approach this task with the precision of an Inuit craftsman, ensuring clean cuts that contribute to the overall aesthetic of your patio.

As you complete this phase of your DIY backyard patio installation, take a moment to appreciate the transformation. Like the first glimpse of the northern lights, your patio is coming to life, promising countless moments of outdoor enjoyment to come.
Adding Finishing Touches: Perfecting Your Outdoor Oasis
As we near the completion of our DIY backyard patio installation, it’s time to secure your pavers in place, much like how sediment fills the cracks between rocks in a riverbed. This process, known as joint sanding, is crucial for the stability and longevity of your patio.
Begin by pouring fine sand over your installed pavers. Use a broom to sweep the sand into the gaps between the pavers, ensuring it penetrates deeply. This sand acts like the compacted snow between ice crystals in a glacier, binding the individual elements into a cohesive whole.
Continue this process until all joints are fully packed with sand. You may need to repeat this step several times over the next few days as the sand settles. This patience mirrors the gradual formation of natural landscapes, where time and persistence create lasting beauty.

Seal for Weather Protection
In the harsh Alaskan climate, protection against the elements is crucial – the same principle applies to your newly installed patio. Sealing your patio is like providing it with a warm, waterproof coat to withstand whatever nature throws its way.
Apply a high-quality sealant to your patio surface, following the manufacturer’s instructions carefully. This protective layer will guard against moisture penetration and staining, much like how the waxy coating on Arctic plants shields them from extreme conditions.
Allow adequate drying time before using your patio. This patience is akin to waiting for the perfect moment to photograph the aurora borealis – rushing the process can compromise the result. A properly sealed patio will maintain its beauty for years to come, standing up to the rigors of outdoor life just as the Alaskan wilderness endures through the seasons.
Add Decorative Elements
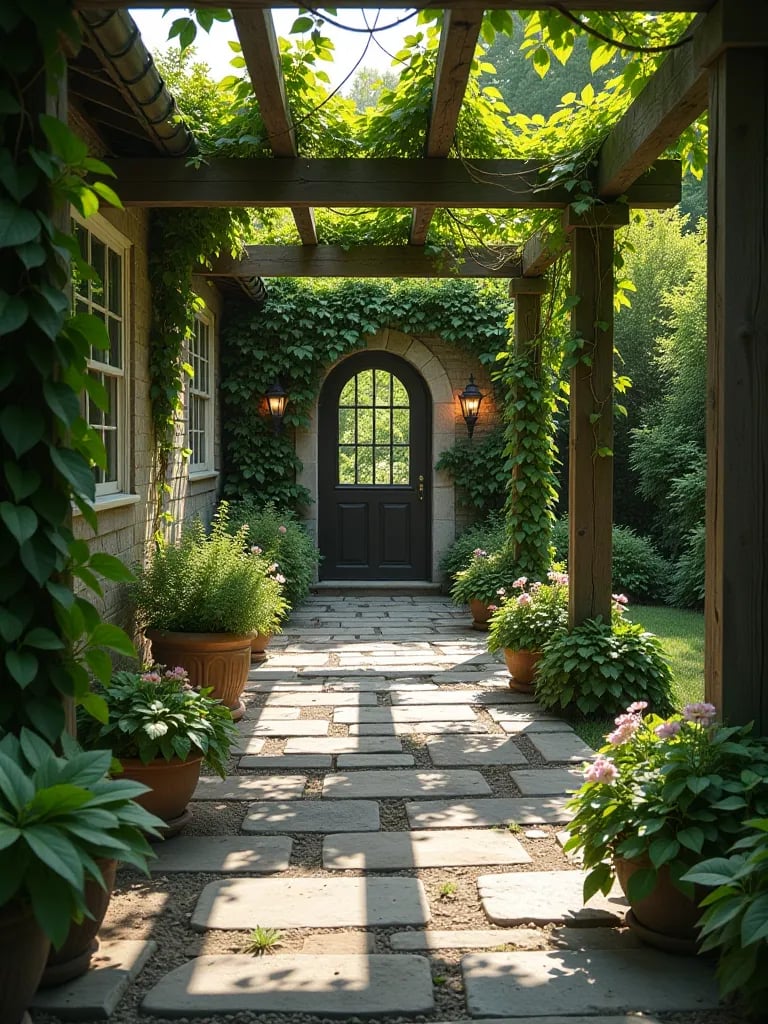
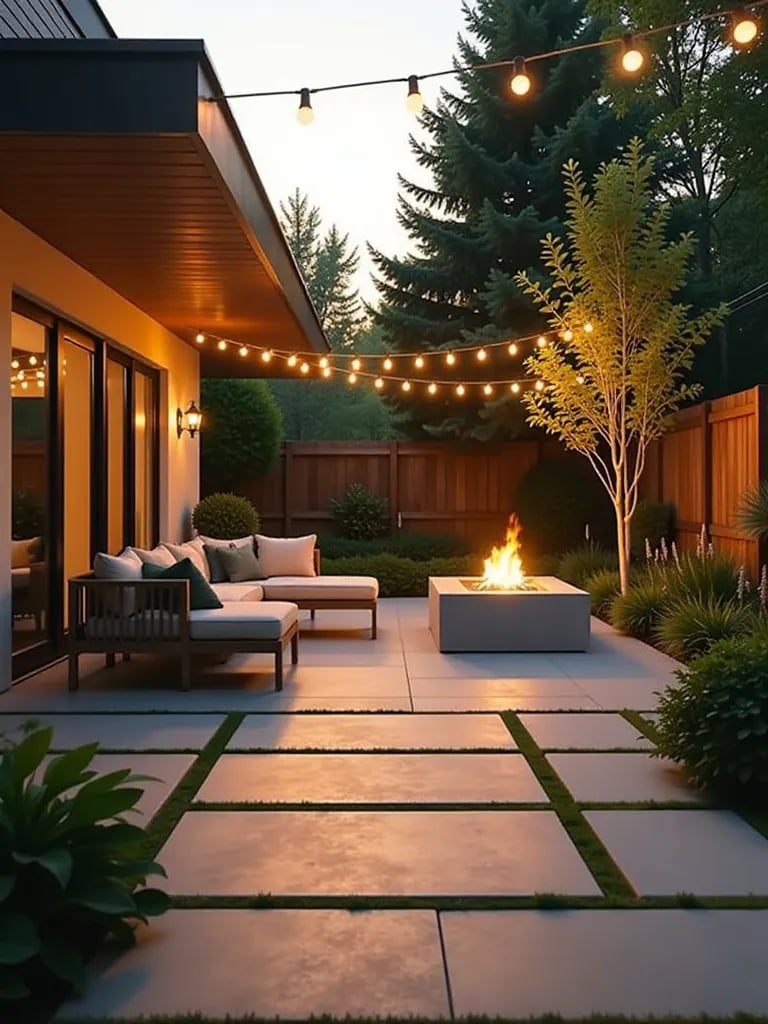
Now that the foundation of your outdoor space is complete, it’s time to personalize it with decorative elements. This final stage of your DIY backyard patio installation is like adding the finishing touches to a landscape painting, bringing warmth and character to your creation.
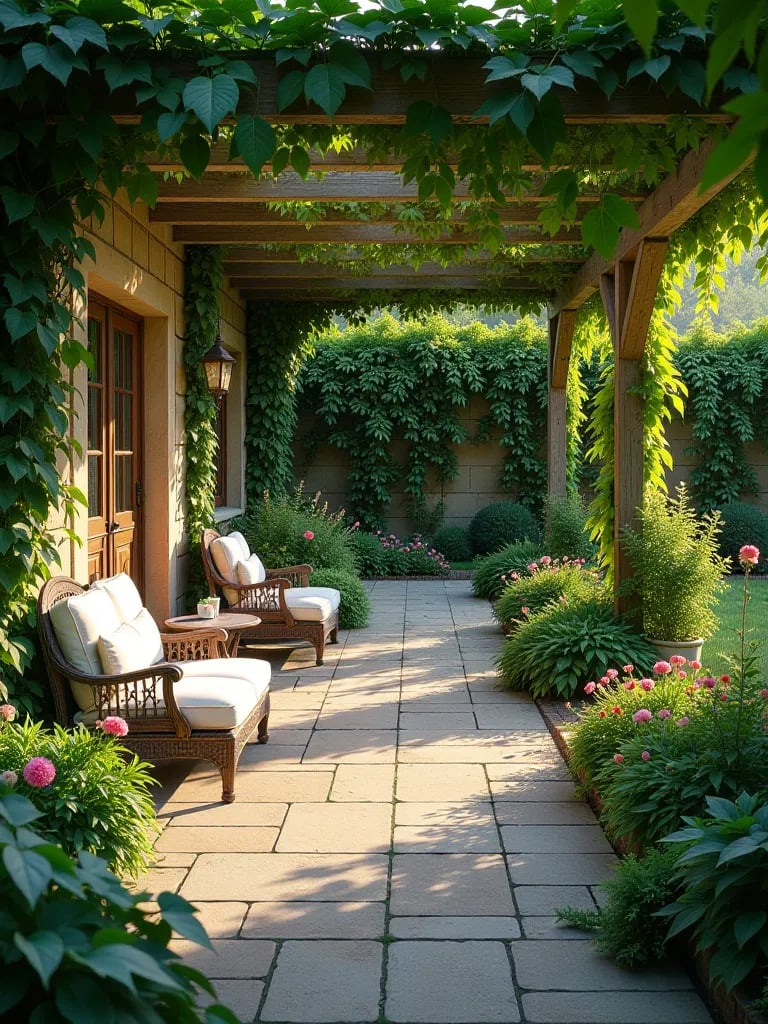
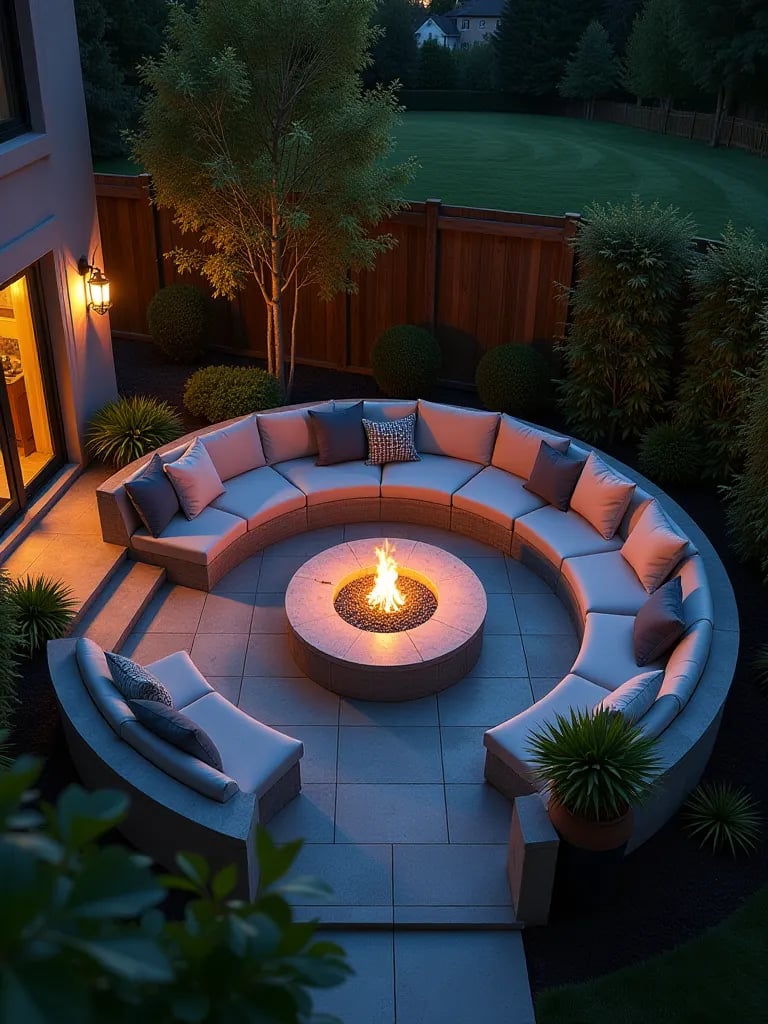
Consider installing backyard patio lighting to extend your enjoyment into the evening hours, mimicking the soft glow of the midnight sun. Incorporate planters with native flora to echo the natural beauty of the Alaskan landscape. You might also explore backyard patio furniture ideas to create comfortable seating areas that invite relaxation and conversation.
For a truly unique touch, consider adding elements that reflect your connection to nature. This could be a fire pit reminiscent of campfires under starry Alaskan skies, or a water feature that captures the serene sound of a mountain stream.
As you add these final elements, step back and admire your handiwork. Like the diverse ecosystems of Alaska, each component of your patio contributes to a harmonious whole, creating a space that’s uniquely yours.
Closing Thoughts: Embracing Your New Outdoor Haven
As we conclude our journey through DIY backyard patio installation, take a moment to reflect on the transformation you’ve achieved. Like the ever-changing Alaskan landscape, you’ve sculpted your outdoor space into something truly remarkable.
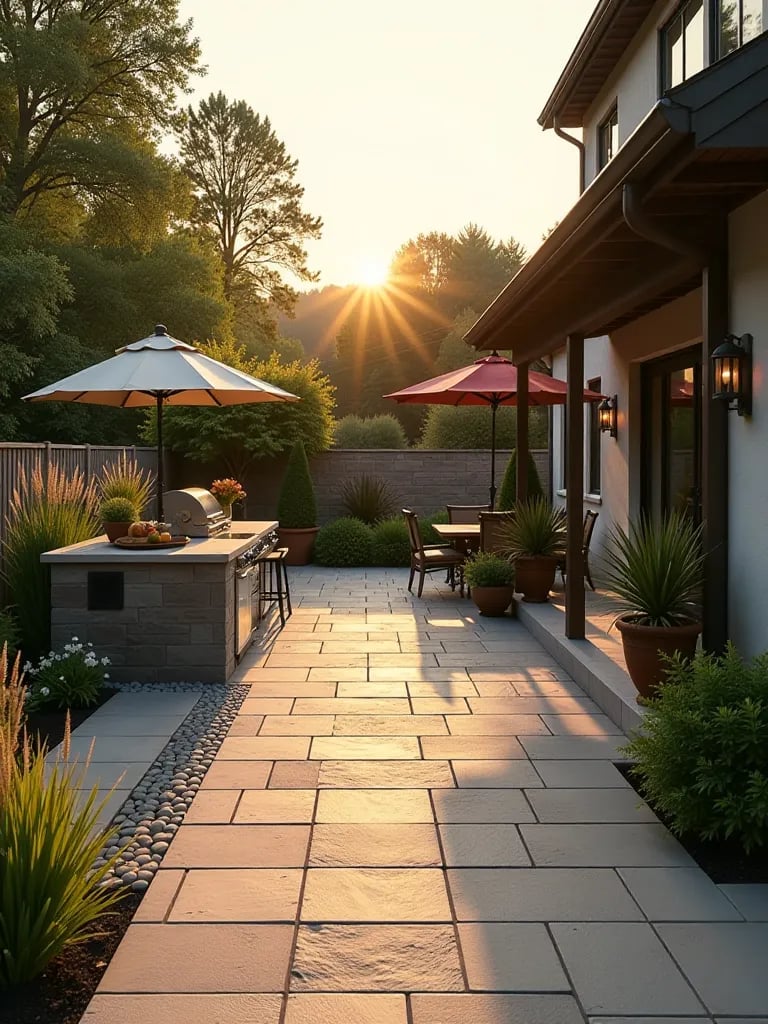
Your patio is more than just an addition to your home; it’s a testament to your vision and hard work. It stands as your retreat, a place where memories will be made and cherished for years to come. Whether you’re hosting summer barbecues under the midnight sun or enjoying quiet mornings with a steaming cup of coffee, your patio will serve as the perfect backdrop.
Remember, like the resilient spirit of Alaska, your patio may require occasional maintenance to keep it in top condition. Embrace this as part of the journey, a chance to reconnect with your creation and ensure its longevity.
As you step onto your newly installed patio for the first time, let the sense of accomplishment wash over you. You’ve not only enhanced your living space but also deepened your connection to the outdoors. In the spirit of Alaskan pioneers, you’ve shaped your environment to suit your needs while respecting the natural world around you.


