Selecting the perfect kitchen floor tiles isn’t just about finding something that looks beautiful—it’s about creating a foundation that can handle the daily chaos of family life while maintaining its elegance for decades. As someone who’s spent years helping artists and creative professionals design functional live-work spaces, I’ve learned that the kitchen floor is perhaps the most hardworking surface in any home. It needs to withstand everything from morning coffee spills to evening dinner prep, all while supporting the creative energy that flows through your space.
The challenge lies in balancing durability with design, functionality with beauty. Whether you’re working with a compact galley kitchen or an expansive open-concept space, your flooring choice will influence everything from how the room feels underfoot to how light moves through the space. The wrong choice can lead to years of frustration—surfaces that show every scuff, grout lines that trap grease, or tiles that become dangerously slippery when wet.
That’s why I’ve compiled these 18 essential insights, drawn from years of designing spaces where form truly must follow function. We’ll explore everything from the technical specifications that matter most to the subtle design decisions that can transform your kitchen from merely functional to genuinely inspiring. Let’s dive into the details that will help you create a kitchen floor that works as hard as you do.
1. Master Porcelain’s Unmatched Durability for High-Traffic Kitchens
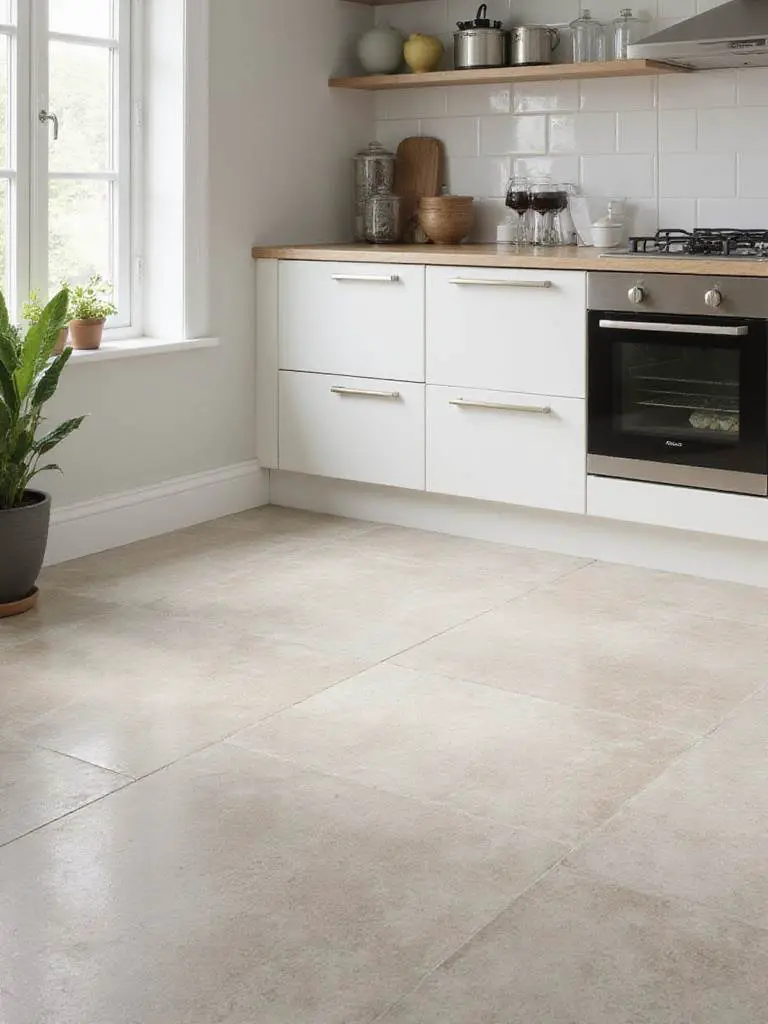
When clients ask me about flooring that can handle the demands of a working kitchen—especially in homes where the space serves multiple functions—porcelain consistently emerges as my top recommendation. This isn’t just about following trends; it’s about understanding the science behind the material. Porcelain tiles are fired at temperatures exceeding 2,200°F, creating a vitrified surface that’s essentially glass-hard. With a water absorption rate of less than 0.5%, these tiles are classified as impervious, meaning spills from your morning smoothie prep or evening wine sessions won’t penetrate the surface.
The real beauty of porcelain lies in its resilience to the unexpected moments that define kitchen life. Pet claws, dropped cast iron pans, shifting bar stools—porcelain handles it all with a Mohs hardness rating of 7-8. I’ve seen porcelain floors in artist studios that double as kitchens maintain their pristine appearance after five years of constant use, requiring nothing more than daily sweeping and weekly mopping. The key is selecting tiles with a PEI rating of Class IV or V for residential use and ensuring your installer uses polymer-modified thin-set mortar specifically formulated for porcelain’s low porosity.
- Verify water absorption rates below 0.5% for true impervious classification
- Choose PEI ratings of IV-V for high-traffic kitchen environments
- Prioritize DCOF ratings of 0.42+ for wet surface safety
What makes this choice even smarter is porcelain’s ability to maintain its appearance without the specialized maintenance routines that other materials demand. Unlike natural stone that requires regular sealing or hardwood that needs refinishing, porcelain’s factory-applied glazes provide permanent protection against stains and scratches.
The craftsmanship in modern porcelain manufacturing tells a story of technological innovation meeting practical needs, creating surfaces that adapt beautifully to contemporary kitchen demands.
2. Embrace Ceramic’s Versatility for Budget-Conscious Design Excellence
Working with creative professionals has taught me that budget constraints often spark the most innovative design solutions, and ceramic tiles exemplify this principle perfectly. These tiles offer an incredible range of aesthetic possibilities—from convincing marble reproductions to weathered wood textures—at price points that typically run 20-50% less than porcelain alternatives. The manufacturing advances in ceramic production mean you can achieve high-end looks without the premium price tag, freeing up budget for other kitchen priorities like upgraded appliances or custom storage solutions.
The design flexibility of ceramic extends beyond mere cost savings. With thousands of available colors, patterns, and textures, ceramic tiles can adapt to virtually any design vision. I’ve specified ceramic tiles that perfectly mimic expensive Carrara marble for clients who wanted luxury aesthetics without the maintenance concerns of natural stone. The key is understanding that modern ceramic manufacturing produces tiles with PEI ratings suitable for residential kitchen traffic (typically III-IV), ensuring durability alongside affordability.
- Research PEI ratings of III-IV for adequate kitchen durability
- Request large samples to evaluate under your specific lighting conditions
- Consider rectified edges for contemporary, narrow grout lines
One particularly successful project involved a couple renovating their 120-square-foot kitchen with a strict material budget of $5 per square foot. By selecting large-format ceramic tiles with realistic marble veining, they achieved their desired elegant aesthetic for $4.50 per square foot, saving over $600 compared to natural marble while gaining superior stain resistance and easier maintenance.
Unlike mass-produced alternatives, today’s ceramic manufacturing allows for sophisticated surface treatments that create depth and character previously only available in premium materials.
3. Discover LVT/LVP’s Revolutionary Comfort and Performance
The evolution of luxury vinyl technology represents a genuine breakthrough in kitchen flooring, particularly for homes where comfort and practicality take precedence over traditional material prestige. Modern LVT and LVP products with WPC or SPC cores offer something that hard surfaces simply cannot: a noticeable reduction in standing fatigue and impact on joints. For anyone who spends significant time cooking or working in their kitchen, this comfort factor can be transformative, reducing fatigue by up to 30% compared to ceramic or stone surfaces.
Beyond comfort, the waterproof properties of rigid-core LVT/LVP provide peace of mind that’s particularly valuable in busy households. These products can withstand standing water without warping, swelling, or developing mold—issues that can plague other flooring types. I’ve seen families with young children and pets choose SPC-core LVP that mimics weathered oak, and after two years of heavy use, the floors show no signs of water damage, scratches, or dents. The sound-dampening properties also create a quieter kitchen environment, reducing ambient noise by 15-20%.
- Prioritize rigid core construction (WPC or SPC) for maximum stability
- Select wear layers of 20-mil or higher for kitchen durability
- Ensure proper subfloor preparation to prevent telegraphing
The technological advancement in luxury vinyl has eliminated many of the drawbacks associated with earlier vinyl products, creating surfaces that offer genuine performance benefits alongside aesthetic appeal.
For those concerned about environmental impact, many luxury vinyl manufacturers now offer products with recycled content and improved end-of-life recyclability options.
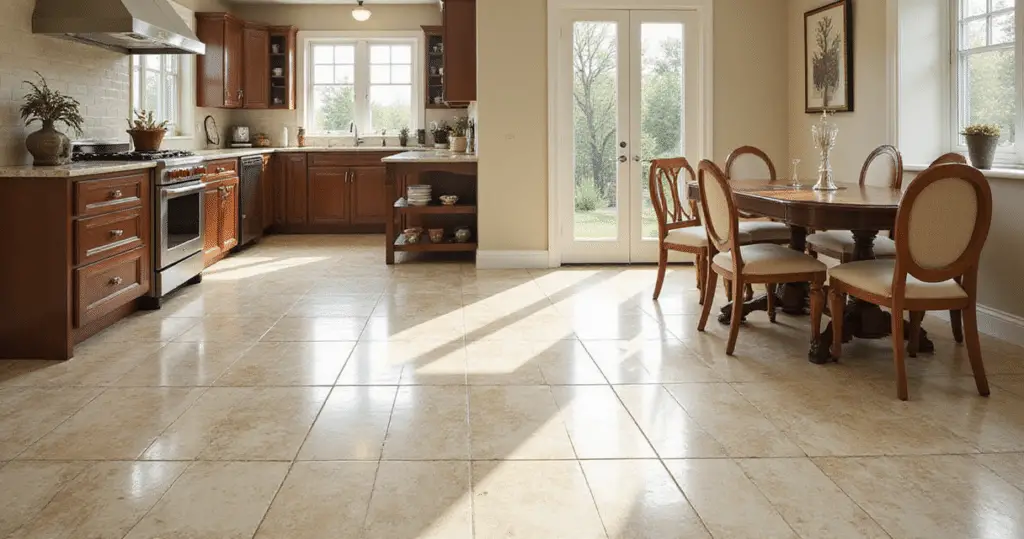
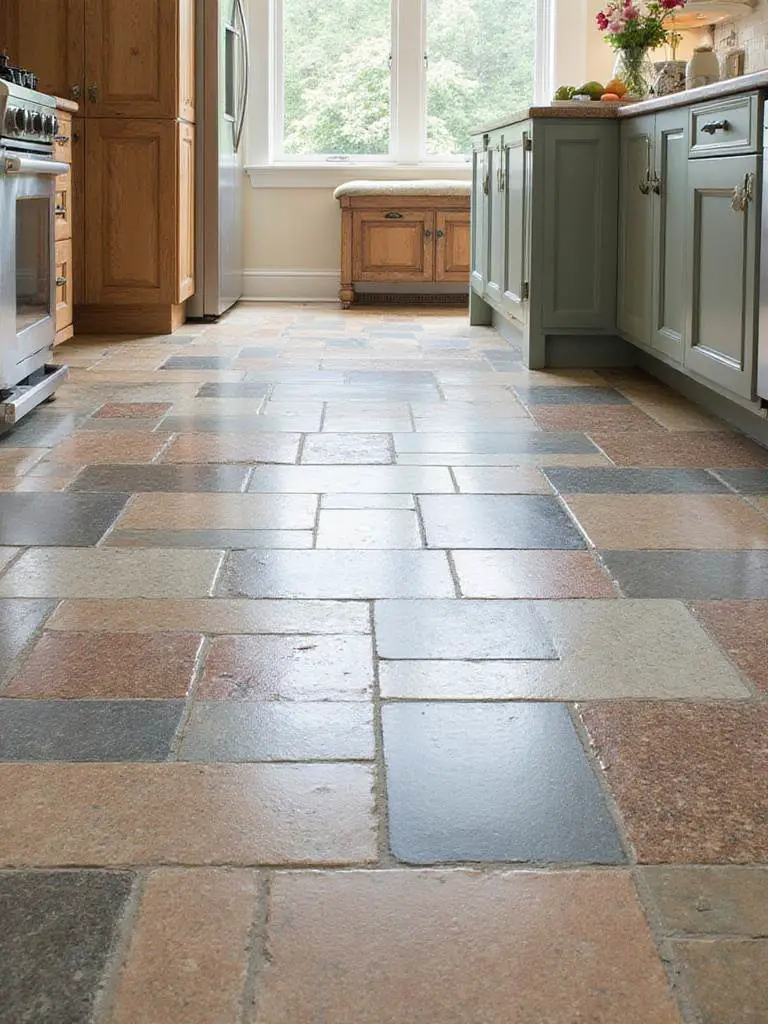
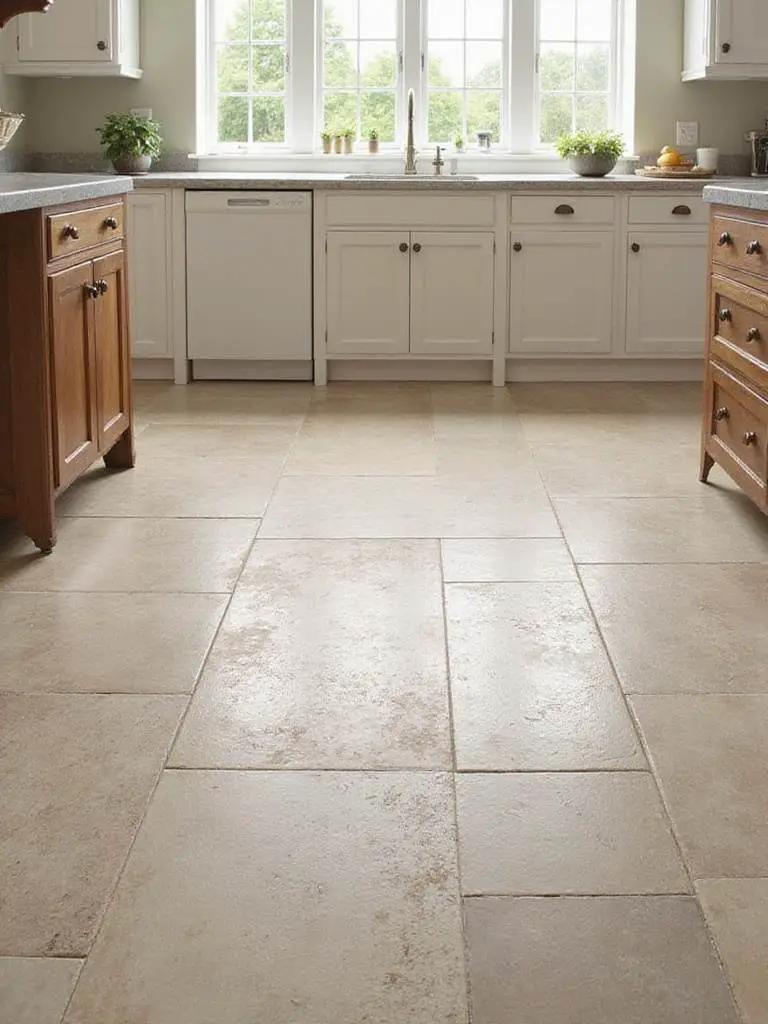
4. Harness Natural Stone’s Timeless Character and Investment Value
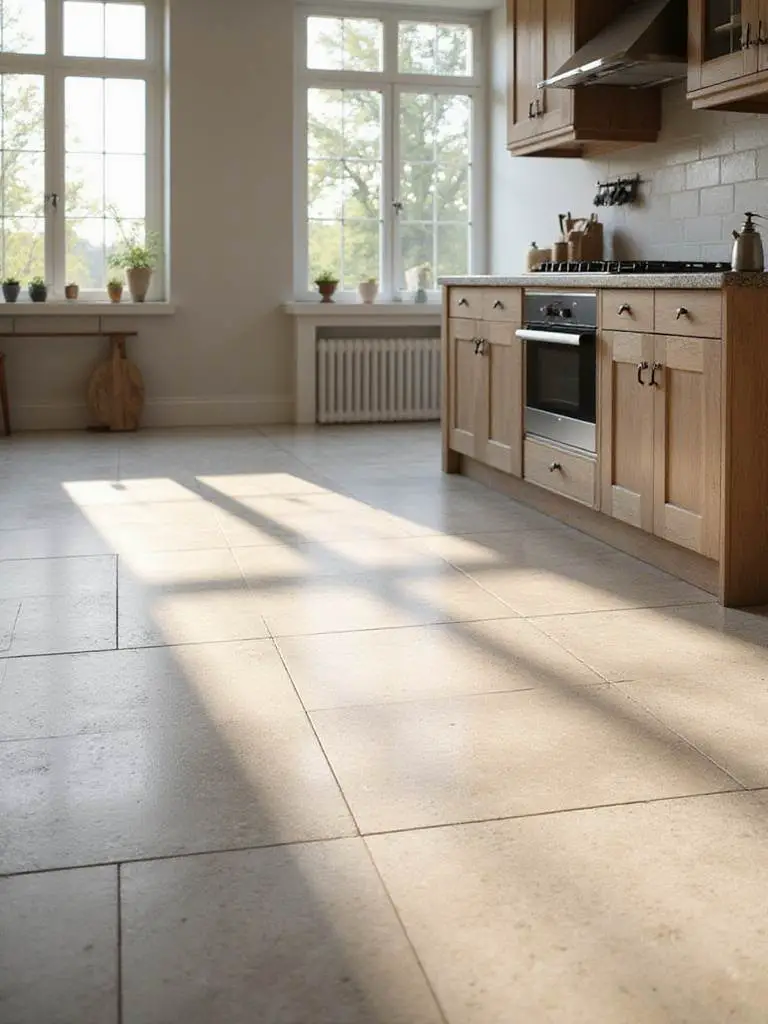
Natural stone brings something to a kitchen that manufactured materials simply cannot replicate: the unique character that comes from geological processes spanning millions of years. Each piece of marble, granite, or travertine carries its own story in the form of veining, color variations, and subtle textural differences. This individuality means your kitchen floor becomes truly one-of-a-kind, developing a patina over time that adds rather than detracts from its beauty. The investment value is significant too—natural stone flooring can increase property values by 5-7%.
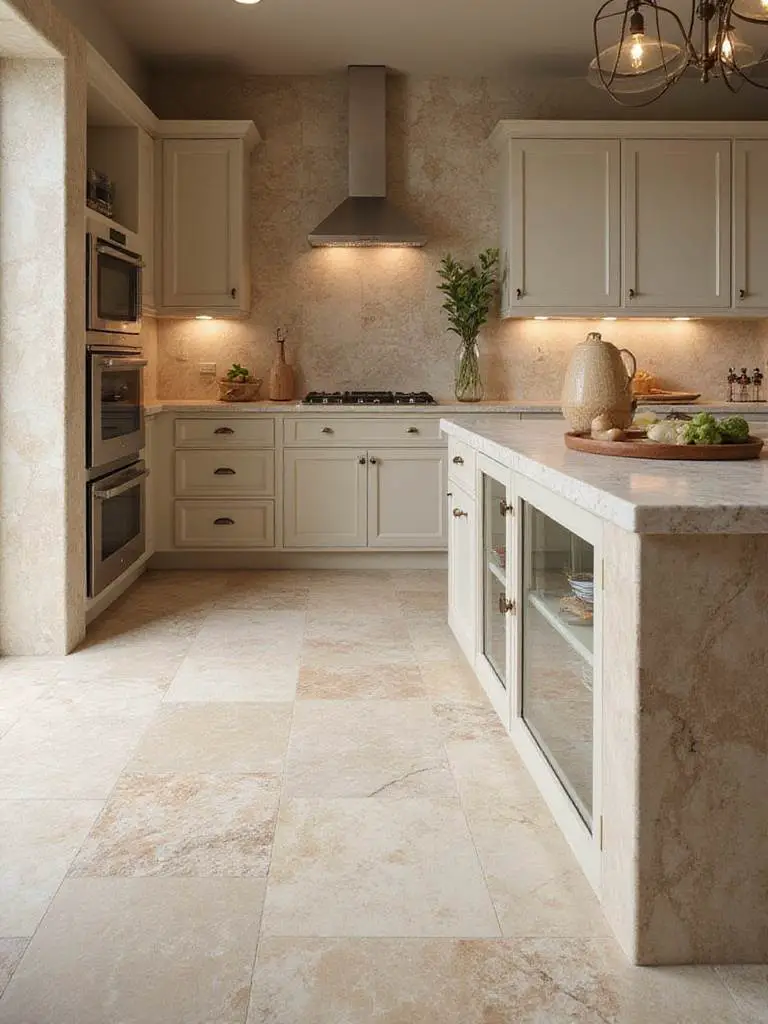
The thermal properties of natural stone provide practical benefits beyond aesthetics. Stone’s thermal mass helps moderate kitchen temperatures, absorbing heat during cooking and releasing it gradually, which can contribute to energy efficiency. However, success with natural stone requires commitment to proper installation and maintenance. Professional subfloor assessment is crucial since stone tiles can weigh 10-15 pounds per square foot, and regular sealing every 1-3 years protects against stains and moisture absorption.
- Choose stone type based on hardness and porosity for your specific needs
- Budget for professional installation and structural assessment
- Plan for regular sealing and pH-neutral cleaning products
I worked with a client renovating a 1920s craftsman home who chose honed Carrara marble for their kitchen. The installation not only preserved the home’s historical integrity but increased its market value by 8% within 18 months, with the luxurious kitchen flooring specifically highlighted by real estate agents as a key selling point.
The artisan collective that quarries and processes natural stone maintains traditions that connect your kitchen to centuries of craftsmanship and geological wonder.
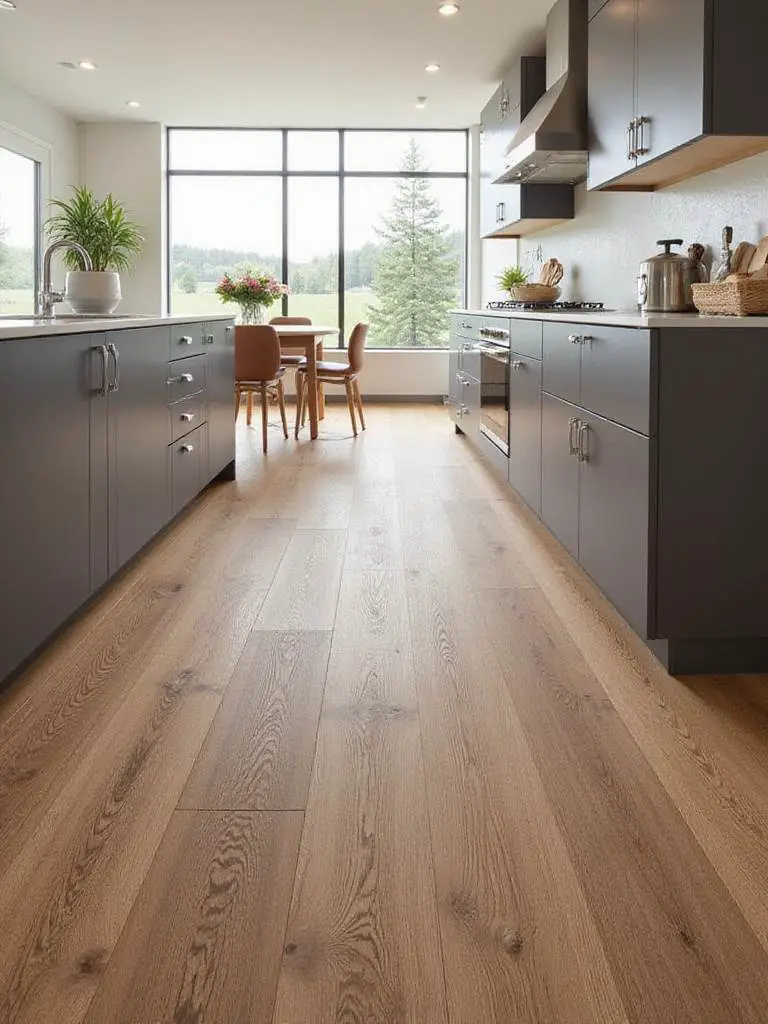
5. Achieve Wood’s Warmth Without Its Kitchen Vulnerabilities
The desire for wood’s natural warmth in kitchen spaces is understandable—it brings an organic softness that balances the hard surfaces of appliances and countertops. However, traditional hardwood faces significant challenges in kitchen environments, from water damage to scratches and the need for regular refinishing. Porcelain wood-look planks solve this dilemma elegantly, offering the visual appeal of natural wood grain with porcelain’s superior performance characteristics.
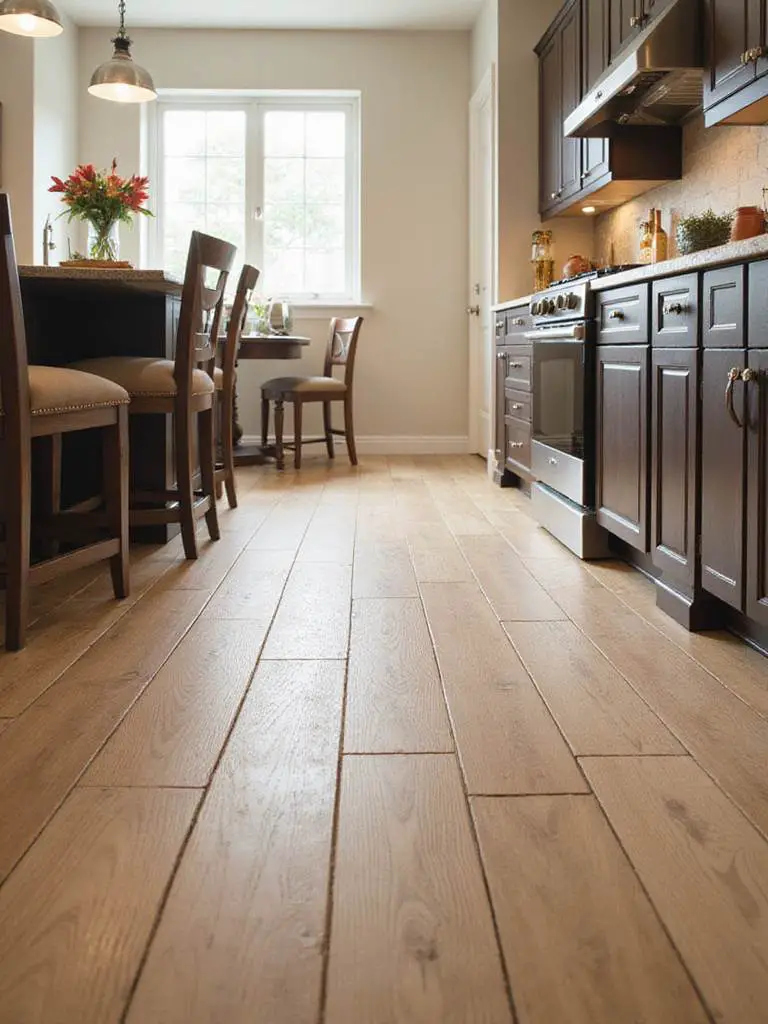
Modern digital printing technology creates wood-look porcelain that’s virtually indistinguishable from real hardwood, complete with realistic grain patterns, knots, and color variations. The key to success lies in selecting appropriate plank sizes—longer formats like 8×48 or 12×48 inches enhance the authentic wood appearance—and choosing grout colors that match the darkest tones within the tile to minimize visible grout lines. Professional installation is crucial for large-format planks to prevent lippage and ensure the seamless appearance that makes the wood illusion convincing.
- Select longer plank formats (8×48″ or larger) for authentic wood appearance
- Match grout color to the darkest tile tones for seamless effect
- Use tile leveling systems to prevent lippage with large formats
A family with two active dogs and young children installed distressed oak-look porcelain planks in their kitchen and breakfast nook. After three years, the flooring shows zero signs of pet damage, water stains, or impact marks, maintaining its original appearance with only weekly mopping—a dramatic reduction from their previous hardwood’s maintenance requirements.
The designer’s attention to detail in replicating natural wood characteristics creates surfaces that honor wood’s beauty while embracing modern performance requirements.
6. Explore Cork and Linoleum’s Sustainable Comfort Revolution
Beyond the conventional hard surface options lies a category of flooring that prioritizes human comfort and environmental responsibility: natural resilient materials like cork and linoleum. These surfaces offer a fundamentally different experience underfoot, providing cushioning that reduces joint impact by up to 30% compared to ceramic or stone. For kitchens that serve as creative workspaces or family gathering areas where people spend extended periods standing, this ergonomic benefit can be genuinely life-changing.

The thermal properties of these materials create naturally warm surfaces that maintain temperatures 5-10 degrees warmer than ceramic tiles, contributing to both comfort and energy efficiency. Their acoustic properties are equally impressive, reducing ambient noise by 10-15 decibels and creating quieter kitchen environments. I’ve worked with families in open-plan homes who chose cork flooring specifically for its sound-dampening qualities, significantly reducing the noise from dropped items and daily kitchen activities.
- Assess moisture exposure levels to choose between cork and linoleum
- Ensure subfloor moisture content below 12% before installation
- Plan for regular sealing (cork) or waxing (linoleum) maintenance
One particularly successful installation involved a family with young children who installed 12mm click-lock cork planks throughout their kitchen and living area. They reported a 50% reduction in broken dishes when accidentally dropped, along with noticeably less fatigue during extended cooking sessions and a significantly quieter environment for family activities.
The environmental story behind these materials involves renewable harvesting practices that actually benefit forest ecosystems, creating flooring choices that support both human comfort and planetary health.
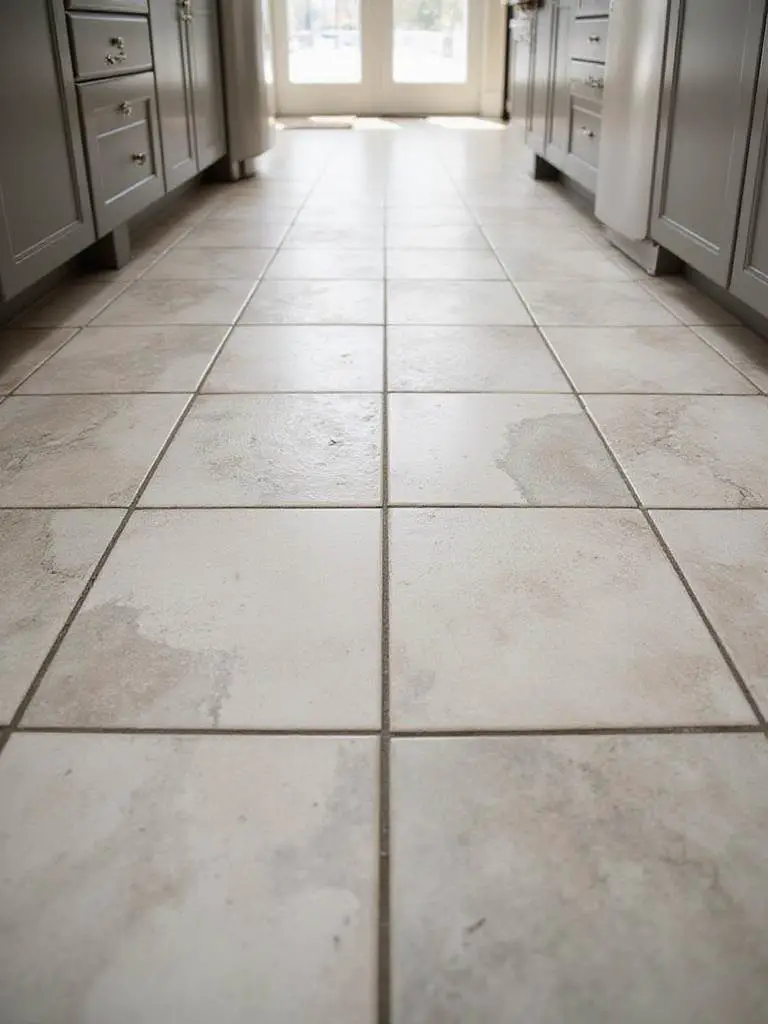
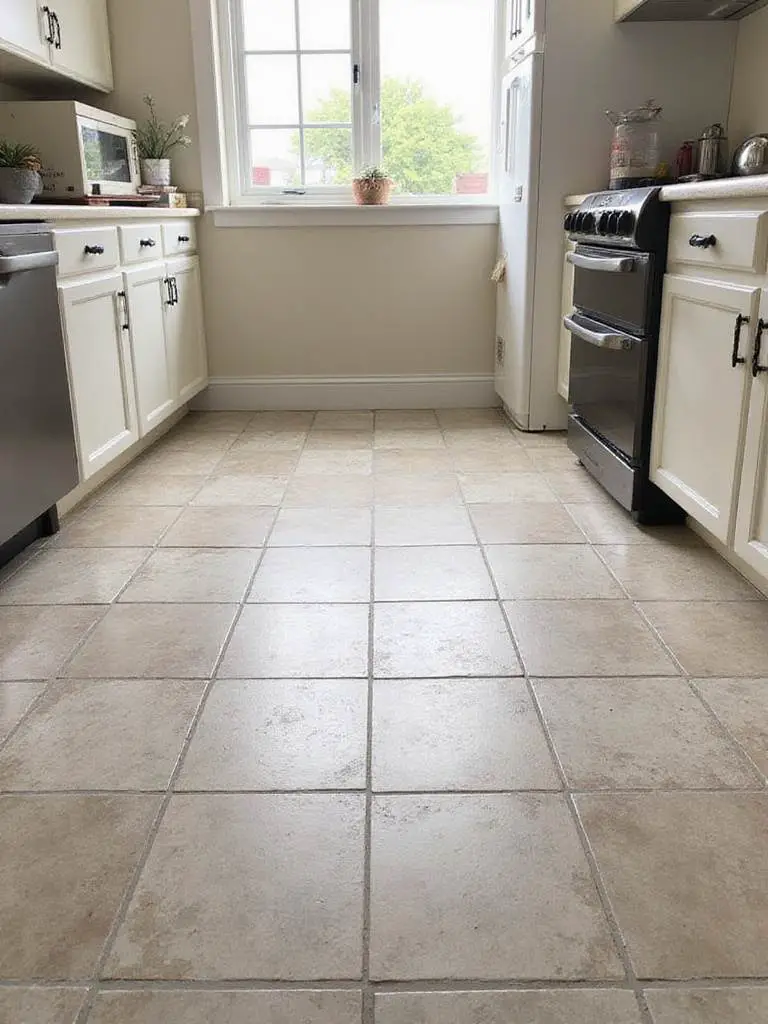
7. Match Tile Durability to Your Kitchen’s Unique Activity Profile
Understanding your kitchen’s specific traffic patterns and usage intensity is crucial for selecting tiles that will maintain their appearance and structural integrity over time. This assessment goes beyond simple foot traffic counts to consider the types of activities, the weight of items being moved, and the frequency of potential impacts. A kitchen that serves primarily for light meal preparation has vastly different durability requirements than one used for extensive cooking, entertaining, or that accommodates pets and children.
The PEI (Porcelain Enamel Institute) rating system provides a standardized measure of abrasion resistance, with ratings from I (lightest traffic) to V (heaviest commercial use). For most active family kitchens, PEI IV or V ratings ensure the surface can withstand daily wear without showing visible deterioration. The MOHS hardness scale (1-10) indicates scratch resistance, with ratings of 7 or higher providing good protection against everyday kitchen hazards like sliding cookware or pet claws.
- Categorize your kitchen’s traffic level honestly and specifically
- Prioritize PEI ratings of IV-V for active family kitchens
- Consider MOHS ratings of 7+ for scratch resistance
I consulted with a family who initially chose PEI III ceramic tiles for their busy kitchen with two children and a large dog. Within four years, noticeable wear patterns, dulling, and chipped edges appeared around high-traffic areas, necessitating premature replacement with PEI V through-body porcelain tiles that have since maintained their appearance beautifully.
The construction technique that ensures longevity involves matching material specifications precisely to actual usage patterns rather than aspirational lifestyle images.
8. Prioritize Water Resistance as Your Kitchen’s First Line of Defense
Water resistance in kitchen flooring extends far beyond simple spill cleanup—it’s about protecting your home’s structural integrity and maintaining a hygienic environment. Kitchens generate humidity from cooking, face inevitable spills from food preparation, and must withstand occasional equipment malfunctions like dishwasher leaks. Selecting tiles with superior water resistance prevents costly subfloor damage and inhibits mold growth that can compromise indoor air quality.
The technical specification that matters most is water absorption rate, measured according to ASTM C373 standards. Porcelain tiles, classified as “impervious” with absorption rates below 0.5%, provide the highest level of protection. However, tile selection is only part of the equation—grout choice is equally critical. Epoxy or urethane grouts offer virtually impervious seals that won’t degrade over time, unlike traditional cement-based grouts that require regular sealing.
- Verify tiles meet impervious classification (absorption <0.5%)
- Specify epoxy or urethane grout for maximum water resistance
- Consider waterproof membranes in high-risk areas
A Seattle family experienced a dishwasher hose failure that flooded their kitchen overnight. Because they had installed porcelain tiles with epoxy grout, the subfloor remained completely dry despite hours of standing water, preventing an estimated $5,000-$10,000 in structural damage and requiring only surface cleanup.
The sustainable journey of creating truly waterproof installations involves understanding how each component—tile, grout, adhesive, and substrate—works together to create an integrated moisture barrier.
9. Simplify Your Life with Strategic Low-Maintenance Surface Choices
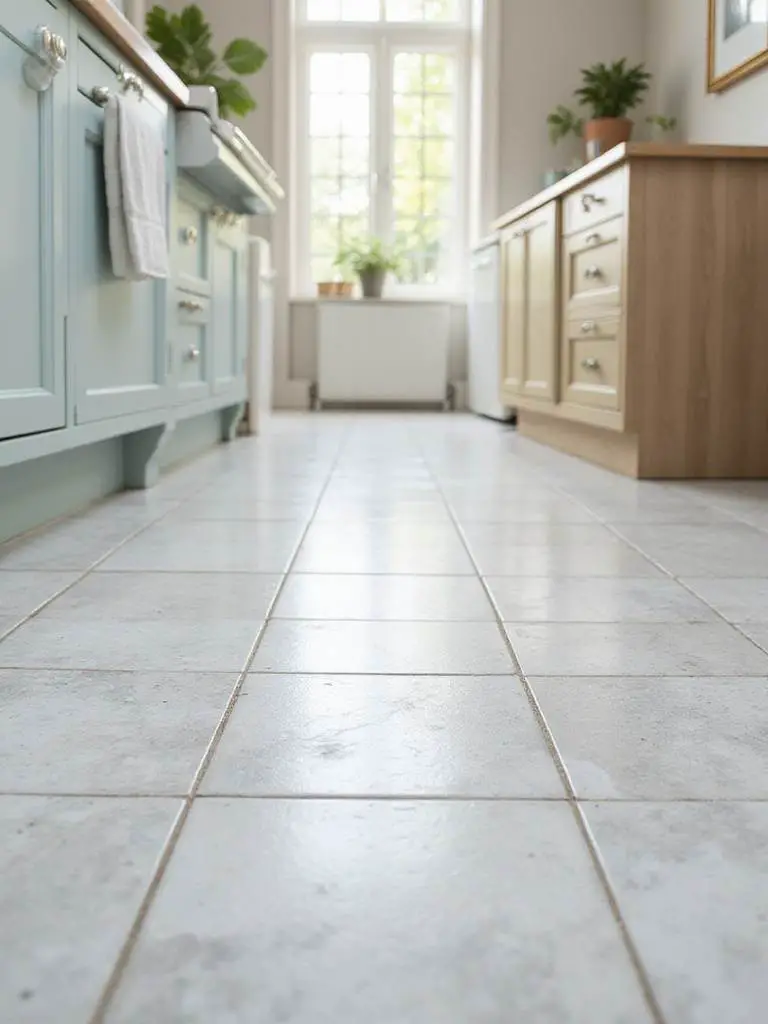
The reality of kitchen maintenance extends far beyond the initial installation excitement—it’s about creating surfaces that maintain their beauty with minimal daily effort. Strategic selection of tile finishes and grout types can reduce weekly cleaning time by up to 50%, freeing you to focus on the activities that matter most in your kitchen. The key lies in understanding how different surface textures and materials interact with common kitchen soils and stains.
Matte and lightly textured finishes excel at camouflaging everyday dirt, water spots, and minor scratches that would be highly visible on glossy surfaces. Glazed porcelain or ceramic tiles provide non-porous surfaces that resist staining, while epoxy grout eliminates the maintenance burden of traditional cement-based grouts that require regular sealing and are prone to discoloration. Larger format tiles reduce the total grout area, further minimizing cleaning requirements.
- Choose matte or lightly textured finishes over high-gloss options
- Specify epoxy grout for stain resistance and easy maintenance
- Consider larger format tiles to minimize grout lines
A busy family of five with young children selected large-format matte porcelain tiles with dark epoxy grout for their kitchen. They found that daily spills wiped clean without staining, and the floor rarely showed footprints or minor dirt, reducing their cleaning routine from daily mopping to twice-weekly maintenance while maintaining a consistently clean appearance.
The professional stylists’ approach to low-maintenance design prioritizes surfaces that age gracefully, developing character rather than showing wear over time.
10. Create a Safer Kitchen Through Strategic Slip Resistance Planning
Kitchen safety extends beyond sharp knives and hot surfaces to include the fundamental stability of the floor beneath your feet. Slip resistance becomes critical in environments where water, oils, and food particles regularly contact the floor surface. The Dynamic Coefficient of Friction (DCOF) provides a standardized measure of slip resistance, with ratings of 0.42 or higher recommended by the Tile Council of North America for wet interior areas.
Achieving adequate slip resistance involves balancing safety with cleanability and aesthetic appeal. Unglazed porcelain, textured ceramic, and matte finishes naturally provide better traction than highly polished surfaces. However, texture must be subtle enough to allow effective cleaning—overly rough surfaces can trap dirt and become hygiene concerns. Smaller tiles create more grout lines, which add texture and traction to the overall floor surface.
- Verify DCOF ratings of 0.42 or higher for kitchen applications
- Balance texture for safety without compromising cleanability
- Consider how tile size affects overall surface traction
A family with young children and an elderly dog replaced their polished ceramic tiles, which had caused several minor slips, with matte-finish porcelain tiles featuring a DCOF of 0.50. Within six months, they reported zero slip incidents and increased confidence moving quickly through the kitchen during busy meal preparation times.
When clients ask about balancing style with safety, the solution often lies in understanding how surface treatments can provide adequate traction while maintaining the desired aesthetic appeal.
11. Maximize Value Through Strategic Budget Planning and Material Selection
Effective budget management for kitchen flooring involves understanding the total cost of ownership rather than just initial material prices. This holistic approach considers installation complexity, long-term maintenance requirements, and durability expectations to identify the best value proposition for your specific situation. Strategic planning can achieve 20-30% savings on total project costs while ensuring superior long-term performance.
The key insight is that material cost per square foot represents only part of the equation—installation labor, substrate preparation, and ongoing maintenance significantly impact total investment. Larger format tiles, while sometimes more expensive per piece, can reduce installation time and labor costs. Similarly, investing in higher-quality grout and adhesives prevents premature failure that would require costly repairs or replacement.
- Calculate total project costs including labor and materials
- Consider installation complexity when comparing options
- Factor long-term maintenance costs into value calculations
A couple renovating their 150-square-foot kitchen wanted natural stone aesthetics but had a strict $1,500 tile budget. By selecting high-quality porcelain tiles that mimicked travertine from a wholesaler’s overstock section at $3.50 per square foot, they achieved their desired look while staying within budget and gaining superior durability and stain resistance compared to actual stone.
The artisans’ approach to value creation involves understanding how material properties, installation requirements, and maintenance needs interact to create long-term satisfaction and cost-effectiveness.
12. Transform Your Kitchen Comfort with Integrated Underfloor Heating
Underfloor heating represents a fundamental shift in how we experience kitchen spaces, transforming traditionally cold surfaces into sources of gentle, consistent warmth. This system eliminates the shock of cold floors during early morning coffee preparation and creates a more comfortable environment for extended cooking sessions. The even heat distribution can reduce overall heating costs by 15-30% compared to forced-air systems while freeing up wall space typically occupied by radiators.
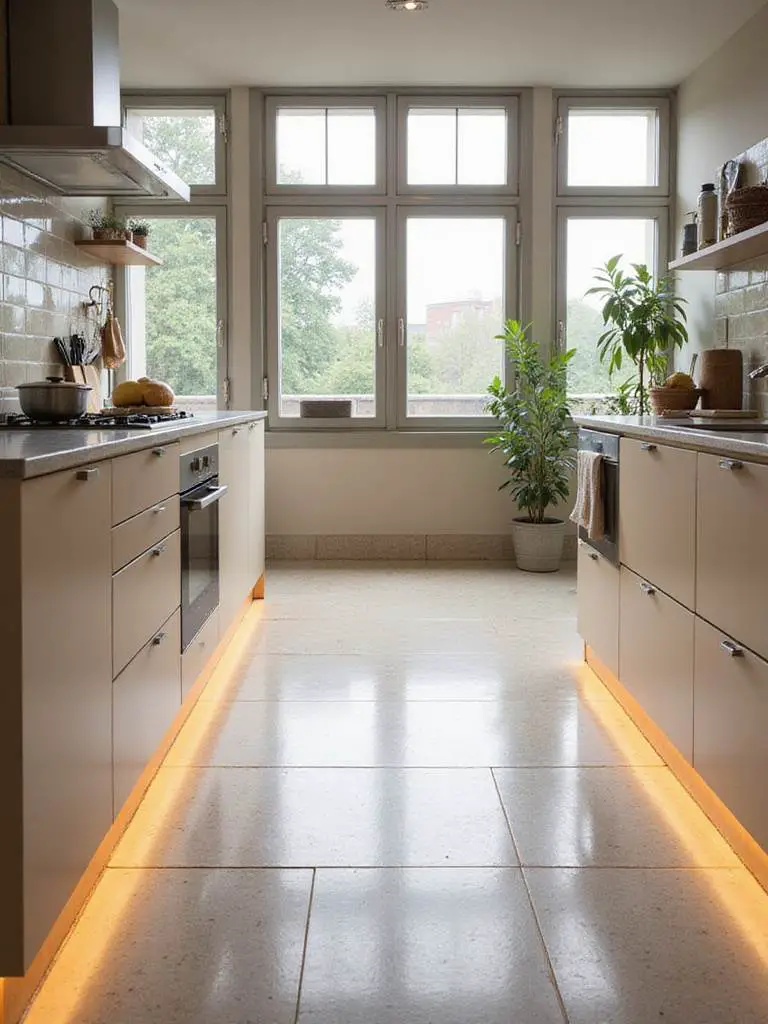
The technical success of heated tile floors depends on proper system design and compatible materials. Porcelain and ceramic tiles offer excellent thermal conductivity, efficiently transferring heat from the underlying system to the room. Critical installation elements include proper subfloor insulation to direct heat upward, flexible polymer-modified adhesives that accommodate thermal expansion, and gradual system commissioning to prevent thermal shock that could crack tiles or grout.
- Select tiles rated for thermal cycling and expansion
- Use flexible adhesives designed for radiant heating systems
- Plan for gradual system startup to prevent thermal shock
A Minnesota homeowner installed electric underfloor heating beneath large-format ceramic tiles in their kitchen. During winter months, the floor maintained a comfortable 74°F surface temperature, allowing them to reduce their central heating thermostat by 3°F while enjoying enhanced comfort and an estimated 10-15% reduction in heating costs.
The environmental benefits come from the system’s efficiency in delivering heat exactly where it’s needed, reducing energy waste associated with heating entire spaces to achieve floor-level comfort.
13. Master Grout Selection to Complete Your Design Vision
Grout serves as the frame that defines your tile installation, capable of either highlighting individual tiles or creating seamless, continuous surfaces. This seemingly minor detail profoundly impacts the overall aesthetic, influencing perceived room size, style coherence, and maintenance requirements. Strategic grout selection can make a small kitchen appear larger through seamless color matching or create dramatic pattern emphasis through contrasting choices.
The technical aspects of grout selection extend beyond color to include material properties that affect long-term performance. Epoxy grouts offer superior stain resistance and don’t require sealing, making them ideal for kitchen environments despite higher initial costs. Grout line width affects both aesthetics and maintenance—narrower lines create more contemporary appearances but require rectified tiles for proper installation, while wider lines can accommodate natural variations in handmade tiles.
- Test grout colors under various lighting conditions
- Consider epoxy grout for superior stain resistance
- Match grout line width to tile type and desired aesthetic
A homeowner with a compact, modern kitchen installed 24×48-inch white porcelain tiles with matching white epoxy grout in ultra-thin 1/16-inch lines. The nearly invisible grout created a seamless, expansive appearance that visually extended the floor space and made the compact kitchen feel significantly larger and more open.
The composition comes together when grout choice supports rather than competes with the overall design intent, creating visual harmony that enhances the entire space.
14. Use Tile Size and Pattern to Reshape Your Kitchen’s Spatial Perception
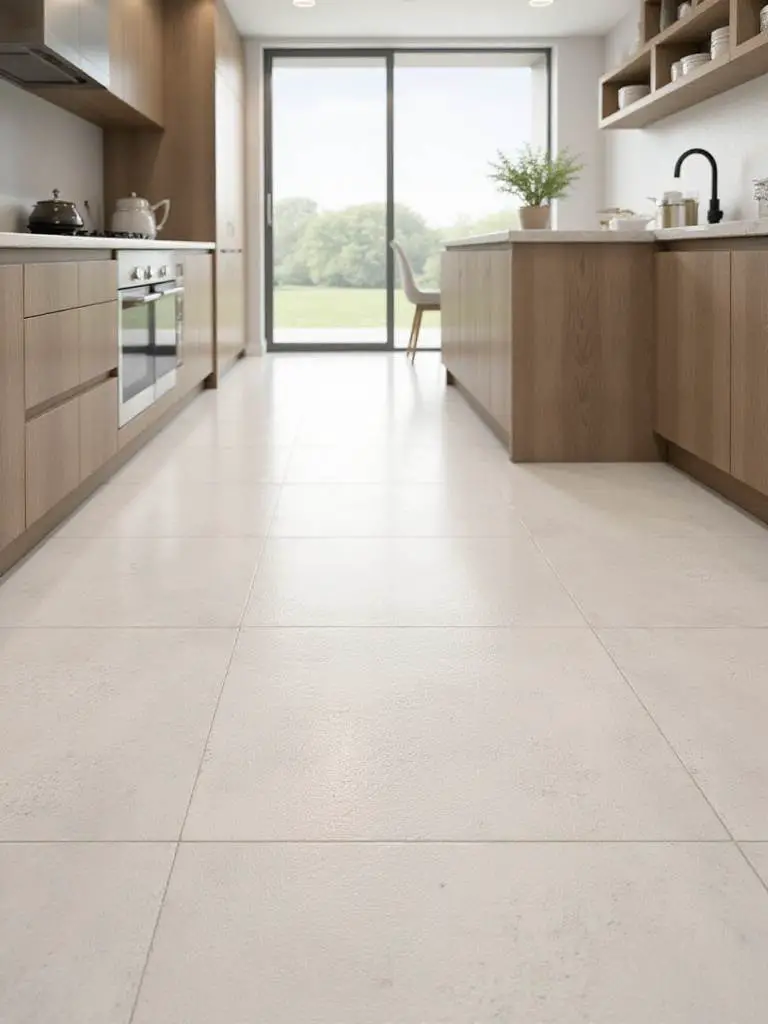
The strategic manipulation of tile size and pattern represents one of the most powerful tools for altering spatial perception in kitchen design. Large format tiles with minimal grout lines can make compact kitchens feel up to 20% larger by reducing visual breaks and creating continuous surface planes. Conversely, smaller tiles or complex patterns can add intimacy and visual interest to expansive spaces that might otherwise feel cold or impersonal.
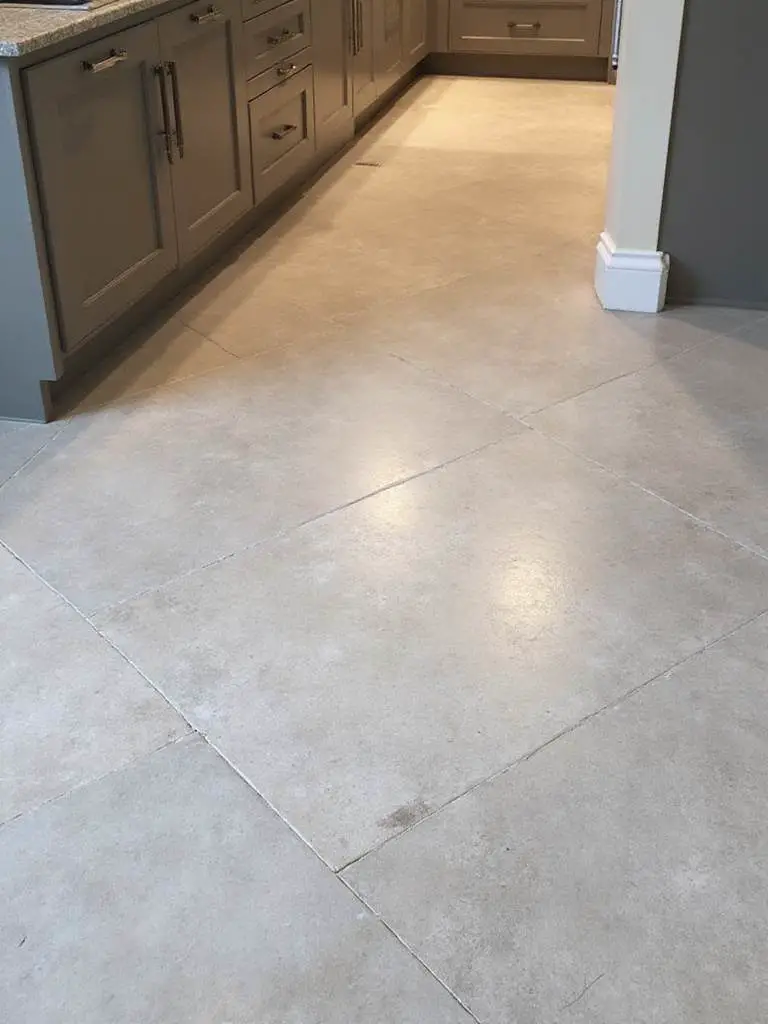
Pattern orientation significantly affects how the eye travels through space. Diagonal layouts draw attention across the longest dimension of a room, adding perceived depth and width—particularly effective in narrow galley kitchens. Straight lay patterns offer clean, contemporary aesthetics, while herringbone or basketweave patterns create visual texture and movement. The key is matching pattern complexity to room size and desired atmosphere.
- Choose large formats with minimal grout lines for expansion
- Use diagonal patterns to emphasize room dimensions
- Consider pattern complexity relative to space size
A 90-square-foot galley kitchen was transformed using 24×48-inch light gray porcelain tiles laid in a straight pattern with precisely matched grout color. The installation created a seamless surface that visually extended the kitchen’s length and width, making the formerly cramped space feel open and connected to the adjacent living area.
The visual weight balances perfectly when tile scale and pattern work together to support the room’s functional requirements while enhancing its aesthetic appeal.
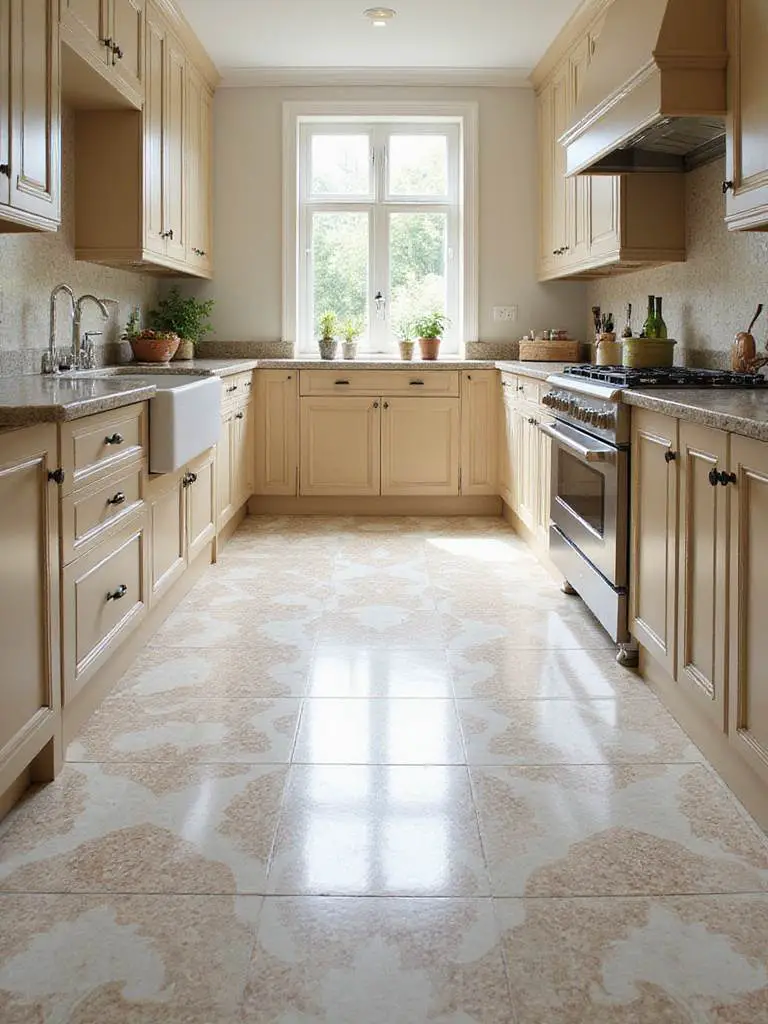
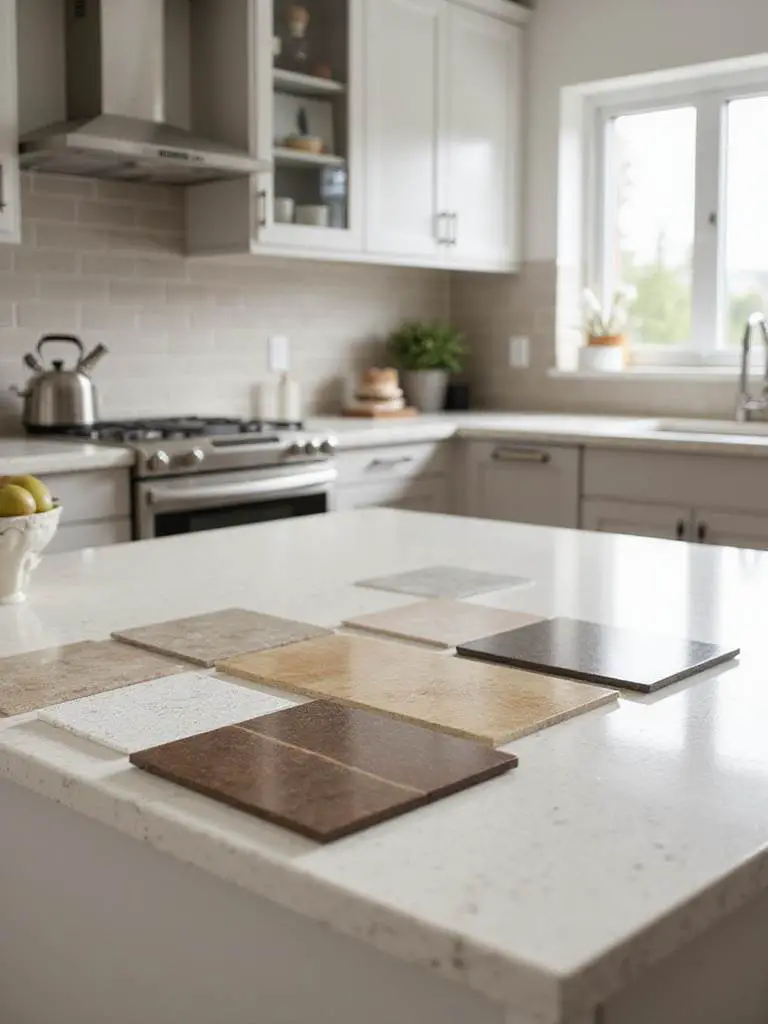
15. Harness Color Psychology to Define Your Kitchen’s Emotional Landscape
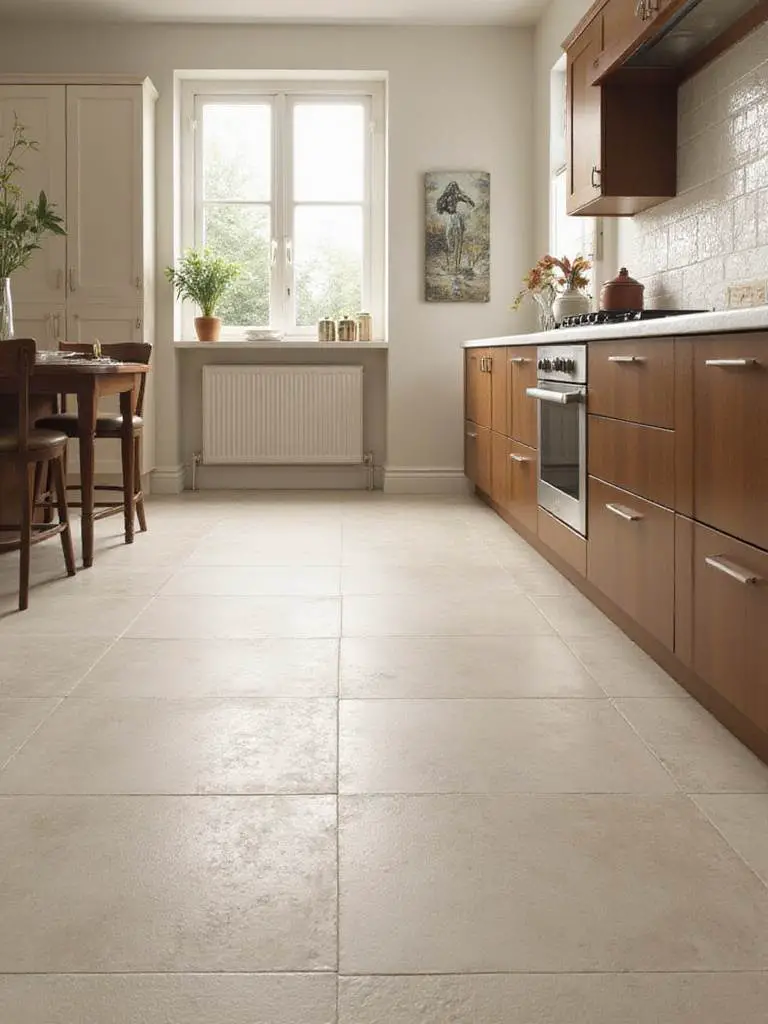
Color selection in kitchen flooring extends far beyond personal preference to encompass the psychological and practical impacts of different hues on daily life. Light colors reflect available light, potentially increasing perceived brightness by 10-15% and making spaces feel larger and more open. Darker colors create intimacy and warmth but can make small spaces feel cramped and may show dust and debris more readily than lighter alternatives.
The interaction between floor color and existing kitchen elements—cabinets, countertops, walls—determines overall visual harmony. Cool tones like whites, light grays, and pale blues create fresh, energetic atmospheres ideal for morning routines, while warm tones like beiges, taupes, and earth colors foster cozy, gathering-friendly environments. The finish of the tile significantly affects color perception, with glossy surfaces enhancing vibrancy and matte finishes providing softer, more subdued appearances.
- Evaluate color impact under both natural and artificial lighting
- Consider maintenance visibility with different color choices
- Test large samples in your specific kitchen environment
A small, windowless urban kitchen was dramatically transformed using large-format, high-gloss white porcelain tiles. The reflective surface combined with the light color maximized available light dispersion, making the 80-square-foot space feel 25% larger and significantly brighter, creating an inviting environment despite the lack of natural light.
The unexpected pairing that consistently works involves balancing floor color with cabinet tones to create visual depth while maintaining overall harmony throughout the space.
16. Navigate DIY vs. Professional Installation for Optimal Project Outcomes
The decision between DIY installation and professional contractors involves weighing potential cost savings against quality assurance and time investment. DIY installation can reduce project costs by 50-70%, but success requires honest assessment of skill levels, available time, and physical capabilities. Professional installation ensures superior results, includes labor warranties, and typically completes projects weeks faster than amateur efforts.
The critical factor often overlooked in DIY calculations is subfloor preparation quality. Professionals spend significant time ensuring perfect substrate conditions—level, clean, structurally sound—that form the foundation for successful installations. Inadequate preparation leads to problems like uneven tiles, cracking grout, or hollow-sounding floors that may require complete reinstallation. Tool requirements for quality results can also add significant costs to DIY projects.
- Honestly assess your skill level and available time
- Factor tool costs and learning curve into DIY budgets
- Consider warranty implications of DIY vs. professional work
A homeowner with moderate DIY skills successfully installed 150 square feet of kitchen tiles over three weekends, spending $450 on tool rental and $750 on materials. The project saved approximately $1,500-$2,250 in labor costs while providing valuable skill development and personal satisfaction with the completed work.
The challenge of complex installations becomes manageable when approached with proper planning, appropriate tools, and realistic timelines that accommodate the learning process.
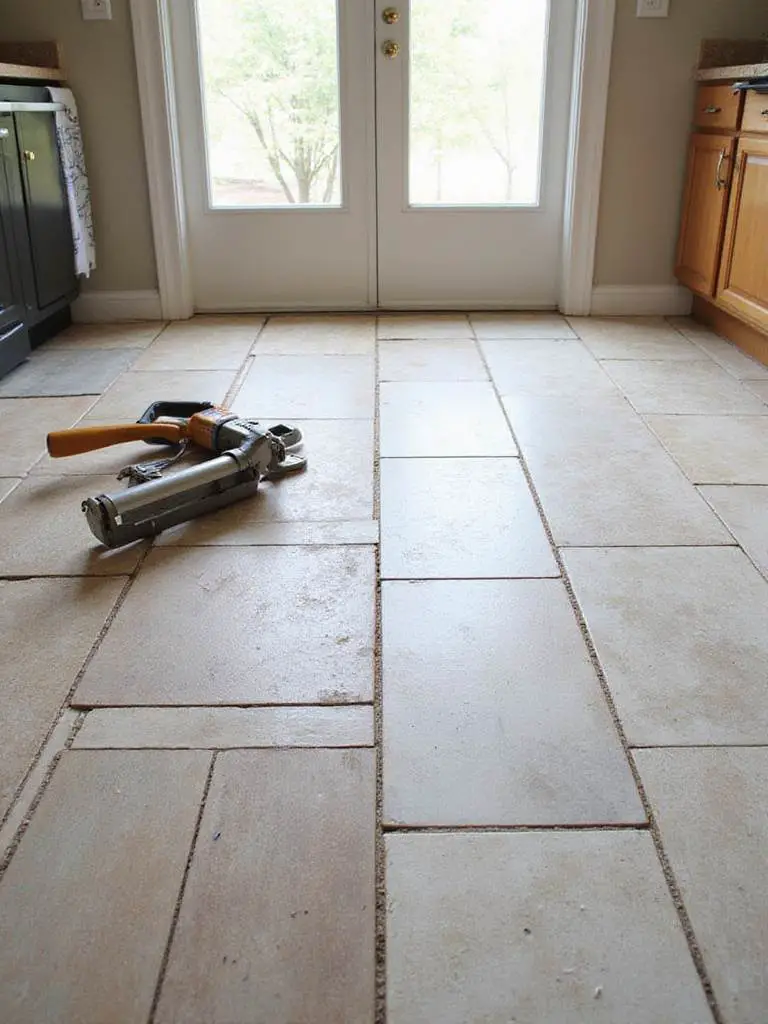
17. Develop Rapid Response Strategies for Tile Damage Prevention
Prompt attention to minor tile damage prevents small issues from escalating into major renovation projects. A single cracked tile can allow moisture penetration that damages subflooring, while loose tiles create safety hazards and allow further deterioration. Quick repairs extend floor lifespan by 5-10 years and reduce potential repair costs by 70-90% compared to extensive replacements.
Effective repair strategies begin with proper damage assessment and appropriate material selection. Chips and small cracks can often be addressed with color-matched epoxy fillers, while loose tiles require complete removal and reinstallation with fresh adhesive. The key is maintaining spare tiles and matching grout from the original installation, as dye lot variations can make perfect matches impossible years later.
- Keep spare tiles and grout from original installation
- Address damage immediately to prevent escalation
- Use appropriate repair materials for permanent solutions
A homeowner noticed a hairline crack near their kitchen sink and immediately sealed it with a tile repair kit. This 30-minute, $25 repair prevented water infiltration that could have caused subfloor damage, mold growth, and potentially thousands in structural repairs, demonstrating how quick action protects long-term investments.
The traditional methods used for professional repairs emphasize thorough cleaning, proper material preparation, and adequate curing time to ensure lasting results that blend seamlessly with existing installations.
18. Execute Flawless Kitchen Tile Projects Through Comprehensive Planning
Successful kitchen tile installations begin long before any adhesive is mixed, requiring systematic planning that addresses every aspect from material selection to post-installation maintenance. This comprehensive approach reduces project budget overruns by 15-20%, decreases completion time by 10-25%, and ensures final results align closely with initial visions. Thorough planning prevents costly mistakes and rework scenarios that can derail both budgets and timelines.
The planning process must address spatial requirements, material specifications, installation logistics, and long-term maintenance considerations. Accurate measurements, realistic budgets that include contingencies, and detailed material research form the foundation. Subfloor assessment and preparation often determine project success more than tile selection, requiring professional evaluation for structural adequacy and levelness requirements.
- Create detailed project timeline with realistic milestones
- Budget for all materials, tools, and potential contingencies
- Plan subfloor preparation as a critical success factor
A DIY enthusiast used laser levels and chalk lines to perform a complete “dry lay” of porcelain tiles across their kitchen before applying any adhesive. This pre-installation process revealed a pattern alignment issue that would have resulted in uneven grout lines and wasted materials, allowing for correction before permanent installation began.
The maker’s journey from initial concept to completed installation requires patience, attention to detail, and willingness to invest time in preparation phases that ensure long-term satisfaction with the finished space.
Conclusion
Creating the perfect kitchen floor involves far more than selecting beautiful tiles—it requires understanding how materials, installation techniques, and maintenance requirements interact to support your daily life. Throughout this exploration, we’ve examined everything from porcelain’s unmatched durability to the comfort innovations of luxury vinyl, the timeless appeal of natural stone, and the practical considerations that ensure long-term satisfaction with your investment.
The most successful kitchen flooring projects share common elements: realistic assessment of usage requirements, strategic material selection that balances aesthetics with performance, and meticulous attention to installation details that ensure longevity. Whether you’re drawn to the seamless elegance of large-format tiles, the warmth of wood-look planks, or the sustainable comfort of natural resilient materials, success depends on matching your choice to your specific needs and lifestyle demands.
Your kitchen floor represents one of the most significant design investments in your home, influencing daily comfort, safety, and enjoyment for decades to come. Armed with these insights, you’re prepared to make informed decisions that will create a foundation worthy of all the memories, meals, and moments that will unfold in your kitchen. Take time to evaluate samples, consult with professionals when needed, and trust in the planning process that leads to truly exceptional results.