For artists, makers, and anyone who lives a creative life, the kitchen isn’t just a kitchen. It’s a chemistry lab for mixing glazes, a breakroom between painting sessions, and, yes, a place to make dinner. As a designer who specializes in live-work spaces for creative people, I’ve seen it all. Your kitchen floor isn’t just a floor; it’s the literal foundation for your creative and daily life. It has to handle spilled coffee, dropped tools, and splattered paint while still feeling like a part of your home you love.
The real trick is finding that sweet spot between bulletproof function and a look that actually inspires you. It doesn’t matter if you’re in a shoebox studio apartment or a sprawling open-plan loft—the wrong floor can be a daily headache. Floors that stain, show every speck of dust, or turn into a slip-n-slide with a single drop of water just won’t cut it.
So, I’ve pulled together 18 insights from my years of designing spaces where creativity and life get beautifully messy. We’re going to get into the nitty-gritty, from the technical specs that actually matter to the design choices that make a space sing. Let’s build a kitchen floor that works as hard as you do.
1. The Unbeatable Workhorse: Why I Stand By Porcelain
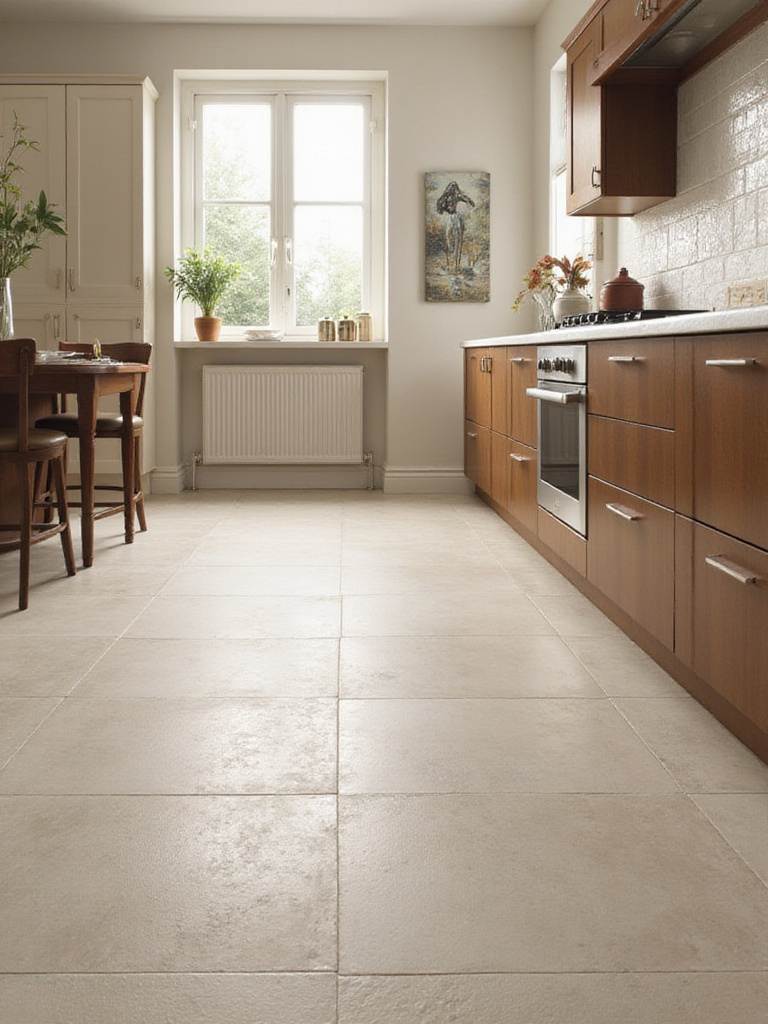
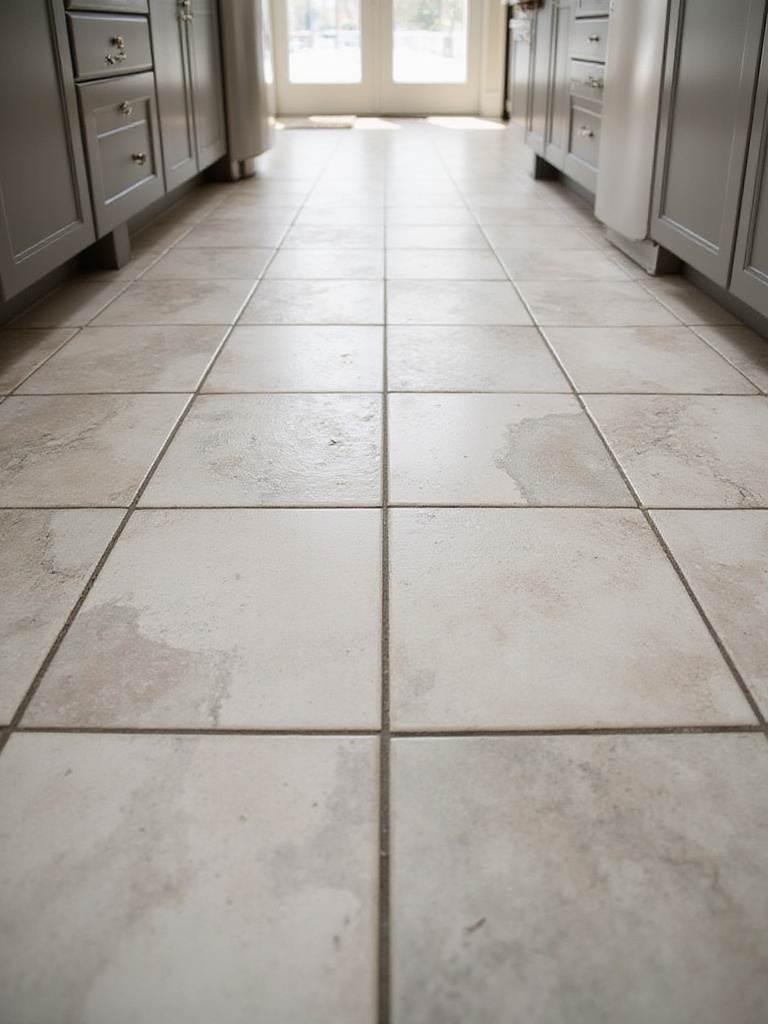
When a client asks me for the one material that can handle almost anything, my answer is always porcelain. I’m not just following a trend; this is about the sheer physics of the material. Porcelain tiles are fired at incredibly high temperatures, creating a surface that is basically glass-hard. With a water absorption rate of less than 0.5%, it’s officially classified as “impervious,” which means that spilled paint thinner or yesterday’s smoothie isn’t going to sink in and become a permanent resident.
I’ve seen porcelain floors in a ceramicist’s live-work studio—a space that saw more clay dust and wheeled carts than most—look nearly new after five years of intense use. We’re talking about a material with a Mohs hardness rating of 7-8, which means it resists scratches from dragged bar stools, pet claws, and even the occasional dropped pair of pliers. What this all means is that you get to live your life and make your art without constantly worrying about your floor. Just make sure your installer knows what they’re doing and uses the right mortar for porcelain’s dense body.
- Look for: Water absorption rates under 0.5%.
- Insist on: A PEI rating of IV or V for any active kitchen.
- Don’t forget: A DCOF rating of at least 0.42 for safety on wet surfaces.
The beauty of porcelain isn’t just its strength, but its self-sufficiency. Unlike fussy materials that need constant sealing and babying, a good quality porcelain tile holds its own.
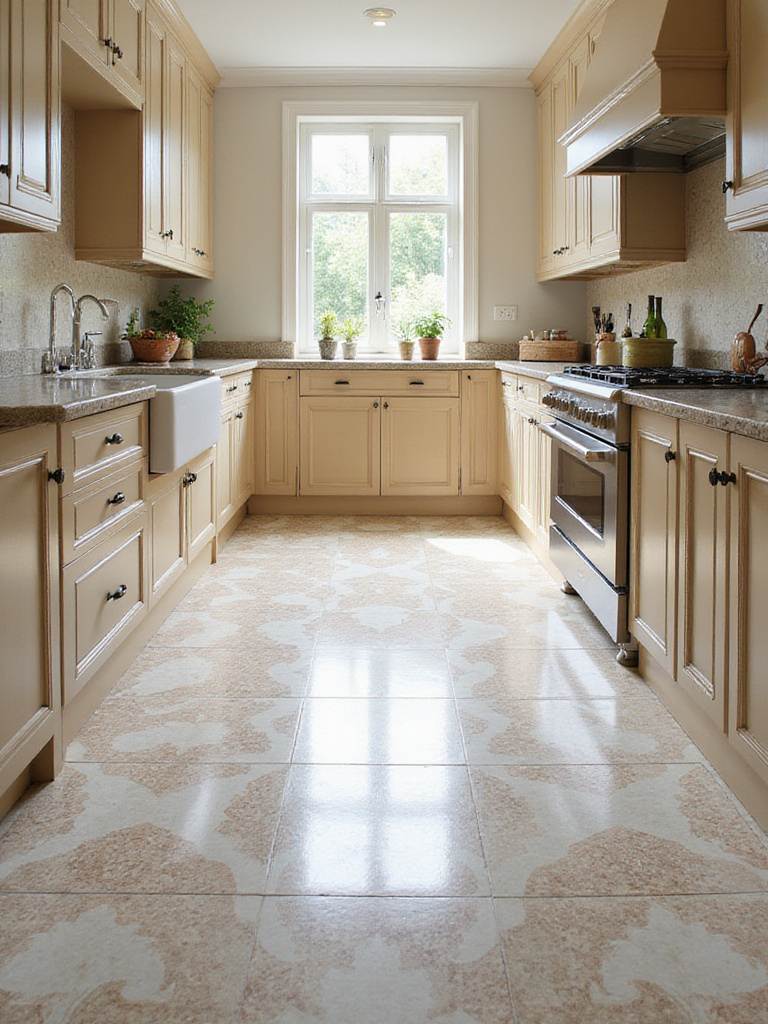
2. The Smart-Money Choice: Ceramic’s Creative Flexibility
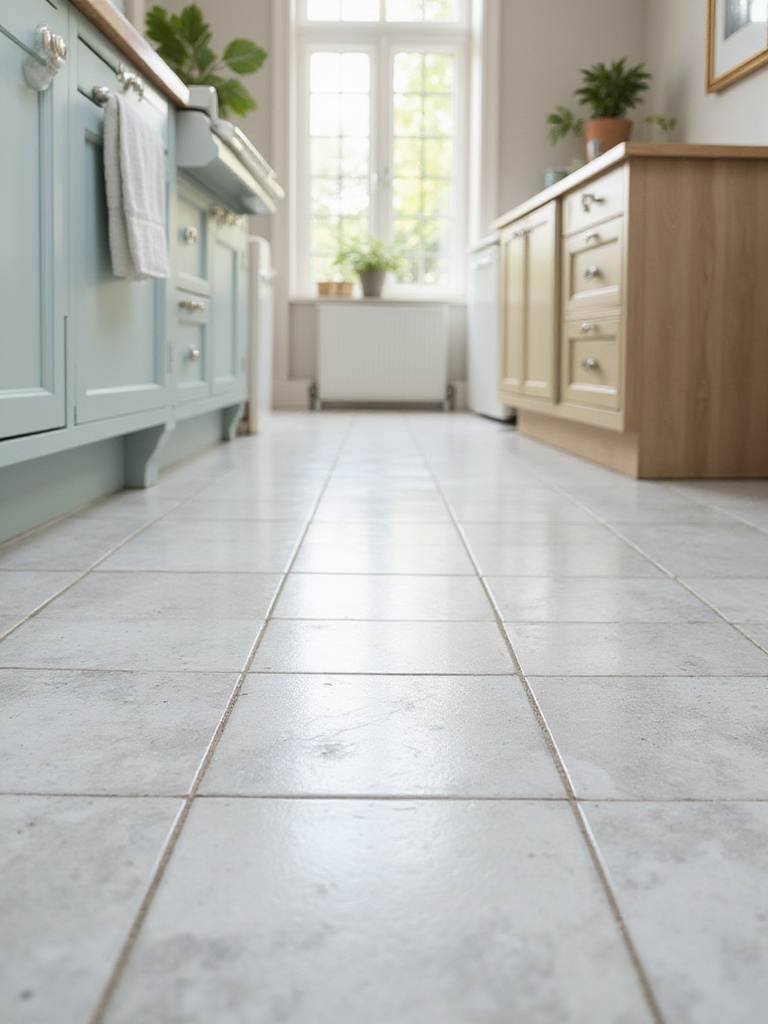
I’ve always believed that a tight budget is just an invitation to get more creative. Ceramic tile is the perfect example. It gives you a massive playground of colors, patterns, and textures—from tiles that look remarkably like aged wood to convincing marble fakes—for a fraction of the cost of porcelain or natural stone. We’re often talking 20-50% less, which can free up serious money for that new easel or upgrading your ventilation system.
Don’t mistake “budget-friendly” for “cheap.” Modern ceramic manufacturing has come a long way, offering beautiful and durable options that can absolutely handle a residential kitchen. I once worked with a couple in a tiny 120-square-foot kitchen on a super-strict budget. They fell in love with a high-end Carrara marble look but couldn’t stomach the price or the maintenance. We found a large-format ceramic replica that cost them just $4.50 a square foot, saving them hundreds and giving them a floor that’s way more forgiving of their red wine spills. It was a total win.
- Double-check: Look for a PEI rating of III or IV for home kitchens.
- Always ask for: Large samples. You need to see how they look in your light, not the showroom’s.
- Consider: Rectified edges if you want those super-thin, modern grout lines.
The thing is, with ceramic, you’re not sacrificing style. You’re just making a savvy choice that allows your creativity (and your budget) to flow into other parts of your kitchen.
3. A Game-Changer for Your Feet: LVT/LVP’s Comfort and Grit
Let’s be honest: if you’re an artist or maker, you spend a lot of time on your feet. The evolution of Luxury Vinyl Tile (LVT) and Luxury Vinyl Plank (LVP) has been a true game-changer for kitchen flooring. Here’s why: it’s comfortable. Products with a rigid core (look for WPC or SPC) have a noticeable give underfoot that hard surfaces like ceramic just can’t match. Standing for hours prepping canvases or cooking dinner feels radically different on LVT; it can genuinely reduce that end-of-day ache in your back and joints.
But it’s not just about comfort. The rigid-core versions of these floors are 100% waterproof. That’s not “water-resistant,” it’s fully waterproof, which means a pet accident or a tipped bucket of water for a watercolor project won’t cause swelling or warping. I’ve seen LVP that looks like weathered oak in a home with two toddlers and a Golden Retriever. Two years later, it looked exactly the same. It’s also quieter, absorbing the clatter of dropped objects and footsteps, which makes a huge difference in a combined live-work space.
- Focus on: Rigid core (WPC or SPC) construction for stability.
- Check the specs for: A wear layer of at least 20-mil for kitchen-level abuse.
- Remember: Your subfloor must be perfectly flat. Vinyl is flexible and will show every lump and bump underneath.
For so many of my clients, especially those working out of their homes, the combination of durability, comfort, and quiet performance makes LVT/LVP a fantastic, practical choice.
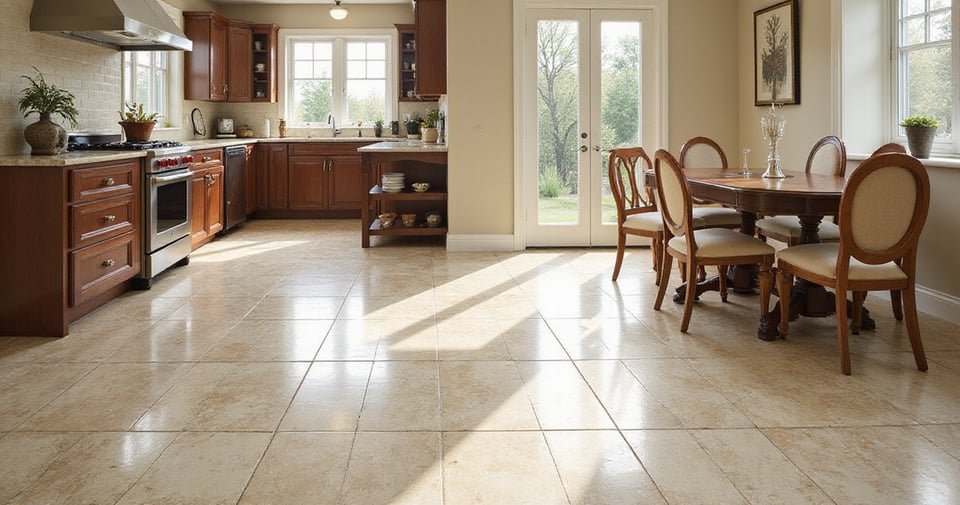
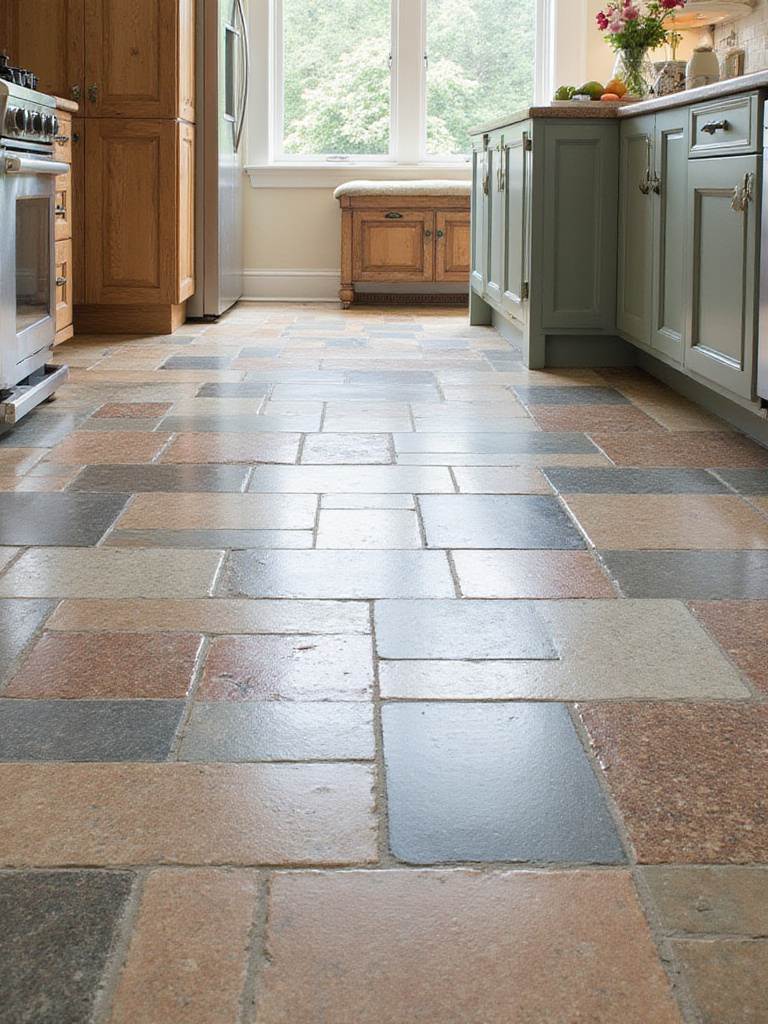
4. The Real Deal: Natural Stone’s Soul and Lasting Value
There’s just something about natural stone. Manufactured materials, for all their technical wizardry, can’t replicate the soul of something that took millions of years to form. Every piece of travertine, granite, or marble tells a geological story through its veining and subtle color shifts. Choosing stone means your kitchen floor is utterly unique. It develops a patina over time, an aging process that adds to its character rather than detracting from it. It’s an investment, too—a natural stone floor can bump up your property value in a way other materials don’t.
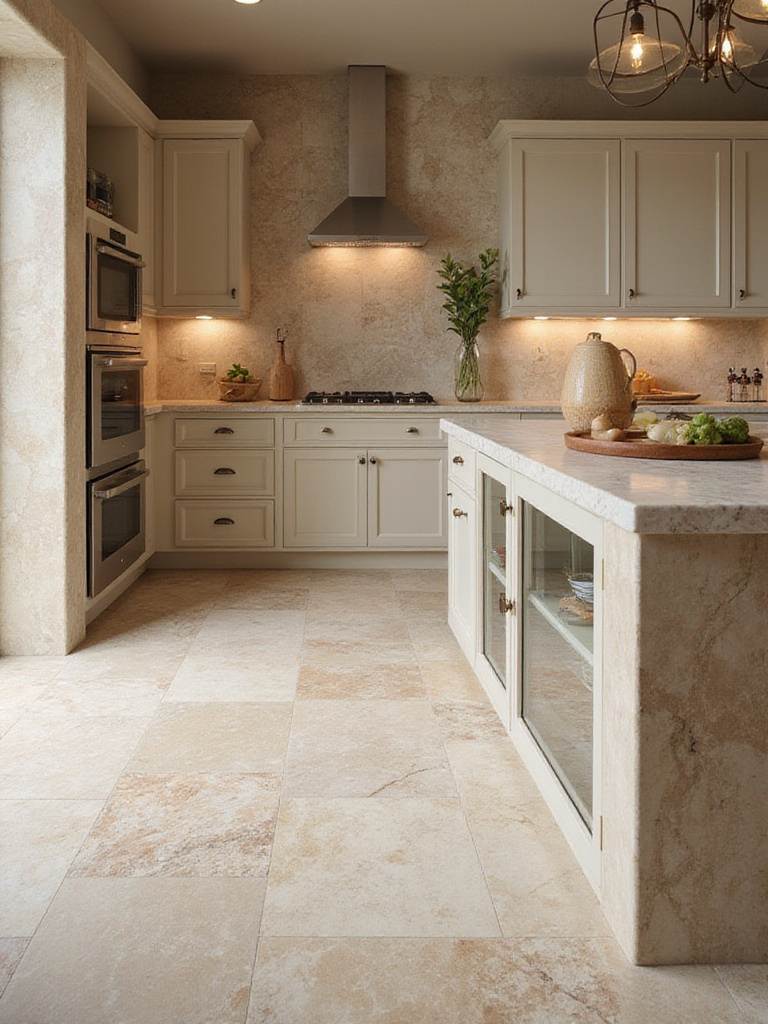
But let’s be real: natural stone is a commitment. It’s a bit of a diva. It’s porous and needs to be sealed regularly (think every 1-3 years) to resist stains. It’s also incredibly heavy, so you’ll need a professional to make sure your subfloor can handle the load. A few years ago, I worked on a renovation of a 1920s craftsman where we put honed Carrara marble in the kitchen. It was breathtakingly beautiful and fit the soul of the house perfectly. But it requires care. The owners understand that they don’t just clean their floor; they tend to it.
- Research: Understand the specific hardness and porosity of the stone you choose (marble is softer and more porous than granite).
- Budget for: Professional installation. This is not a DIY-friendly material.
- Commit to: Regular sealing and using pH-neutral cleaners to avoid etching.
If you’re willing to embrace the relationship, a natural stone floor will give back a sense of permanence and artistry that’s impossible to fake.
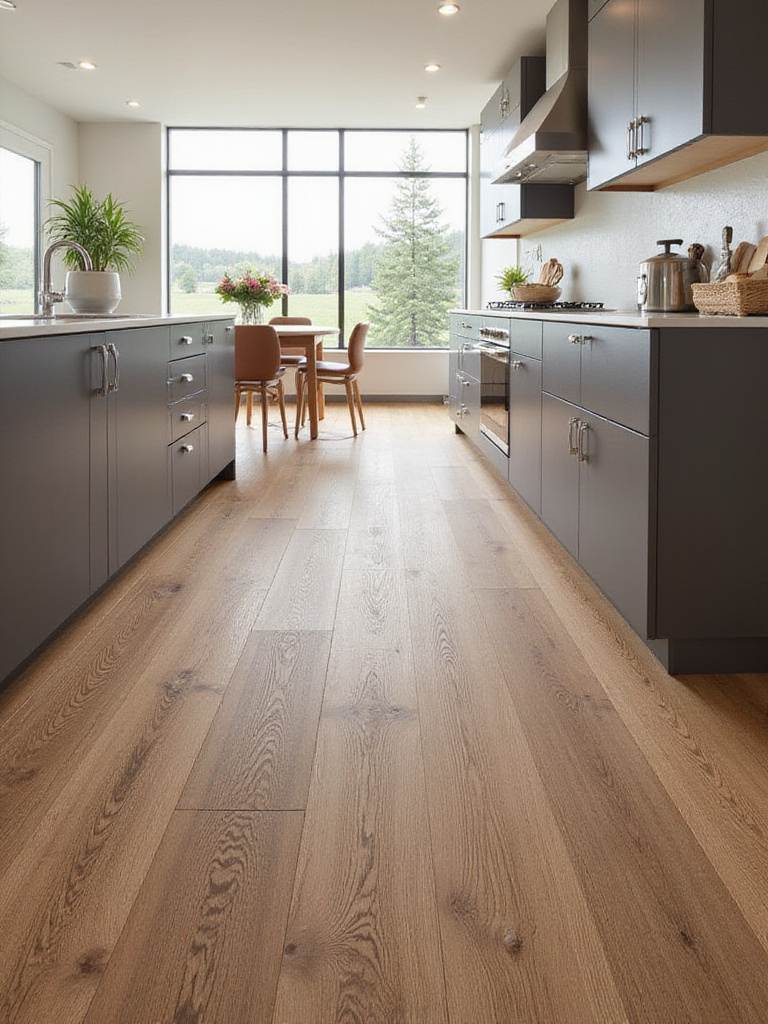
5. Get the Wood Look Without the Wood Worries
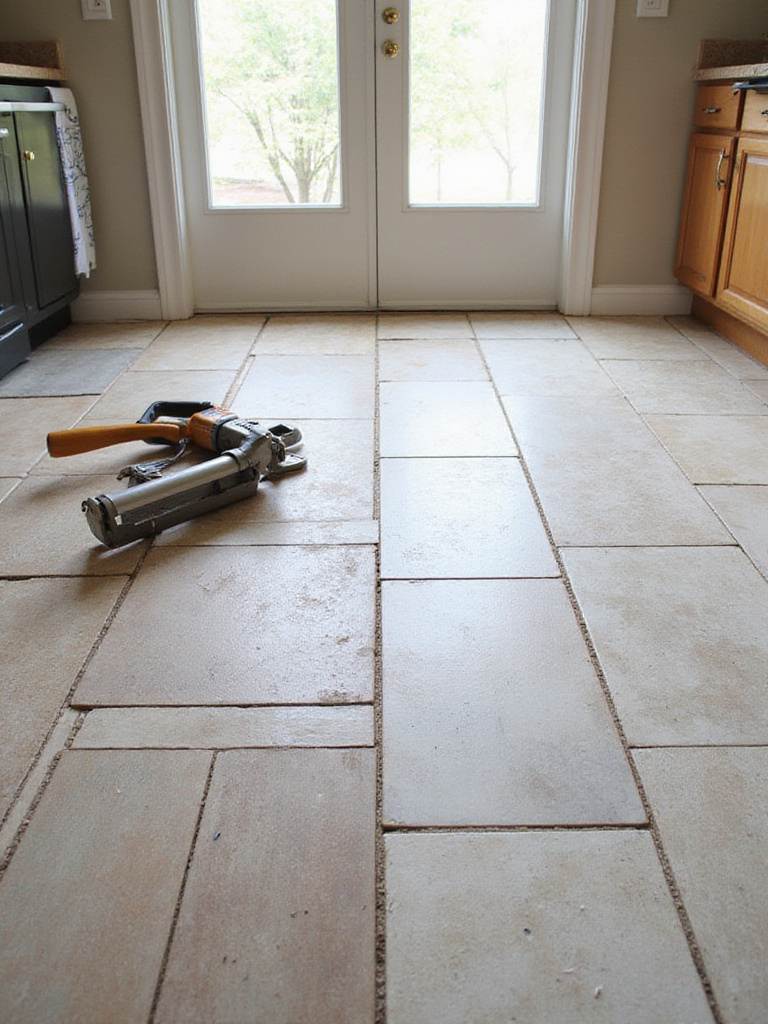
Everyone loves the warmth of a wood floor. It’s organic, soft, and feels like home. But in a kitchen? It’s a high-stakes gamble. Water damage from a dishwasher leak, scratches from… well, everything, and the need to eventually refinish the whole thing make it a tough choice for a high-traffic, creative space. This is where wood-look porcelain planks come in and honestly, they are a fantastic solution.

Thanks to incredible advances in digital printing, the best porcelain “wood” is almost impossible to distinguish from the real thing at a glance. They have realistic grain, knots, and color variation. I’ve used them in a client’s home with two huge, active dogs. After three years of claws, spills, and general chaos, that floor looks absolutely pristine, and they do nothing more than mop it. The trick is in the details.
- Go big: Choose longer plank formats, like 8×48 inches, for a more believable wood look.
- Mind the gap: Match your grout color to the darkest tones in the tile. This makes the grout lines visually disappear, enhancing the illusion of real wood planks.
- Stay level: Large format tiles require a perfectly level subfloor and a tile leveling system during installation to avoid “lippage”—where one tile edge is higher than its neighbor.
This way, you get the aesthetic you love with the bulletproof durability your creative life demands.
6. The Quiet Rebels: Cork and Linoleum’s Eco-Comfort
There’s a whole world beyond the usual suspects. I’m talking about materials like cork and linoleum, which put human comfort and sustainability first. These are what we call “resilient” floors, and they offer a fundamentally different experience. Standing on a cork floor provides a distinct cushion that can reduce joint fatigue by a noticeable amount. If your kitchen doubles as your studio where you’re on your feet all day, this is a very big deal.
These materials feel warmer to the touch because they have better thermal properties than tile. They’re also fantastic sound absorbers, muffling the noise of dropped items and creating a quieter, calmer space overall. I had clients in an open-plan loft who chose cork specifically for this reason; it dramatically cut down on the echo and clatter that bounced around their large space.
- Know your material: Cork is great but needs to be sealed well in a kitchen. True linoleum (made from linseed oil) is incredibly durable and naturally antimicrobial.
- Check the subfloor: Moisture is the enemy here. Your subfloor must be dry (below 12% moisture content) before you install.
- Plan for care: These aren’t maintenance-free. Cork needs periodic resealing, and linoleum benefits from occasional waxing to maintain its luster.
Choosing cork or linoleum is a bit of a statement. It says you prioritize a floor’s feel and environmental story just as much as its look.
7. It’s Not Just Traffic, It’s Your Traffic
Thinking about “durability” isn’t a one-size-fits-all thing. You have to get really honest about how you use your kitchen. Is it just you making pour-over coffee in the morning, or is it the central hub for family, pets, and messy art projects? A floor’s durability needs to match its real-world job.
This is where the PEI (Porcelain Enamel Institute) rating comes in. It’s a 1-to-5 scale measuring a tile’s glaze resistance to abrasion. For a home, you might see ratings from II to V. For any kitchen that sees real action—especially one that’s part of a creative workspace—I wouldn’t even consider anything less than a PEI IV. A client of mine once chose a beautiful PEI III tile against my advice because they loved the color. Within a few years, they had noticeable wear patterns in front of the sink and stove—the “pivot points” where they spent the most time. They ended up replacing it with a PEI V porcelain that has stood up beautifully.
- Be honest: How much do you really use your kitchen? Is there a 90-pound dog involved? Acknowledge your reality.
- Look for: PEI ratings of IV or V for any truly active kitchen.
- For scratches: Think about the MOHS hardness scale (1-10). A rating of 7 or higher will give you good protection from most everyday hazards.
Matching the tile’s specs to your life profile is one of those behind-the-scenes decisions that makes all the difference in the long run.
8. The First Rule of Kitchen Floors: Respect the Water
Water is the enemy of a house’s structure. In a kitchen, you have it all: spills, splatters, humidity from cooking, and the ever-present threat of a leaky dishwasher or fridge line. Your floor’s water resistance is your first line of defense against subfloor damage and mold.
Porcelain is king here, with a water absorption rate of less than 0.5%, making it virtually waterproof. But the tile itself is only half the story. The grout you choose is just as important. For years, people have used cement-based grout, which is porous and needs to be sealed. Honestly, I almost exclusively specify epoxy or urethane grout for kitchens now. It’s non-porous, waterproof, and stain-proof. It costs more upfront, but it creates a bulletproof seal that eliminates the headache of scrubbing stained grout lines forever.
- Confirm: Your tile choice has a water absorption rate of <0.5% (the “impervious” classification).
- Insist on: Epoxy or urethane grout. It’s a non-negotiable for a truly waterproof and low-maintenance kitchen floor.
- Go the extra mile: In high-risk areas (like around the dishwasher), consider having a waterproof membrane installed under the tile.
I had a client in Seattle whose dishwasher hose failed overnight. Because they had a porcelain floor with epoxy grout, the water just sat on the surface. What could have been a $10,000 structural repair ended up being a cleanup job with a mop. That’s peace of mind.
9. Design Your Life to Be Easier: The Low-Maintenance Choice
Let’s face it: you’d rather be making art than scrubbing your kitchen floor. Choosing the right surfaces can dramatically cut down on cleaning time. This is less about being lazy and more about being smart with your time and energy.
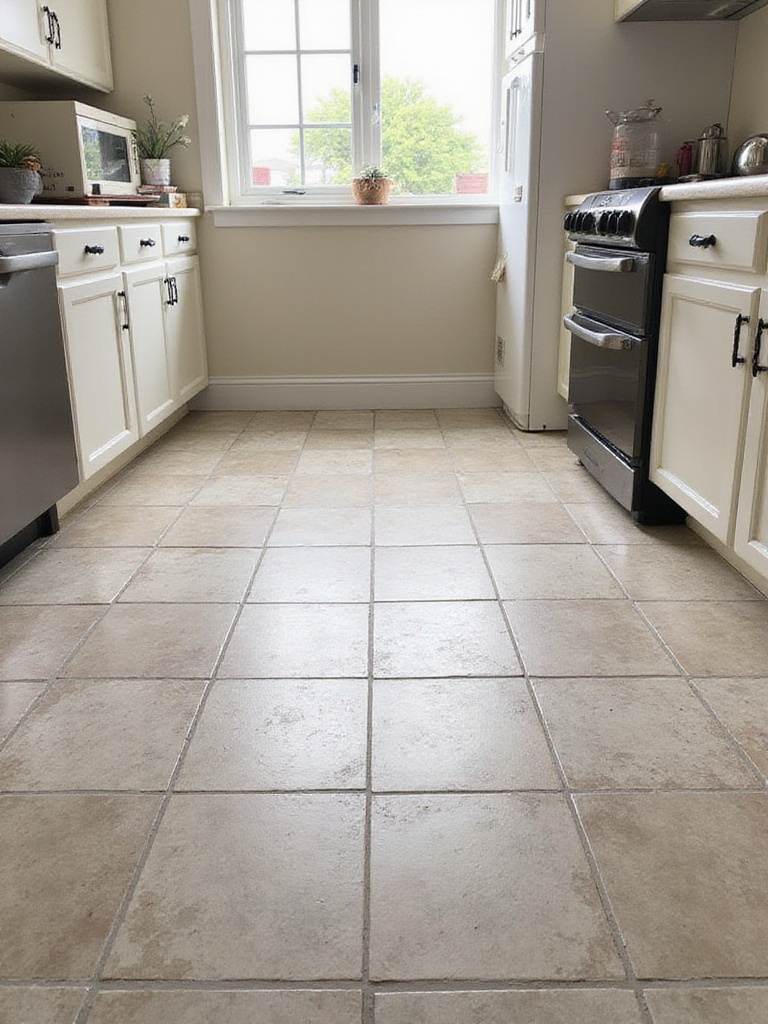
One of the biggest lessons I’ve learned is that high-gloss, super-smooth floors are a maintenance nightmare. They show every drop of water, every footprint, and every tiny scratch. A matte or lightly textured finish, on the other hand, is incredibly forgiving. It hides minor dust and smudges, so your floor doesn’t look dirty five minutes after you’ve cleaned it. Also, think about tile size. Larger tiles mean fewer grout lines to clean. It’s that simple.
- Choose finishes wisely: Matte or lightly textured finishes hide way more than glossy ones.
- Again, grout matters: Epoxy grout resists stains from coffee, wine, and oil, wiping clean easily.
- Bigger can be better: Large format tiles = less grout to scrub.
A family I worked with—three kids, a dog, the whole nine yards—went with a large-format matte porcelain and a dark epoxy grout. They told me it was life-changing. They went from feeling like they had to mop daily to a quick sweep and a twice-weekly clean, all while the floor looked consistently great.
10. Stay on Your Feet: How to Plan for Slip Resistance
A kitchen is a minefield of potential slips. Water, oil, a stray piece of lettuce—it doesn’t take much. Planning for safety means paying attention to a tile’s slip resistance, and thankfully, there’s a number for that.
It’s called the DCOF, or Dynamic Coefficient of Friction. The Tile Council of North America recommends a DCOF rating of 0.42 or higher for any level interior space that might get wet. That’s your baseline for a kitchen. Generally, finishes that are textured, matte, or unglazed will have better grip than polished ones. But there’s a balance. Too much texture can trap dirt and be a pain to clean.
- Find the number: Look for a DCOF rating of 0.42 or higher on the tile’s spec sheet.
- Balance safety and cleaning: A slightly textured surface offers good grip without creating a dirt-trap.
- Don’t forget size: Smaller tiles mean more grout lines, which can actually increase the overall traction of the floor.
I had clients with an elderly parent living with them who replaced a polished floor after a few scary slips. They chose a matte porcelain tile with a DCOF of 0.50. The peace of mind that came with that decision was immediate and palpable.
11. Finding Real Value: Thinking Beyond the Price Tag
Smart budgeting for a floor isn’t about finding the cheapest tile per square foot. It’s about understanding the total cost of ownership. That includes the installation, the stuff you need to maintain it, and how long it’s going to last. Sometimes, paying a bit more upfront saves you a fortune down the road.
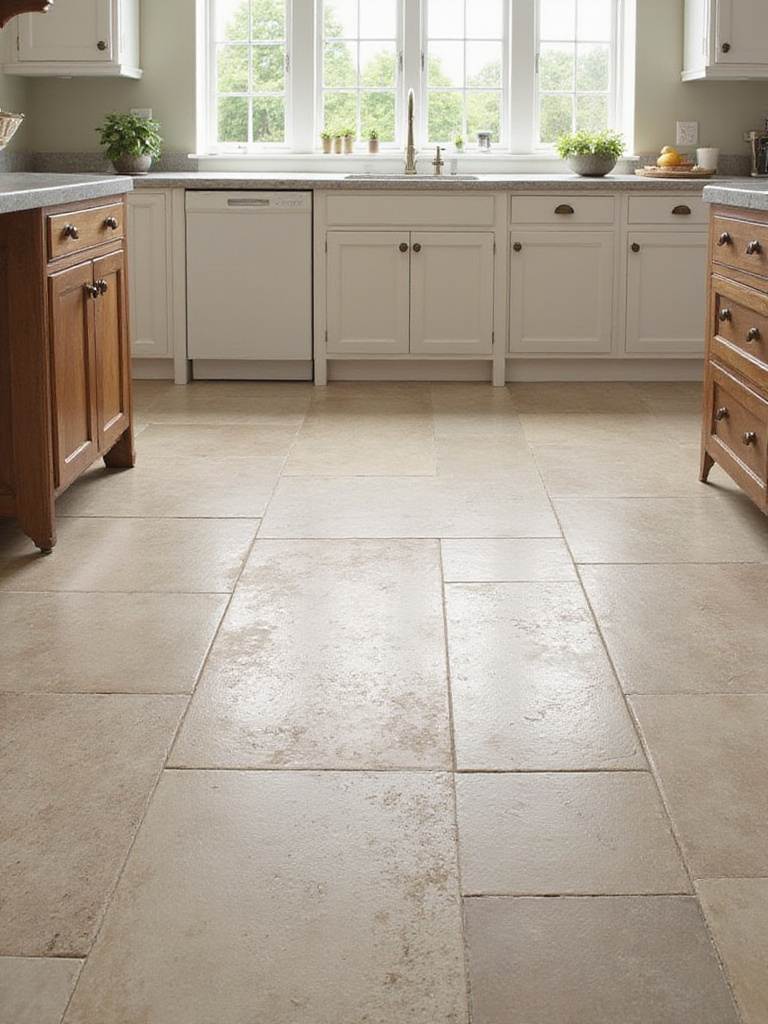
For instance, a big, heavy natural stone tile might be priced reasonably, but the professional labor to install it correctly will be high. A less expensive ceramic tile might be a DIY possibility, saving you all that labor cost. The key is to calculate the entire project cost, not just one line item. I had a couple who dreamed of a travertine kitchen but had a firm $1,500 budget. We hunted down a gorgeous, high-quality porcelain that looked just like travertine at an outlet for $3.50/sq. ft. They got the look they wanted, stayed on budget, and ended up with a floor that’s way more durable and stain-resistant than the real stone would have been.
- Think total project: Add up tile, mortar, grout, tools, and labor.
- Consider complexity: Tricky materials like natural stone or complex patterns cost more to install.
- Factor in the future: What will it cost to maintain this floor for the next 10 years?
True value lies in finding that sweet spot of price, aesthetics, durability, and maintenance that works for your life.
12. The Secret Luxury: The Magic of Heated Floors
Let me tell you, there are few things more luxurious than walking onto a gently warmed kitchen floor on a cold morning. Underfloor heating completely changes how a tile floor feels. It takes away that cold, hard shock and replaces it with a consistent, radiant warmth. It’s not just for fancy spas; it’s a surprisingly practical upgrade for a space where you spend so much time.
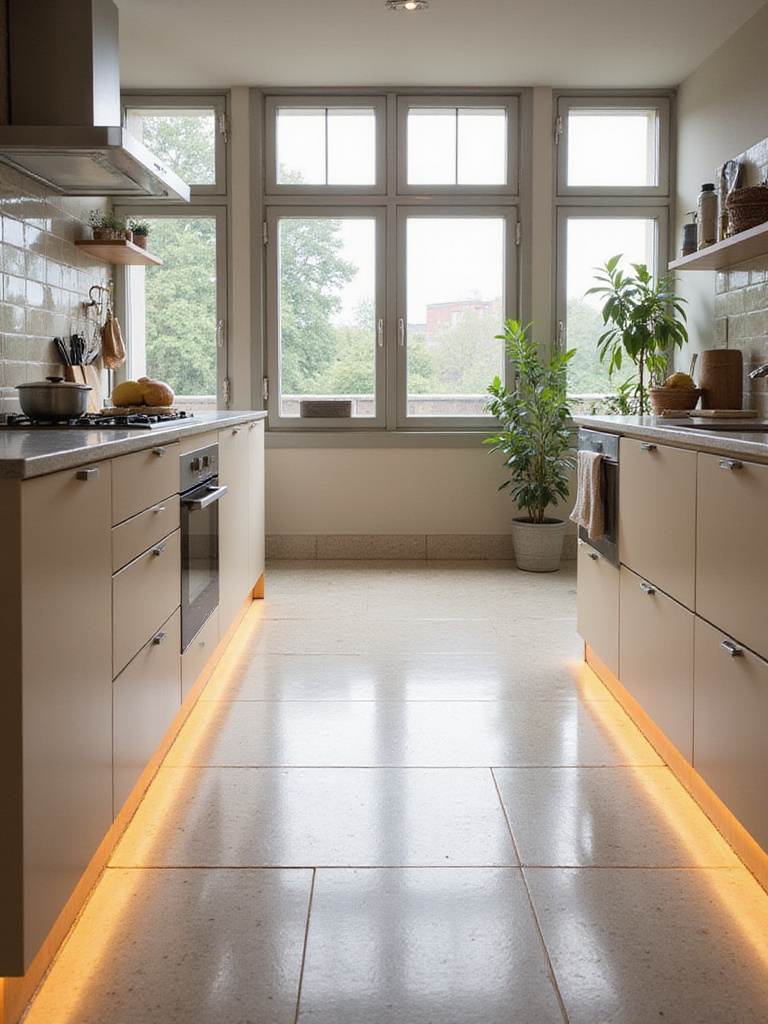
These systems are also incredibly efficient, often allowing you to lower your main thermostat because they heat the room from the ground up. They work beautifully with porcelain and ceramic tiles, which are great at conducting and holding heat. The installation has to be done right, though. This means using proper insulation underneath to direct the heat upward and the right flexible adhesives that can handle the expansion and contraction from the temperature changes.
- Check compatibility: Ensure the tiles you choose are rated for use with radiant heating.
- Use the right stuff: Flexible, polymer-modified adhesives are a must.
- Start slow: When you first turn the system on, you have to bring the temperature up gradually to prevent cracking the tile or grout from thermal shock.
A client in Minnesota who put heated floors in her kitchen studio told me it was the single best decision she made in her entire renovation. It made the space more comfortable to work in all winter long.
13. Don’t Overlook the Grout: It’s More Than Just Filler
Grout is the unsung hero (or villain) of every tile job. It feels like a minor detail, but your grout choice dramatically affects the final look, the perceived size of your room, and how much time you’ll spend cleaning. Think of it as the frame for your tiled artwork.
Want to make a small kitchen feel bigger? Use a grout color that perfectly matches your tile. The seamless look tricks the eye and makes the floor feel more expansive. Want to make a statement with a classic subway or hex tile? A contrasting grout color will make the pattern pop. Beyond color, the material itself is key. As I’ve said before, I’m an epoxy grout evangelist. It resists stains and doesn’t need sealing, which makes it perfect for a messy kitchen.
- Test your colors: Always check a grout sample against your tile in your kitchen’s light.
- Think about function: For a kitchen, spring for epoxy or urethane grout. You won’t regret it.
- Width matters: Skinny 1/16-inch grout lines give a sharp, modern look but require perfectly straight, “rectified” tiles. Wider lines can be more forgiving and suit a more rustic or handmade tile.
In a tiny modern apartment kitchen, we once used huge 24×48-inch white tiles with a perfectly matched white epoxy grout. The almost invisible grout lines made the floor look like a single, solid surface, and the kitchen felt twice as big.
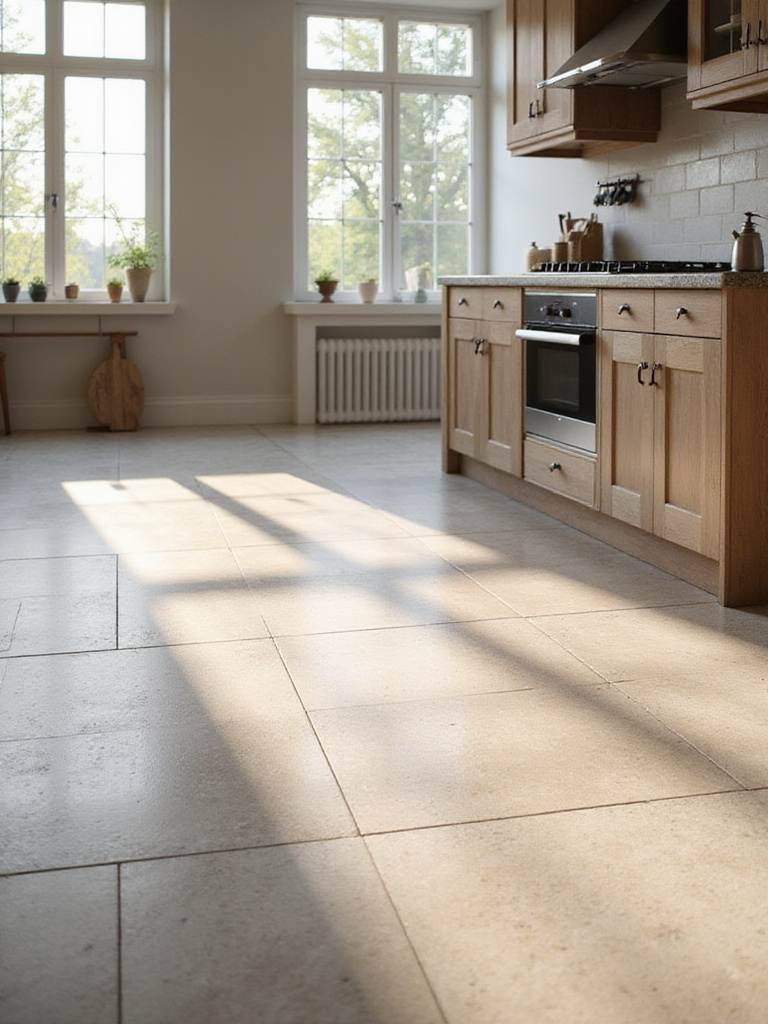
14. Be a Magician: Shape Your Space with Tile Size and Pattern
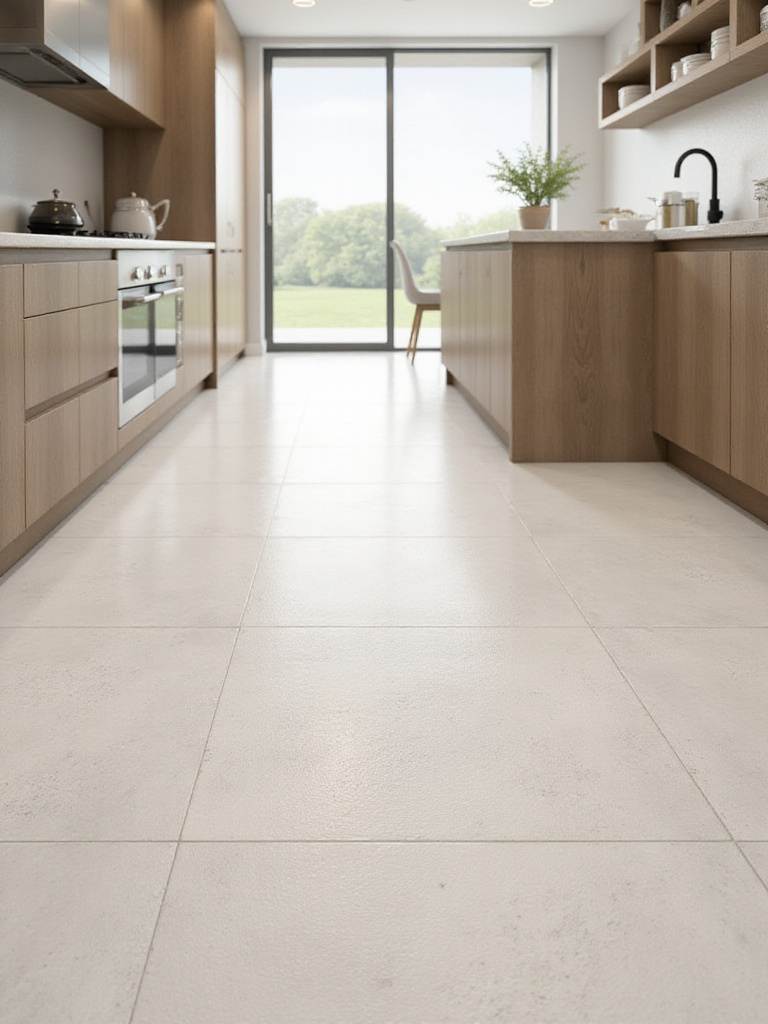
Tile is a powerful tool for visual magic. You can use it to completely change the perceived shape and size of your kitchen without moving a single wall. The number one trick in the book? Large format tiles. Using big tiles (like 24×24 or 12×24 inches) with thin, matched grout lines reduces the visual clutter of a grid. This creates a more continuous surface that makes any room, especially a small one, feel more open and spacious.

The direction you lay your tiles also has a huge impact. Laying rectangular tiles or planks diagonally will draw the eye along the longest line in the room, making a narrow galley kitchen feel wider and deeper. A classic straight-lay pattern is clean and contemporary. A herringbone or basketweave, on the other hand, introduces texture and a sense of movement, which can be great for adding character to a larger, simpler space.
- To expand: Use large tiles with minimal, color-matched grout.
- To add depth: Try a diagonal layout, especially in narrow rooms.
- To add character: Explore patterns like herringbone, but be mindful—complex patterns can feel busy in very small spaces.
I watched a cramped 90-square-foot galley kitchen transform by laying large 24×48-inch gray tiles in a simple straight pattern. It created an uninterrupted plane that just flowed, making the kitchen feel integrated with the living space instead of being a tiny, walled-off zone.
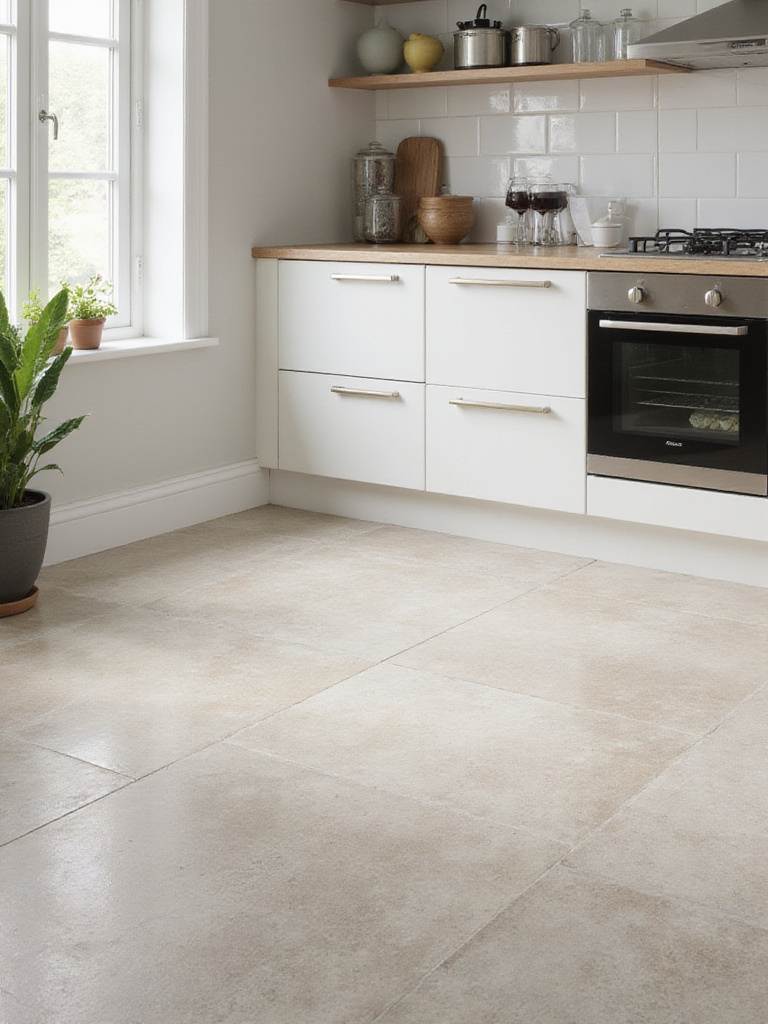
15. The Feel of a Room: Setting the Mood with Color
Color isn’t just decoration; it’s a psychological tool. The color of your floor has a very real impact on how your kitchen feels and functions every single day. Light-colored floors bounce light around, which can make a space feel brighter and bigger. Dark floors, on the other hand, absorb light, creating a feeling of intimacy and drama, but they can also make a small kitchen feel a bit claustrophobic.
What really matters is how the floor color plays with your cabinets, counters, and walls. Cool colors like light grays and pale blues can feel clean, crisp, and energetic—perfect for a bright morning workspace. Warm tones like beiges and earthy terracottas create a cozier, more grounded atmosphere that encourages people to gather. And don’t forget that finish matters. A glossy finish will reflect light and make colors seem more vibrant, while a matte finish softens everything.
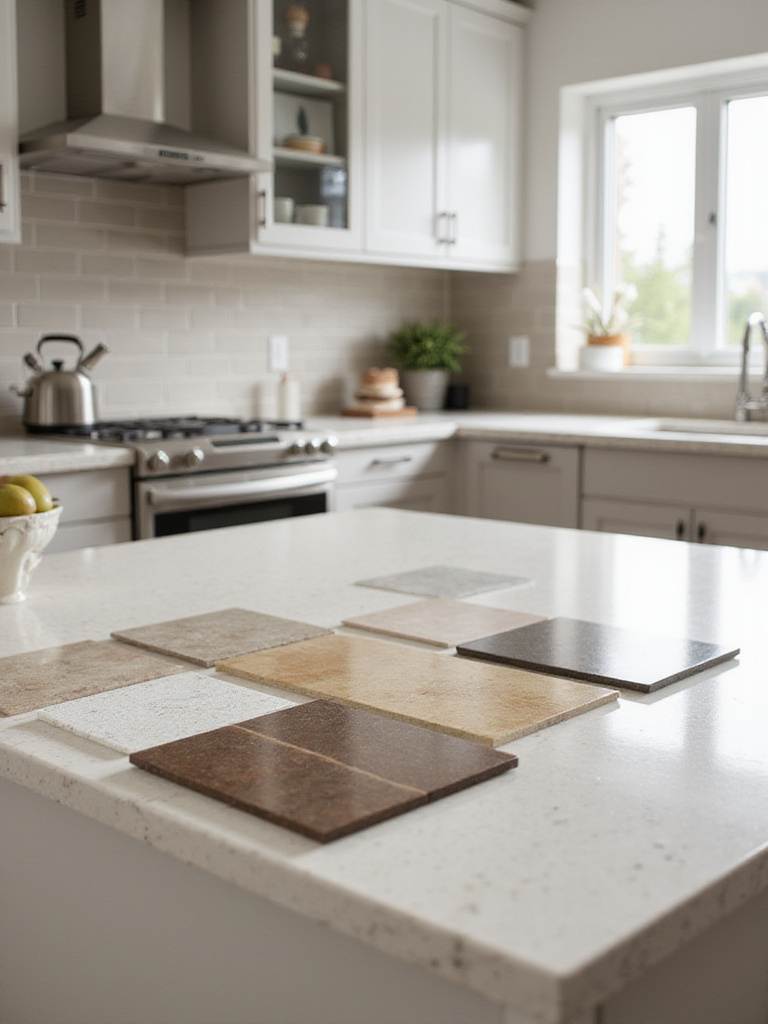
- Test, test, test: Get big samples and look at them in your kitchen at different times of the day.
- Be practical: Remember that very dark and very light solid-colored floors tend to show every crumb and piece of lint. A color with some variation or pattern is more forgiving.
- Create balance: A good rule of thumb is to create contrast. If you have dark cabinets, a lighter floor can keep the room from feeling heavy, and vice-versa.
One of the most dramatic transformations I’ve ever seen was in a small, windowless city kitchen. We used large-format, high-gloss white tiles. The floor essentially became a fifth wall, bouncing the artificial light everywhere and making the tiny 80-square-foot room feel unbelievably bright and inviting.
16. The Big Question: Should You DIY or Hire a Pro?
Deciding whether to tile your kitchen yourself or call in a professional is a classic battle of money versus time and quality. Doing it yourself can slash the project cost by 50% or more, which is huge. But you have to be brutally honest with yourself about your skills, the time you can realistically commit, and whether you have the patience for a meticulous, physically demanding job.
What many first-time DIYers don’t realize is that the most critical part of a tile job is the prep work. A professional will spend hours making sure the subfloor is perfectly clean, flat, and stable. If you skip this, you’ll end up with cracked grout, uneven tiles, and hollow spots. These are mistakes that are often impossible to fix without tearing everything out and starting over.
- Do an honest self-assessment: Are you patient? Meticulous? Do you have a free weekend, or three?
- Factor in tools: The cost of a good wet saw, trowels, and a level can add up. Don’t forget to include this in your DIY budget.
- Consider the warranty: A professional installation comes with a guarantee. If a tile comes loose in a year, they’ll fix it. If your DIY job fails, you’re on your own.
I have a handy friend who successfully tiled his own kitchen over three long weekends. He was incredibly proud of the work and saved a couple of thousand dollars. But he also admits it was way more stressful and took twice as long as he’d planned. It’s a trade-off.
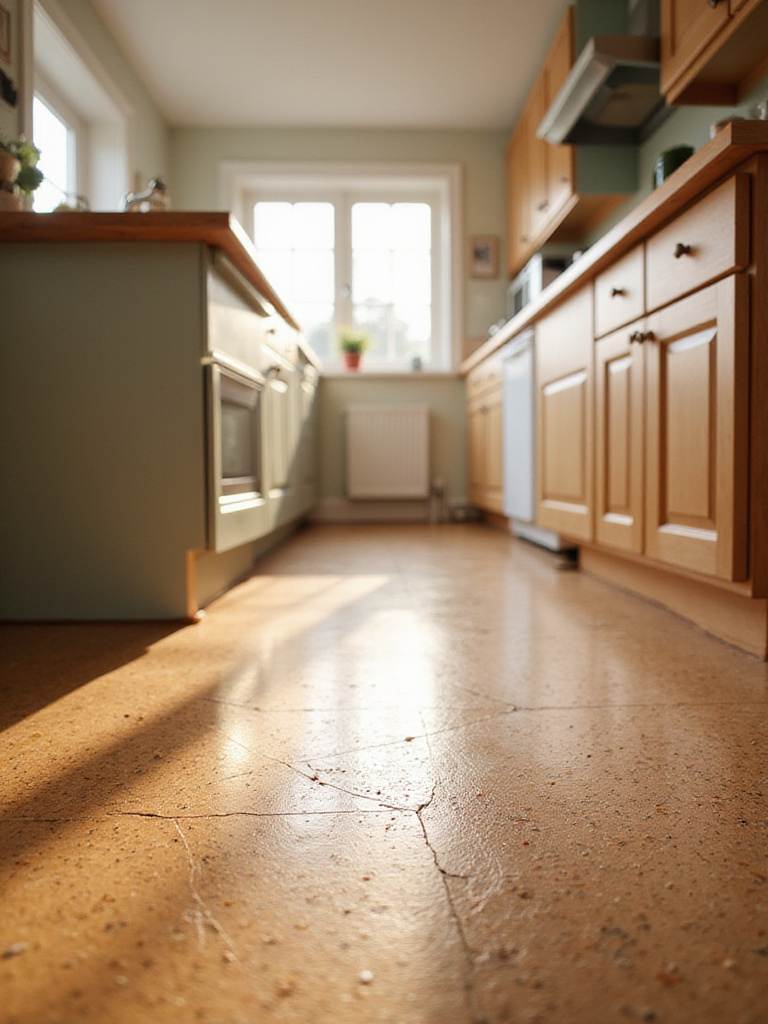
17. First Aid for Your Floor: Dealing with Damage Quickly
Life happens. You drop a cast iron pan, and a tile cracks. It’s tempting to ignore it, but a small crack is an open door for moisture to seep into your subfloor, leading to much bigger, more expensive problems down the line. A single loose tile can be a trip hazard. Acting fast can turn a minor annoyance into a non-event.
This is why it’s absolutely crucial to do one thing: keep a box of spare tiles from your original installation. Dye lots change, and that exact tile might be impossible to find two years from now. With spare tiles and some leftover grout, you can fix most problems perfectly. Small chips can often be filled with a color-matched epoxy kit. A cracked or loose tile needs to be carefully removed and replaced with a new one.
- Always: Keep at least a half-dozen spare tiles and a small bag of the original grout.
- Act fast: Seal any crack or chip immediately to prevent water damage.
- Use the right tools: Repair kits and tile-specific epoxies are designed for permanent fixes.
One of my clients noticed a hairline crack by their sink. They used a $25 tile repair kit to seal it that afternoon. That 30-minute fix likely prevented thousands of dollars in subfloor and mold remediation.
18. Your Blueprint for Success: The Power of a Good Plan
A beautiful, long-lasting tile floor doesn’t happen by accident. It’s the result of great planning. Taking the time to think through every step before you even buy the first tile is the single best way to stay on budget, on schedule, and end up with a floor you truly love. Hasty decisions almost always lead to compromises or costly mistakes.
A good plan covers everything: accurate measurements (measure three times!), a realistic budget that includes a 10-15% contingency for surprises, and thorough material research. But the most important part? Planning for the subfloor preparation. Is it level? Is it structurally sound? Answering these questions before you start is more critical than picking the tile itself. One pro tip I always share is to do a “dry lay”—lay out your tiles on the floor without any adhesive. This lets you see the pattern, spot any potential issues with alignment, and make sure you’re happy before anything becomes permanent.
- Create a real timeline: Break the project into steps and give each one a realistic timeframe.
- Budget for everything: Don’t forget sales tax, delivery fees, and that 15% “oops” fund.
- Dry lay first: Laying out the tiles before you mix the mortar is the ultimate “measure twice, cut once” move.
It’s this thoughtful, unglamorous prep work—the planning—that separates a decent DIY job from a professional-looking result that will last for decades.
A Floor That Works for You
Choosing a kitchen floor is about so much more than picking a pretty color. It’s about understanding how a material will stand up to your creative, and sometimes chaotic, life. We’ve talked about the rock-solid reliability of porcelain, the cozy comfort of cork, the timeless soul of natural stone, and all the crucial details in between.
The most successful floors are always the ones where the material is perfectly matched to the life being lived on top of it. It’s a floor that balances your aesthetic desires with your practical, everyday needs. Whether you crave the seamless look of huge tiles or the forgiving nature of wood-look planks, success lies in making an informed choice.
Your kitchen floor is a major investment in your home and in your daily happiness. Take the time, get the samples, talk to the pros if you need to, and trust in a good plan. You’re more than ready to create a foundation that’s worthy of all the art, meals, and memories you’ll make in your kitchen.


