Hey there, porch lovers! Ava Sinclair-Patel here, ready to jazz up your outdoor space with some killer porch painting tips. You know, porches are like the opening act of your home’s grand performance – they set the tone, create the mood, and get everyone excited about what’s inside. So why not make sure yours is hitting all the right notes?
Whether you’re looking to give your porch a subtle facelift or go for a bold, show-stopping transformation, I’ve got you covered. We’ll walk through everything from prep work to the final encore, ensuring your porch paint job is as harmonious as a perfectly crafted country ballad. And if you’re itching for some inspiration before we dive in, check out these easy porch painting ideas to get those creative juices flowing!
So grab your paintbrush (or should I say, your musical instrument of choice?), and let’s compose a porch masterpiece that’ll have your neighbors singing your praises!

Key Takeaways
- Prep like a pro: Clean, repair, and prime your porch for a paint job that’ll last longer than a classic vinyl record.
- Choose your instruments wisely: Pick high-quality, weather-resistant paints and tools for a performance that can withstand any weather.
- Master the techniques: Apply thin coats, use the right brushstrokes, and don’t rush the drying process – it’s all about patience and precision.
- Post-show care: Maintain your porch like you would your favorite guitar – regular cleaning and touch-ups will keep it looking (and sounding) great.
- Weather watch: Keep an eye on the forecast to ensure your paint job doesn’t get rained out or baked by extreme heat.
Setting the Stage: Preparing Your Porch
Before we jump into the main act of painting, we need to set the stage. Think of this as soundcheck – it might not be the most exciting part, but it’s crucial for a flawless performance.

Clean Like You’re Prepping for a Vinyl Recording
First things first, we need to get your porch squeaky clean. Dirt and grime are like static on a record – they’ll interfere with the smooth sound (or in this case, look) of your final product. Here’s how to get your porch ready for its close-up:
- Start with a good sweep or vacuum to get rid of loose debris. It’s like clearing the stage before the show.
- For a deeper clean, break out the pressure washer or garden hose. Think of it as giving your porch a spa day – it deserves some pampering!
- Let it dry completely. Patience is key here, folks. A wet porch and paint mix about as well as country and heavy metal.
Repair Any Sour Notes
Next up, we’re going to play doctor and fix any damages. Look for cracks, holes, or loose boards – these are the sour notes in your porch’s melody. Here’s how to get everything back in tune:
- Use wood filler or patching compound for small repairs. It’s like auto-tune for your porch!
- Sand down any repaired areas until they’re smooth. We want your porch to be as sleek as a well-polished guitar.
Check the Weather Forecast
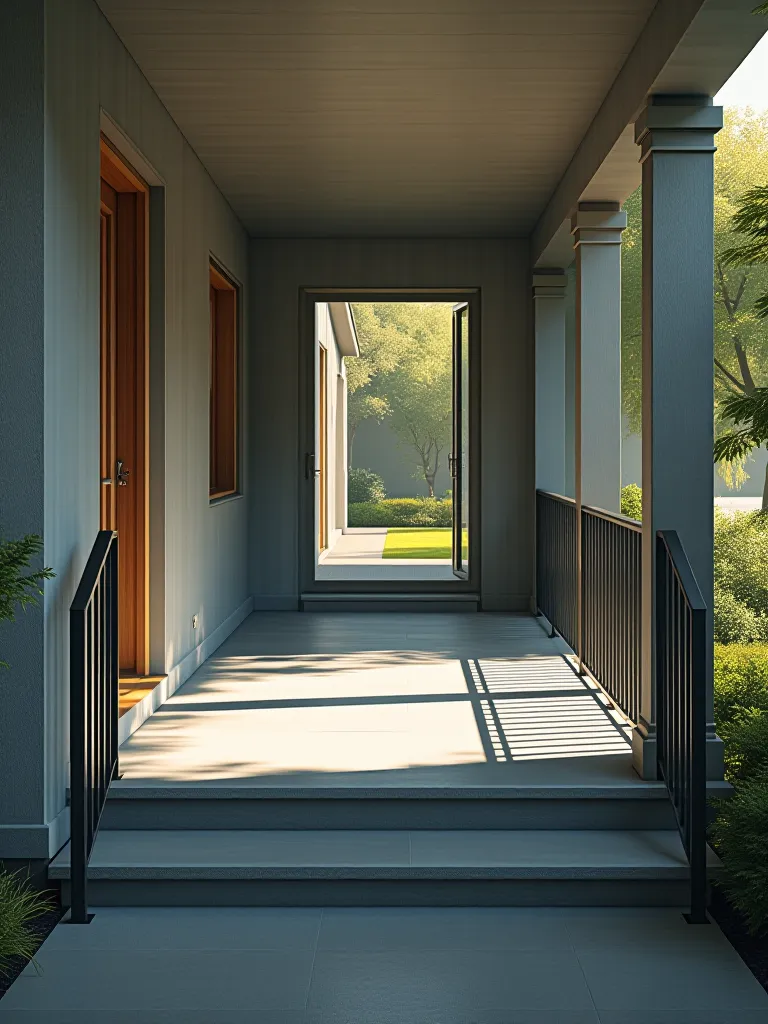
Last but not least, keep an eye on the weather. Painting your porch on a rainy day is like trying to play an outdoor concert in a thunderstorm – it’s just not going to work out. Here are some porch painting tips to keep in mind:
- Aim for a day with mild temperatures. Too hot or too cold can mess with your paint’s groove.
- Avoid high humidity – it can make your paint take forever to dry.
- Steer clear of windy days unless you want leaves and debris to become part of your porch’s new look.
Remember, good preparation is half the battle. Get this part right, and you’re well on your way to a porch that’ll be the envy of the neighborhood!
Choosing Your Instruments: The Right Materials
Now that we’ve got our stage prepped, it’s time to choose our instruments. In the world of porch painting, this means selecting the right paint and tools. Trust me, using the wrong materials is like trying to play a rock anthem on a ukulele – it just doesn’t work!
Select a Paint That Can Handle the Spotlight
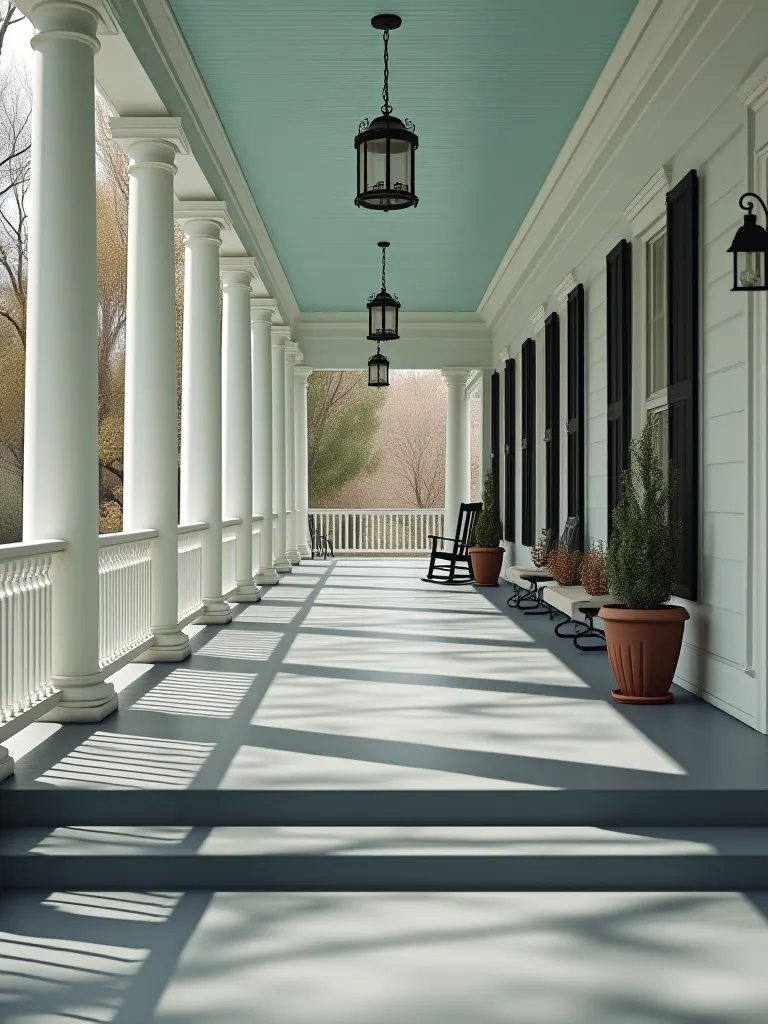
When it comes to porch painting tips, choosing the right paint is crucial. You need something that can stand up to the elements and still look fabulous. Here’s what to look for:
- Go for weather-resistant porch paint designed specifically for outdoor use. It’s like choosing an all-weather guitar that can handle any gig.
- Consider adding anti-slip additives to your paint. Safety first, rockstars!
- Opt for UV-resistant paint to keep your colors from fading faster than last year’s pop hit.
Pick Tools That’ll Hit All the Right Notes
Now, let’s talk about your backup band – your painting tools. Quality matters here, folks. Here’s what you need:
- High-quality brushes or rollers for smooth application. Cheap tools will leave you with a patchy finish – not cool.
- A paint tray with a grid. It’s like a mixer for your paint, helping you get just the right amount.
- An extension pole can be a lifesaver for reaching high notes… I mean, spots.
Use a Primer That Sets the Tone
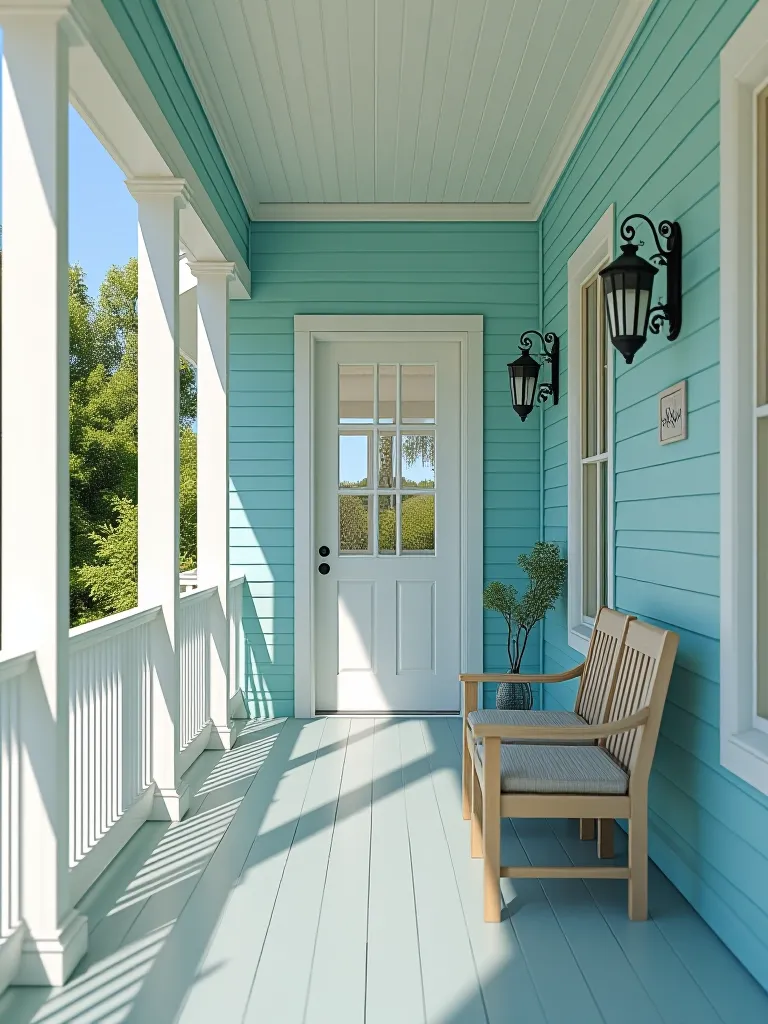
Think of Primer as the opening act – it sets the tone for the whole show. Here’s why it’s important:
- A good primer enhances paint adhesion, making your paint job last longer.
- Choose a primer that plays well with your chosen paint. They need to harmonize!
- Make sure the primer is fully dry before you start painting. Rushing this step is like skipping rehearsal – it’ll show in the final performance.
Remember, the right materials can make or break your porch painting project. Choose wisely, and you’ll be set for a show-stopping finish!
Mastering the Techniques: Painting Like a Pro
Alright, music lovers, it’s showtime! Now that we’ve got our stage set and our instruments ready, it’s time to start painting. But before you start slapping on paint like you’re playing a drum solo, let’s talk technique. These porch painting tips will help you achieve a finish smoother than your favorite vinyl record.
Avoid Drips and Marks: The Art of the Smooth Stroke
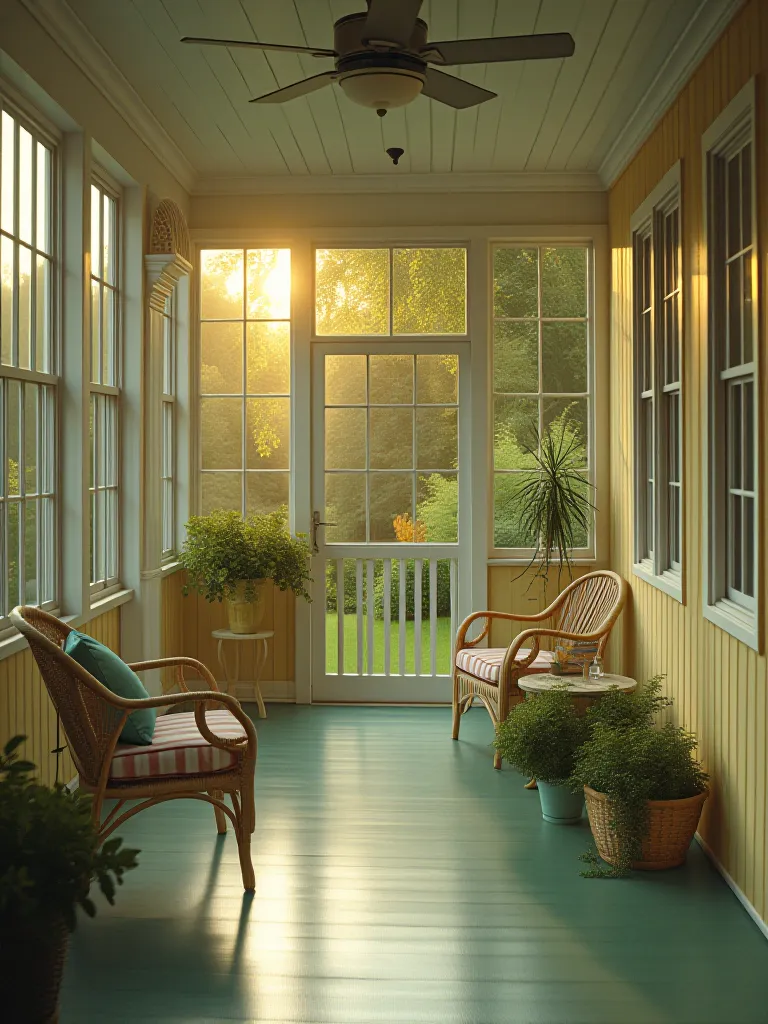
Nobody wants a drippy, messy paint job. It’s like hitting the wrong note in the middle of a ballad – it just ruins the mood. Here’s how to keep things smooth:
- Start from the top and work your way down. It’s like composing a song – you need a good intro before you get to the chorus.
- Use thin, even coats. Thick paint is like cranking the volume to 11 – it might seem like a good idea, but it usually ends in disaster.
- Wipe excess paint from your brush or roller before applying. Think of it as tuning your instrument before each song.
Ensure Even Coverage: Creating a Harmonious Look
Even coverage is key to a professional-looking paint job. It’s all about creating harmony across your porch. Here’s how:
- Overlap your strokes slightly. It’s like layering instruments in a track – each part should blend seamlessly with the next.
- Use a crosshatch pattern for the most even coverage. Think of it as creating a rhythm in your painting.
- Step back and look at your work from different angles. It’s like listening to your mix on different speakers – you want it to sound (or in this case, look) good from every perspective.
Apply Painter Tape: Creating Clean Lines
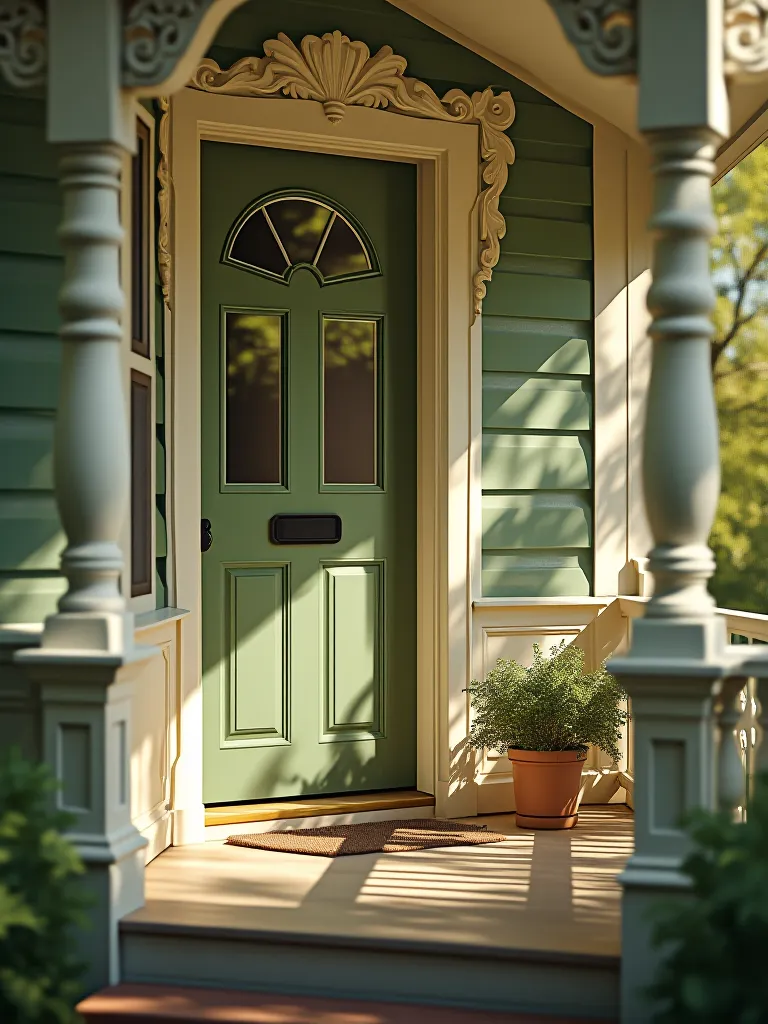
Painter tape is like the tempo in music – it keeps everything in line. Here’s how to use it effectively:
- Use tape to protect edges and areas you don’t want painted. It’s like setting boundaries in your musical arrangement.
- Press the tape down firmly to prevent paint bleeding. A clean edge is like a crisp note – it just sounds right.
- Remove the tape carefully after the paint dries. It’s the final reveal, like dropping the curtain on your performance.
Remember, painting your porch is an art form. Take your time, be patient, and soon you’ll have a masterpiece that’ll be music to your eyes!
The Encore: Post-Painting Care
Congratulations, you’ve just delivered a show-stopping performance with your porch painting! But just like a good musician doesn’t abandon their instrument after the gig, a savvy homeowner knows that post-painting care is crucial. Let’s talk about how to keep your porch looking as fresh as a new hit single.
Clean Your Tools: Preserving Your Instruments
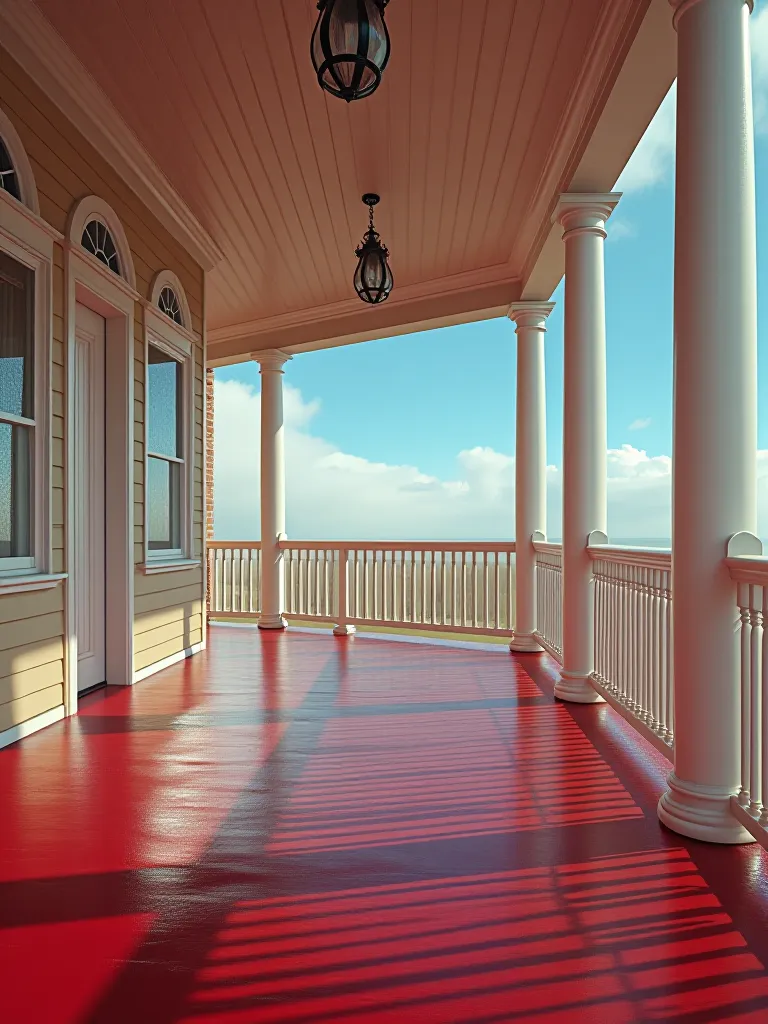
First things first, let’s take care of the tools that made this masterpiece possible:
- Rinse brushes and rollers immediately after use. Use water for latex paint, and solvent for oil-based. It’s like cleaning your guitar strings after a sweaty performance – it keeps them in top shape for the next gig.
- Store your tools in a dry place. Moisture is the enemy of paintbrushes, just like it is for wooden instruments.
- Dispose of used paint materials properly. We want to keep our environment as harmonious as our newly painted porch!
Maintain Your Painted Surface: Keeping the Hit Single Fresh
Now, let’s talk about maintaining that beautiful paint job:
- Regular sweeping is key. It’s like dusting your vinyl collection – it keeps everything looking pristine.
- Wash your porch with mild soap and water as needed. Think of it as giving your porch a spa day – it deserves some pampering!
- Touch up any chips or scratches promptly. It’s like fixing a scratch on a record – catch it early, and no one will ever know it was there.
- Consider reapplying a protective sealant every few years. It’s like remastering your favorite album – it keeps it sounding (and looking) great for years to come.
Handle Tacky Sealant Issues: Troubleshooting the Mix
Sometimes, even with the best porch painting tips, things don’t go exactly as planned. If your sealant is still tacky after application, don’t panic. Here’s what to do:
- Give it more time to dry. Sometimes the weather can affect drying time, like humidity slowing down a tempo.
- Use a fan or dehumidifier to speed up the process. It’s like using a little studio magic to get things just right.
- If all else fails, a light dusting of talcum powder can reduce stickiness. Think of it as adding a final touch to smooth out your track.
Remember, maintaining your porch is an ongoing process. But with these porch painting tips, you’ll keep your outdoor space looking like a chart-topping hit for years to come!
Closing Thoughts: Your Porch’s Grammy-Winning Performance
Well, folks, we’ve come to the end of our porch painting journey, and what a ride it’s been! We’ve covered everything from setting the stage with proper preparation to delivering a show-stopping performance with expert painting techniques. And let’s not forget the encore – those crucial post-painting care tips that’ll keep your porch looking fresh for seasons to come.

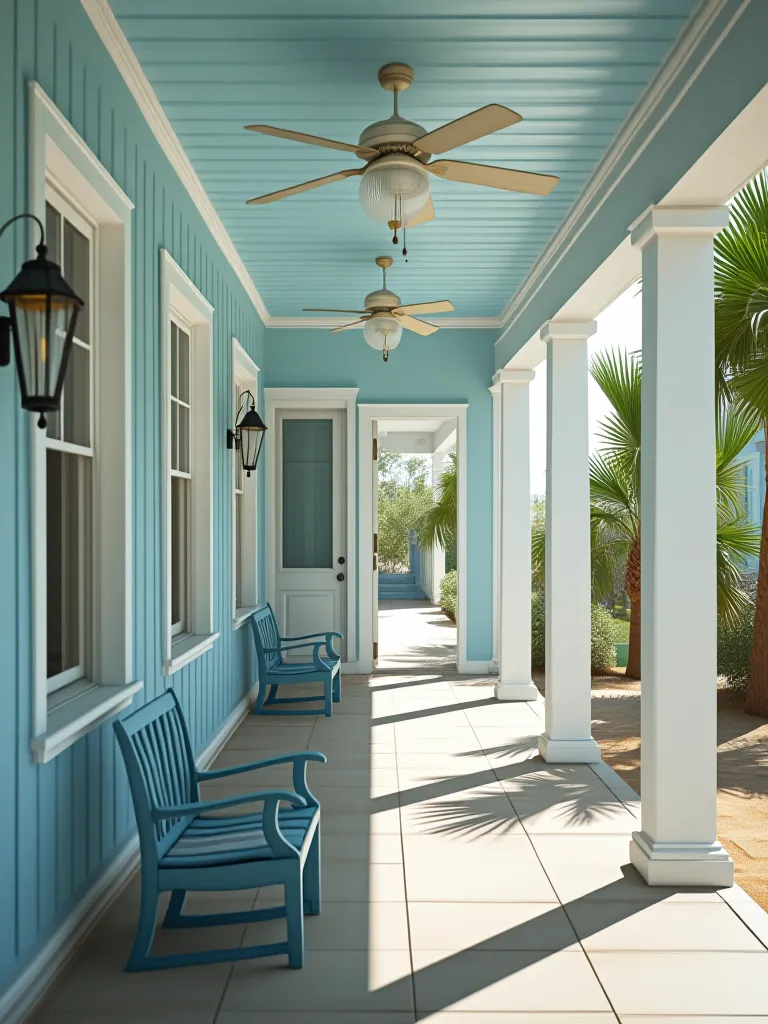
Remember, matching porch paint colors to your home is like finding the perfect harmony in a song – it ties everything together beautifully. So don’t be afraid to experiment and find that perfect shade that makes your home sing!
Now it’s your turn to take center stage. Armed with these porch painting tips, you’re ready to create an outdoor space that’s worthy of a standing ovation. So grab that paintbrush (your new favorite instrument), crank up the tunes, and let’s make some magic happen on that porch!
Your neighbors will be green with envy, your home will thank you, and you’ll have a gorgeous new outdoor space to enjoy. Now that’s what I call a win-win-win situation!
So what are you waiting for? It’s time to give your porch the rockstar treatment it deserves. Break a leg out there, and remember – in the world of home improvement, you’re the headlining act!

