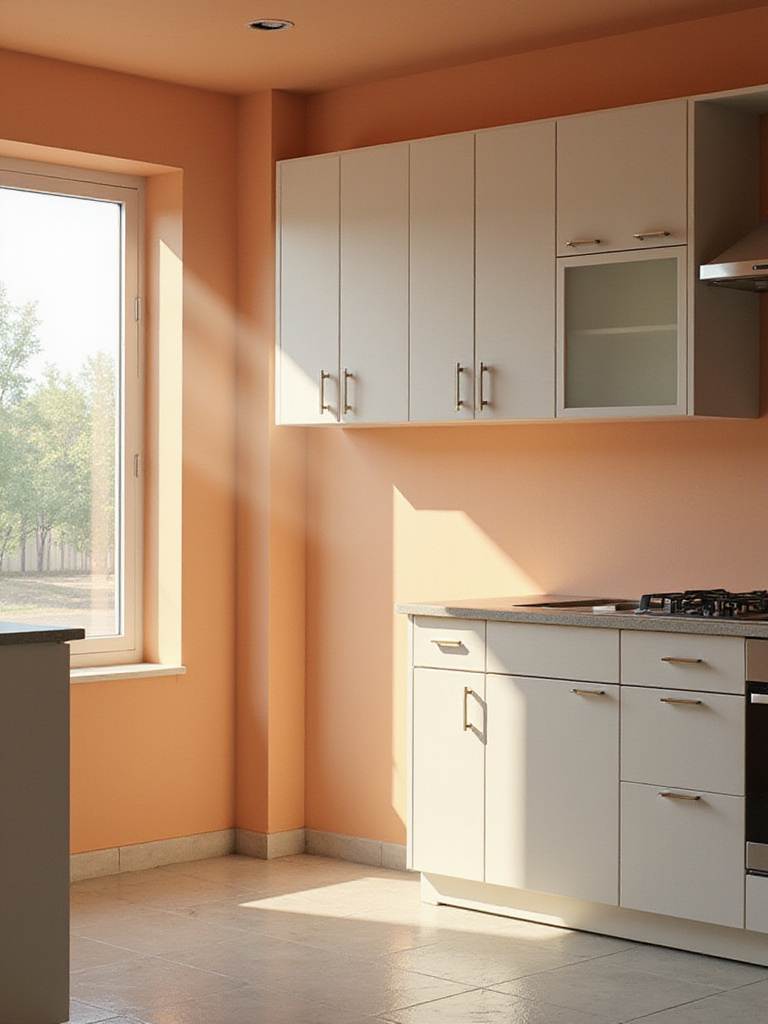
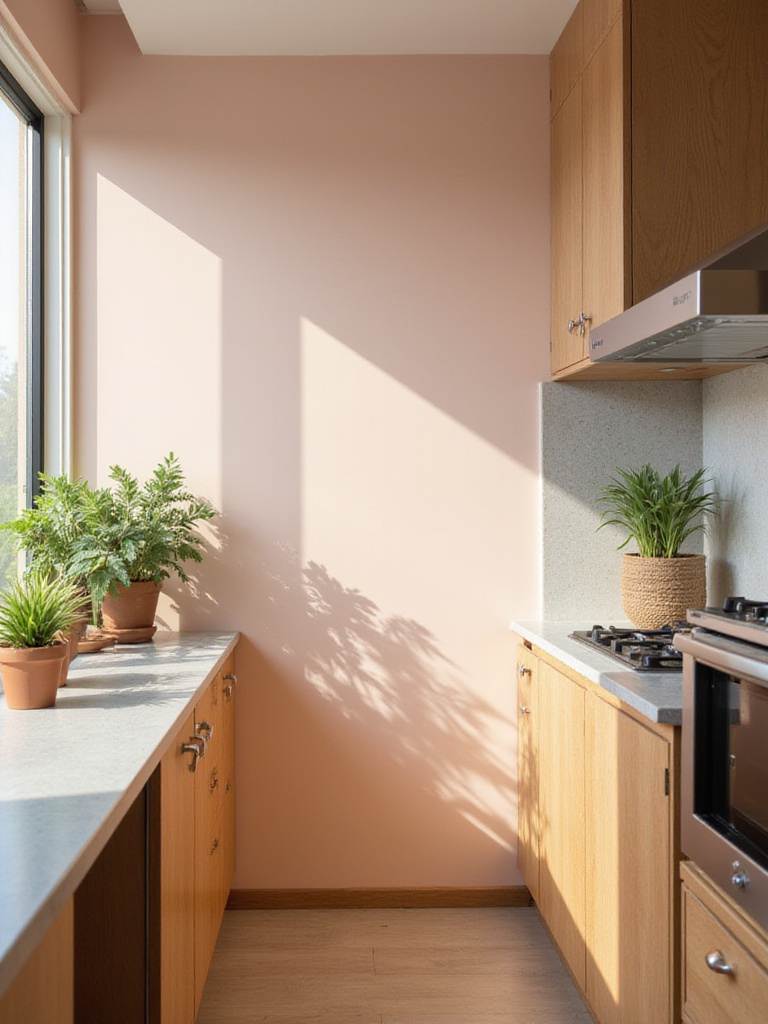
The light that spills into your kitchen in the morning changes everything. It tells a story across your walls—a story that shifts from the soft steam of your morning coffee to the warm, bustling energy of dinner. Those walls are silent witnesses to it all. They also bear the brunt of it: the sizzle of oil, the splatter from a whisk, the humidity from a boiling pot, and the constant traffic of daily life.
Choosing a paint color for your kitchen is about so much more than just the shade. It’s about a deeper understanding of how light and life interact. It’s a dialogue between form and function. How does light travel across a surface as the day wanes? Which finish can stand up to the reality of a busy kitchen? And how can careful preparation ensure your walls look beautiful not just for a year, but for a decade? A kitchen isn’t like a bedroom; its unique microclimate of heat, moisture, and activity demands a more thoughtful approach.
What I’m sharing here are eighteen strategies for your kitchen walls. Think of them less as tips and more as principles for creating surfaces that are not only beautiful but are deeply in conversation with your life. This is about choosing materials that are resilient, honest, and truly serve the heart of your home.
1. Choose Ultra-Durable Finishes for High-Traffic Kitchen Walls
What’s happening inside a can of paint is really a story of resilience. The chemistry of a paint finish—what makes a satin different from a matte—is all about how tightly its molecules are bound together. When you choose a finish like satin or semi-gloss, you’re essentially selecting a tighter, more robust surface that can shrug off the daily assaults of cooking. These paints have a higher ratio of resin to pigment, which forms a protective shield against moisture and grease.
The difference in durability isn’t subtle; it’s night and day. Walls with these resilient finishes can often withstand significantly more cleaning than their matte counterparts, which means you might repaint every seven years instead of every three. That initial investment in a premium, scrubbable paint pays for itself, not just in money, but in the sustained beauty and calm of your space. It feels perpetually renewed.
Key Points on Durable Finishes:
- They can extend the life of your wall finish by years in busy areas.
- They resist staining from everyday cooking oils and splatters.
- The color holds up better, even with frequent, gentle cleaning.
- Frankly, they reduce long-term maintenance costs and effort.
I’ve seen it in my own projects—the areas around light switches and cabinet pulls. With a less durable paint, those spots show wear within a year. With the right finish, they look untouched for years to come.
This thoughtful selection process is the first step in creating a kitchen that is not just aesthetically pleasing but also fundamentally practical and enduring. Moving forward, we’ll see how this same principle of durability applies to another crucial aspect: keeping your walls clean.
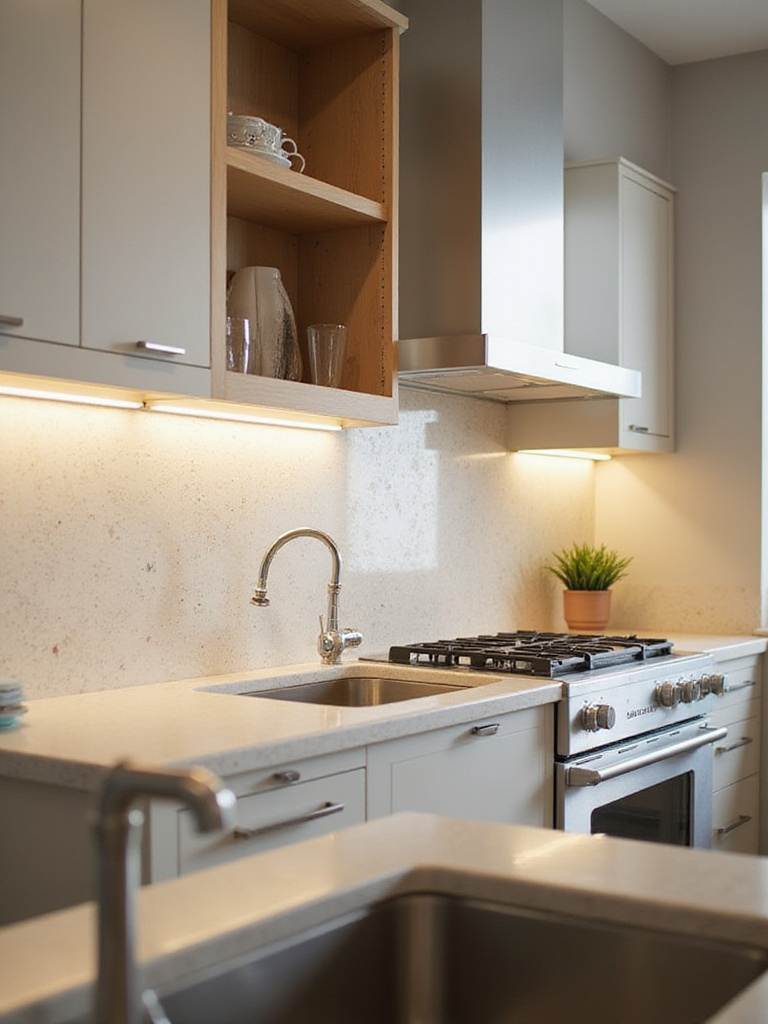
2. Select Washable Paint for Easy Grease and Splatter Cleanup
An invisible battle is constantly being waged on your kitchen walls. Every time you cook, grease molecules become airborne, looking for a place to land. Washable paints are designed with a non-porous surface that essentially blocks these molecules from embedding themselves into the wall. It creates a smooth, almost sealed barrier that allows you to wipe away tomato sauce splatters and oil sheens with ease.
In professional kitchens, the rule is to clean spills the moment they happen. Washable paint brings that same advantage into the home. It gives you the peace of mind to be adventurous in your cooking, knowing that accidents can be addressed immediately instead of becoming permanent stains you discover weeks later. For me, that freedom is an invaluable part of a well-designed kitchen.
What to Look for in Washable Paint:
- A non-porous structure that prevents stains from setting.
- Compatibility with gentle, non-abrasive cleaners.
- The ability to hold up after repeated cleaning cycles.
- Resistance to bacterial growth, which is vital in a food prep area.
Beyond just looking clean, these paints contribute to the real hygiene of your kitchen. They allow for surfaces that can be properly sanitized, creating a healthier environment for you and your family.
Understanding the washability of your paint is key, but it’s intrinsically linked to the paint’s sheen. Let’s explore how the level of gloss you choose impacts both cleanliness and the overall feel of your space.
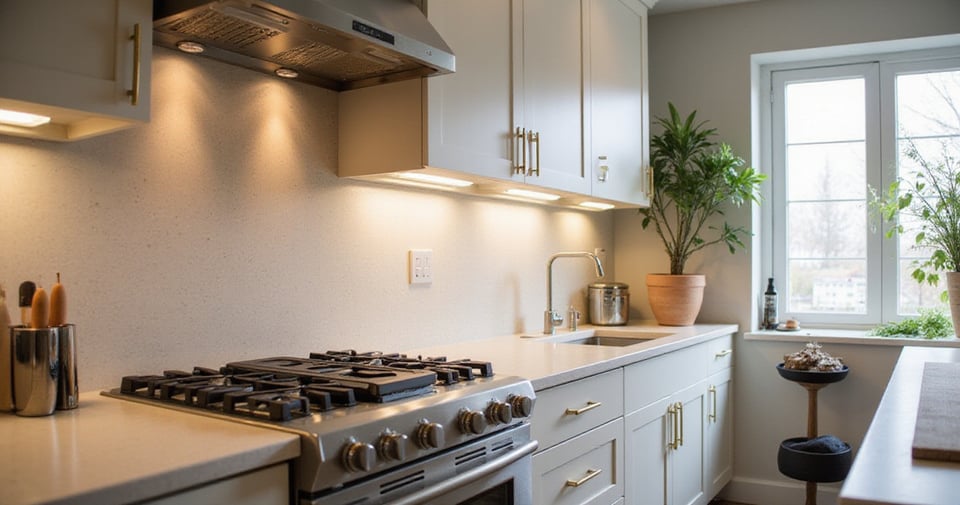
3. Understand Paint Sheen Levels for Optimal Kitchen Performance
The way light plays on your kitchen walls is entirely dependent on the sheen you select. A flat or matte paint absorbs light, which is beautiful for hiding small imperfections, but it also tends to absorb everything else—odors, moisture, and, most importantly, stains. At the other end of the spectrum, a semi-gloss finish reflects light and repels moisture, which helps surfaces stay brighter and cleaner over time.
The science here is in the particles. Higher-sheen paints contain more resin binders and fewer pigment particles, creating a smoother, less porous surface that light bounces off uniformly. This not only simplifies cleaning but also enhances the feeling of light and space, a principle I rely on heavily in my designs, especially in smaller kitchens or those with limited natural light.
A Quick Sheen Guide:
- Flat/Matte: Hides flaws beautifully but is difficult to clean; best avoided for primary kitchen walls.
- Eggshell: A good compromise, offering a bit more washability than flat. Best for lower-traffic parts of the kitchen.
- Satin: My preferred choice for most kitchens. It strikes the perfect balance between durability and a soft, pleasing aesthetic.
- Semi-gloss: The workhorse. Offers maximum protection for areas that see a lot of splashes, like behind the sink or stove.
The interplay between your kitchen’s light—both natural and artificial—and the sheen of your paint is what sets the foundational mood of the room. And a key part of that foundation is what lies beneath.
Now, let’s discuss the unsung hero of any lasting paint job: primer.
4. Never Skip Priming for Superior Adhesion and Color True-ness
Every truly exceptional paint job is built on a foundation most people will never see: the primer. Primer does the critical work of creating a uniform, receptive surface so your topcoat can adhere properly and show its truest color. When you skip this step, you’re asking one product to do two jobs, and frankly, it can’t do either one perfectly.

Kitchen walls are tricky. Years of cooking can leave behind an invisible film of grease and residue that will fight against new paint. Primer acts as a sealant and a barrier, locking away those contaminants and creating a fresh start. A proper primer-to-paint bond can be up to three times stronger than paint applied directly to an unprepared wall. I think of it like seasoning a cast-iron skillet; you’re preparing the surface for a lifetime of performance.
As professional painters often say, primer is the foundation of a house. You don’t see it when it’s done, but everything rests on its integrity.
That solid foundation becomes even more important when dealing with one of the kitchen’s most persistent enemies: humidity.
5. Combat Humidity with Mold-Resistant Kitchen Paint Formulas
The steam that rises from a pot of boiling water or the dishwasher’s cycle creates a humid microclimate—an ideal environment for mold and mildew. This is a particular concern in my work with desert homes, where dramatic temperature shifts between a cool interior and a hot exterior can lead to condensation. Mold-resistant paints are engineered with antimicrobial additives that actively disrupt the growth of fungi on the paint film. It’s a proactive approach to a healthier home.
These additives, like silver ions or other biocides, work at a cellular level to prevent microbes from multiplying, often killing up to 99.9% of bacteria on the painted surface. You may not see this protection at work, but you’ll notice its absence if you use standard paint in a humid kitchen. Over time, standard paint might develop dark spots or a musty smell. A mold-resistant formula, however, maintains its integrity and contributes to cleaner indoor air, which is priceless where food is prepared.
The Benefits of Mold-Resistance:
- Inhibits the growth of mold, mildew, and fungi on the paint surface.
- Helps maintain healthier indoor air quality in damp spaces.
- Reduces the need for harsh chemical cleaners over time.
- Extends the paint’s lifespan in areas prone to moisture.
The small additional investment in this type of paint pays you back in health benefits and peace of mind for years.
Speaking of health, the invisible elements in our air are just as important as the visible ones. This brings us to the crucial topic of VOCs.
6. Prioritize Low-VOC Paints for Better Indoor Air Quality
The quality of the air in your kitchen is fundamental. Traditional paints can release volatile organic compounds (VOCs) into your home for months after the painting is done, which poses a hidden risk to your environment. Choosing low-VOC or zero-VOC paint is a decisive step toward a healthier indoor atmosphere, something I consider non-negotiable in spaces where families gather and eat.
The chemistry behind these healthier paints involves swapping out solvent-based carriers for water-based ones that don’t off-gas harmful chemicals like formaldehyde or benzene. This doesn’t mean a compromise in quality. In fact, many modern low-VOC paints offer superior durability and color retention. The most immediate benefit? You can enjoy your newly painted kitchen in hours, not days, without the lingering chemical smell.
I particularly emphasize this in desert homes, which are often sealed tightly for energy efficiency. In such an environment, reducing indoor air pollution is not a luxury—it’s essential for wellbeing.
Now that we’ve covered the technical aspects of paint, let’s talk about the most personal part of the process: choosing your color.
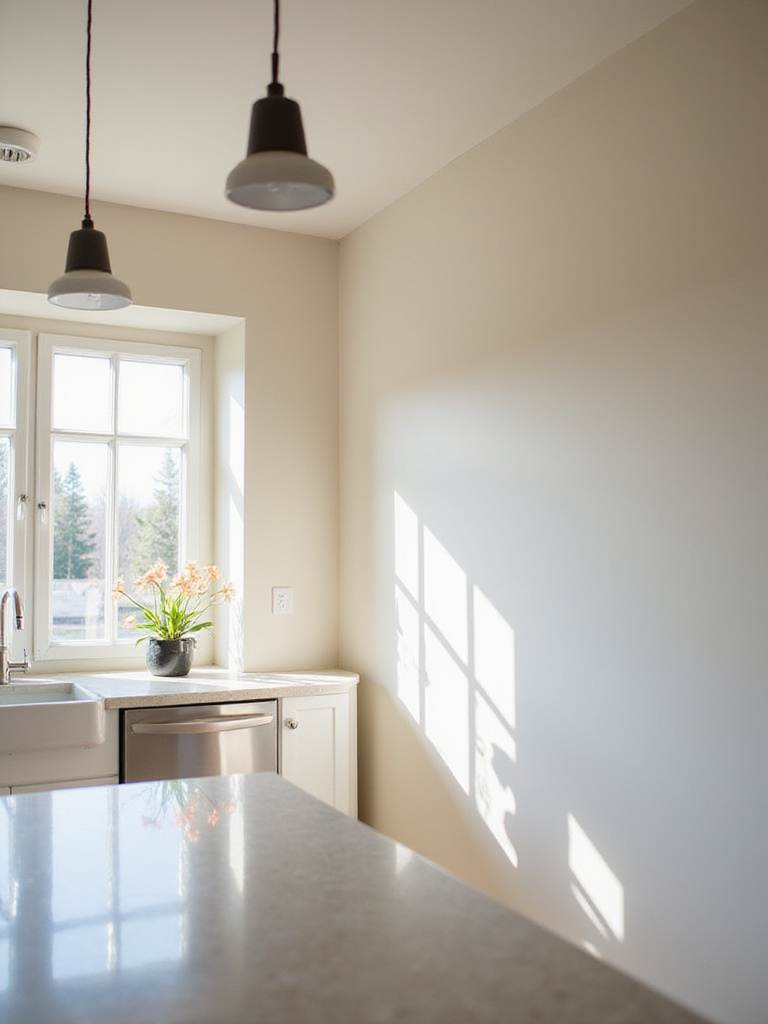
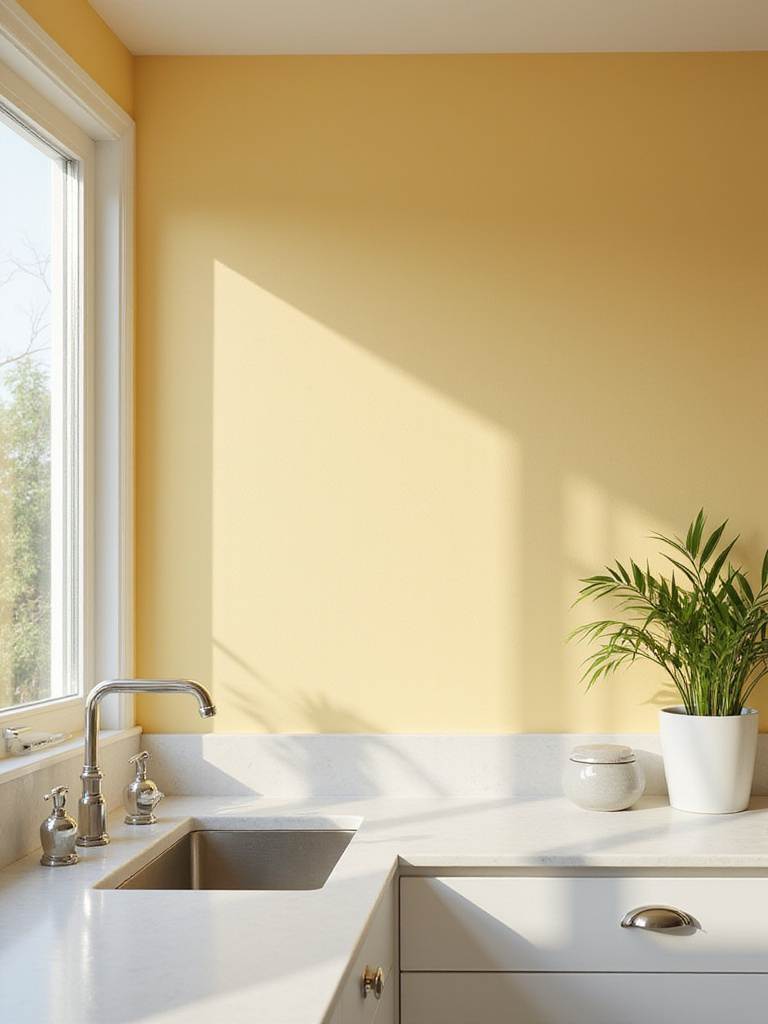
7. Test Colors Under Kitchen Lighting for Accurate Hue Perception
Have you ever picked a perfect paint chip, only to find the color on your wall looks completely different? This is a common frustration caused by a phenomenon called metamerism. A color’s appearance can shift dramatically depending on the light that hits it—the cool, northern light from a window, the warm glow of an incandescent bulb, or the bright, clear light of an LED task lamp will each reveal a different facet of a hue.

Your kitchen has its own unique light signature. A north-facing kitchen receives softer, cooler light throughout the day, while a south-facing one experiences dramatic shifts in warmth and intensity. Understanding this is key to selecting a color that feels right at all hours. That perfect “greige” you loved in the store might look lavender in your kitchen’s morning light or dull under artificial evening light.
Steps for True Color Testing:
- Paint large samples, at least a foot square, on different walls to see how light hits them.
- Observe the colors throughout a full day, from your morning routine to your evening tasks.
- Place the samples next to your fixed elements—your countertops, cabinets, and backsplash.
- Look at them under all artificial light sources you use.
Taking the time for proper color testing saves you from the disappointment and expense of having to repaint. It’s an act of patience that ensures your final vision comes to life exactly as you imagined.
This idea of using color thoughtfully is especially important when you’re working with a smaller footprint.
8. Brighten Small Kitchens with Light, Reflective Paint Colors
Light colors have an almost magical quality—they can visually expand a space. The science behind this is called Light Reflectance Value, or LRV. This number, usually found on the back of a paint chip, tells you what percentage of light a color reflects. Hues with a high LRV (typically 70 or above) bounce more light around the room, making walls seem to recede and creating an illusion of spaciousness without tearing down a single wall.
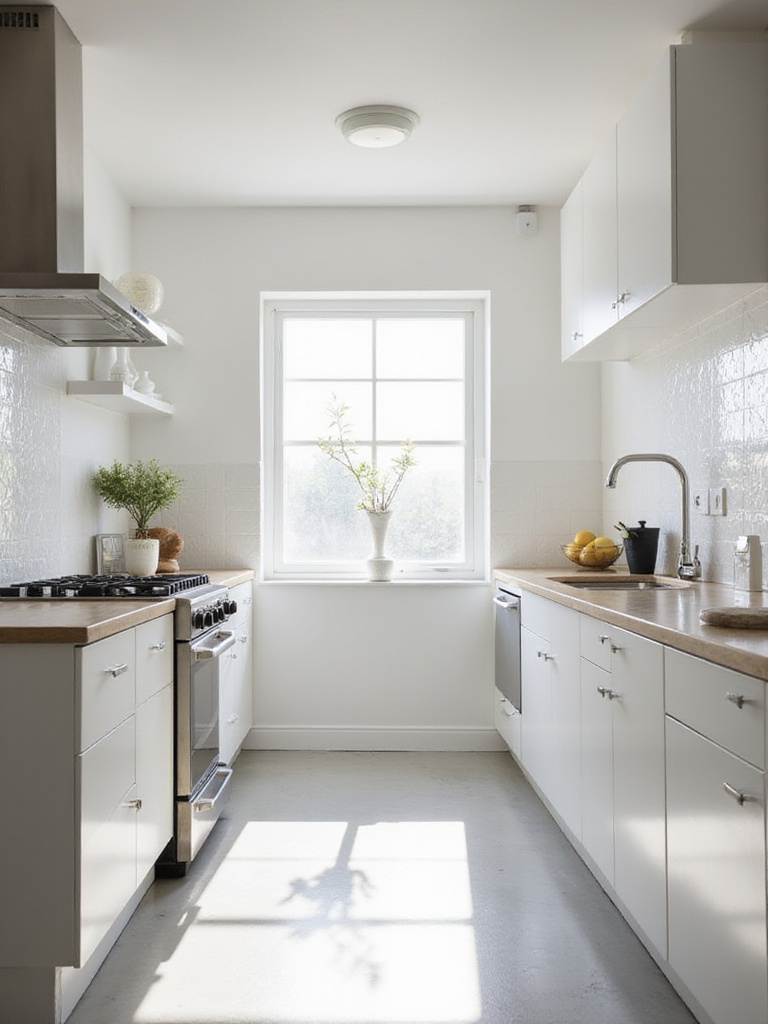
I often use this principle in compact kitchens or in homes where we want to maximize a sense of openness. But the effect isn’t just perceptual. Lighter colors cultivate an atmosphere of cleanliness and clarity that makes the daily rituals of cooking more enjoyable. Combined with good lighting, they can also reduce the need for artificial light during the day, which is a subtle nod to energy efficiency and a connection to the natural rhythm of the sun.
This strategy is especially powerful in narrow galley kitchens or spaces with few windows, where every bit of reflected light contributes to a feeling of airiness and welcome.
This leads us to think about how kitchen colors relate not just to the room itself, but to the rest of the home.
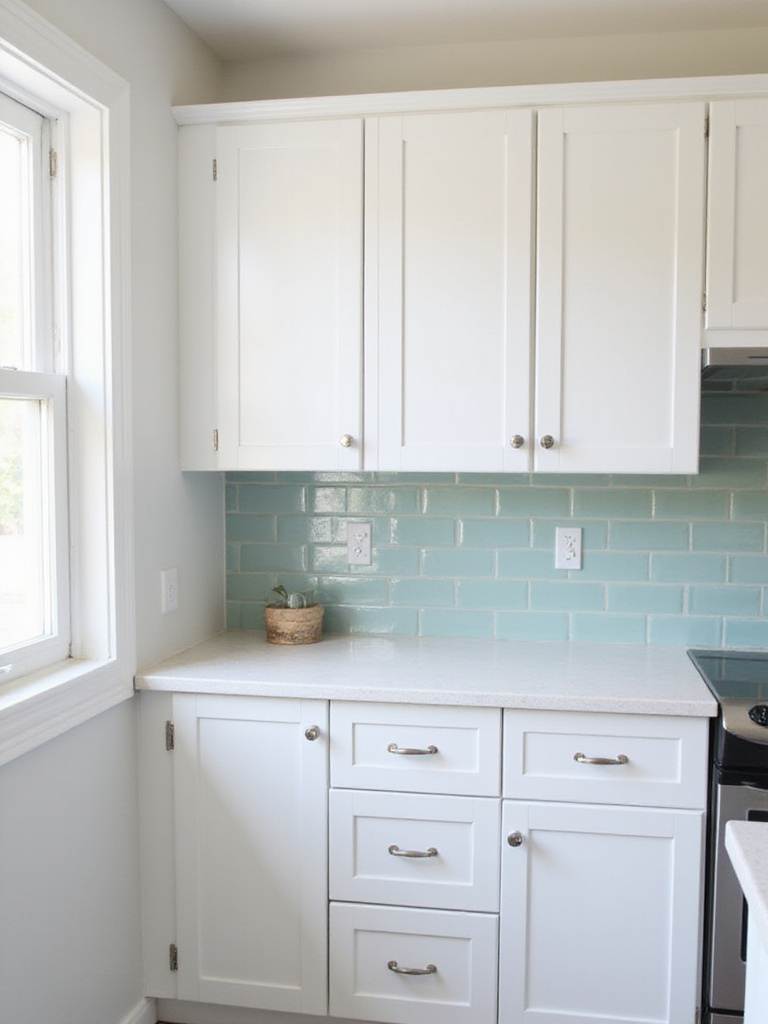
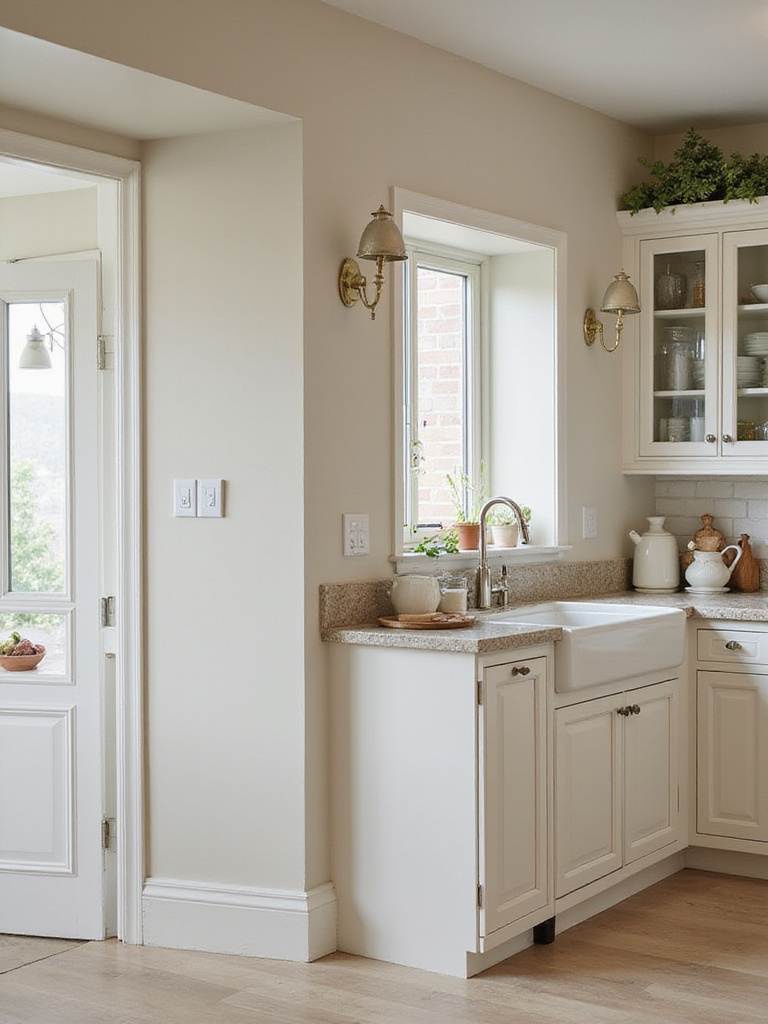
9. Ensure Seamless Color Flow in Open-Concept Kitchen Spaces
In an open-concept home, your kitchen walls are part of a much larger conversation. The colors you choose must speak to the adjoining living and dining areas, creating a visual story that feels cohesive, not disconnected. This doesn’t require matching everything perfectly. Instead, it’s about finding a harmonious relationship between the hues.
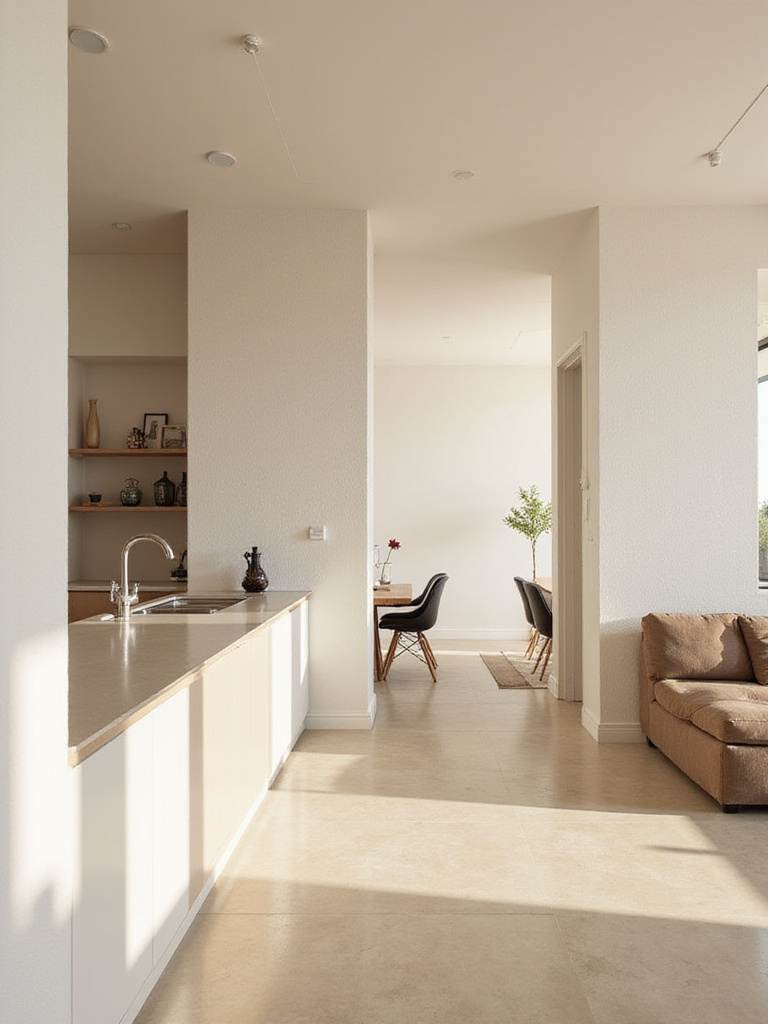
The secret often lies in the undertones—the subtle hints of color that connect different shades. A warm, creamy white in the kitchen might share a slight yellow undertone with a soft, earthy gray in the living room. This creates a beautiful, flowing continuity, allowing for gentle distinction between zones without disrupting the open feel that makes these layouts so desirable. At first, I thought you had to use the same color family, but I realized it’s the shared undertone that really unifies a space.
Strategies for Open-Concept Color:
- Use varying shades and tones from the same color family.
- Ensure consistent warm or cool undertones across different colors.
- Stand in one room and look into the next. Does the view feel balanced?
- Anchor the space with a neutral foundation and use bolder colors as accents.
The goal is to create a visual journey through your home, not a series of abrupt starts and stops. You want the eye to travel smoothly, invited from one space into the next.
Sometimes, though, you want to create a deliberate and powerful stop—a moment of drama.
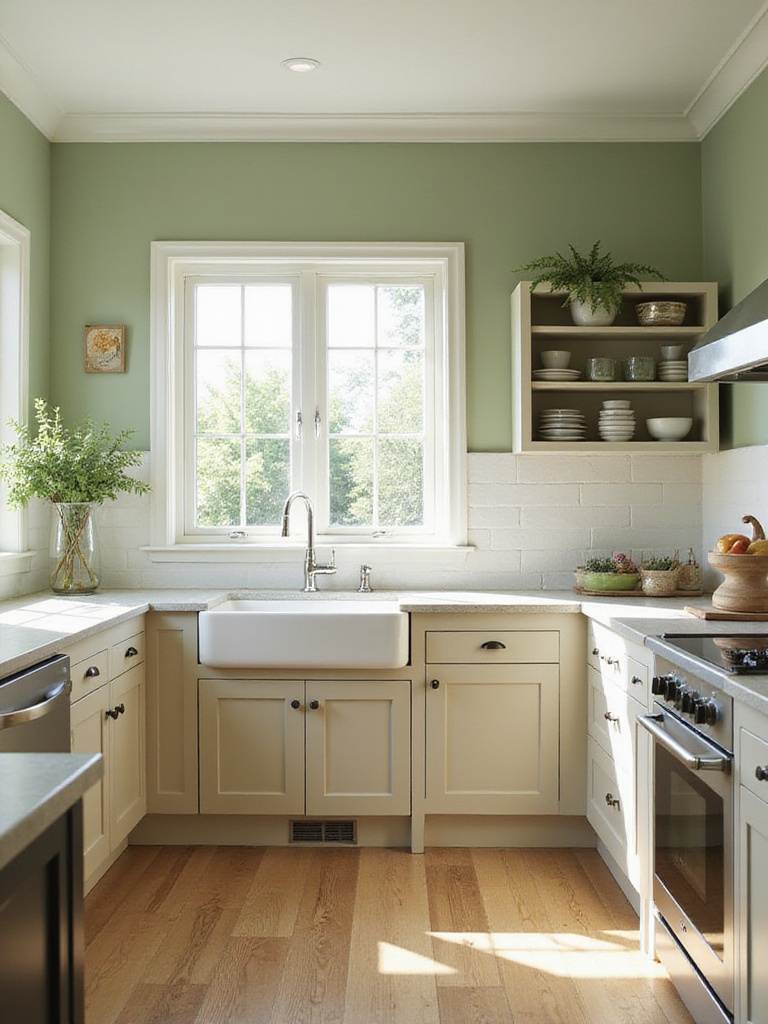
10. Create Visual Interest with a Bold Kitchen Accent Wall
Sometimes, the most powerful design choice is a moment of intentional contrast. A bold accent wall can elevate a kitchen from simply functional to truly memorable. It creates a focal point, drawing the eye and defining the room’s personality. The trick is to choose the right wall—one that’s free of too many interruptions like doors or windows, and is naturally highlighted by your home’s architecture or lighting.
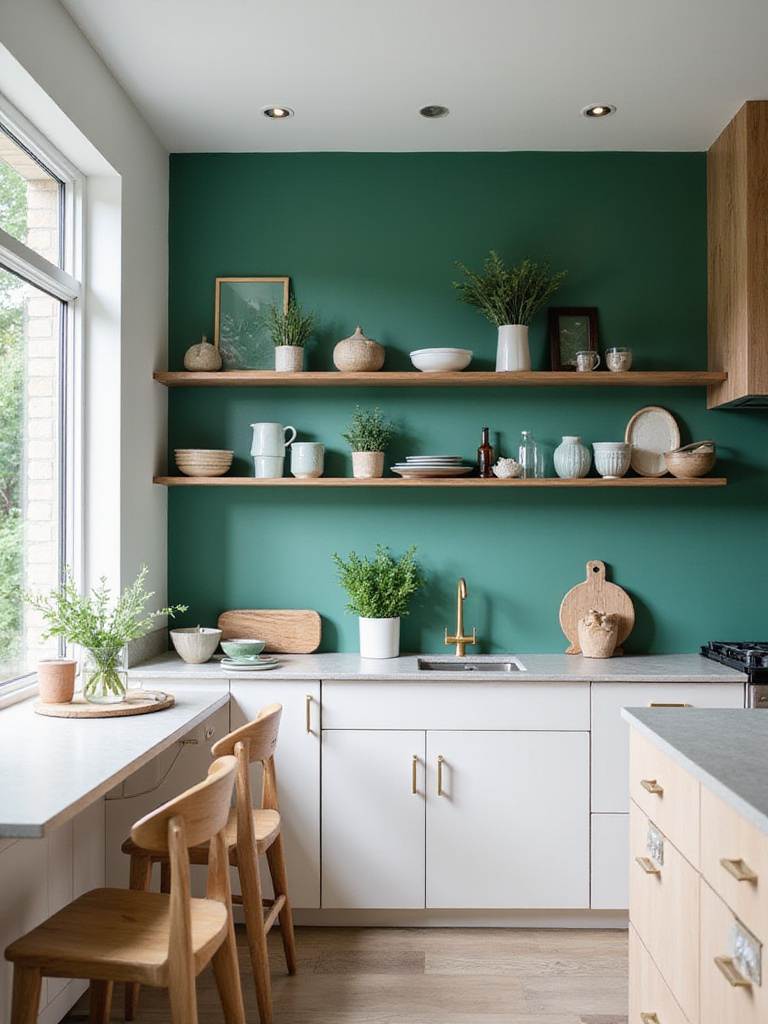
There’s a psychology at play here. An accent wall adds visual weight, grounding the space and providing a dramatic backdrop for other elements. Imagine a wall of deep, earthy clay behind a set of open shelves made from reclaimed wood; both the shelves and the objects on them instantly feel more significant and curated. This technique works especially well when you want to delineate a specific zone within an open layout, like a breakfast nook.
And what’s beautiful about an accent wall is its impermanence. If your tastes change or you’re inspired by a new color, repainting one wall is a far less daunting task than redoing an entire room. It’s a low-risk, high-reward design strategy.
The success of that accent wall—or any wall, really—hinges on being certain about the color. This brings us back to one of the most crucial steps.
11. Always Apply Large Paint Samples Before Committing to a Color
The difference between looking at a two-inch paint chip and a two-foot painted sample is the difference between hoping and knowing. A large sample is where the truth reveals itself. You can see how the color truly behaves across a real surface, how it interacts with the subtle shadows and highlights of your wall, and how its personality shifts with the changing light of day.
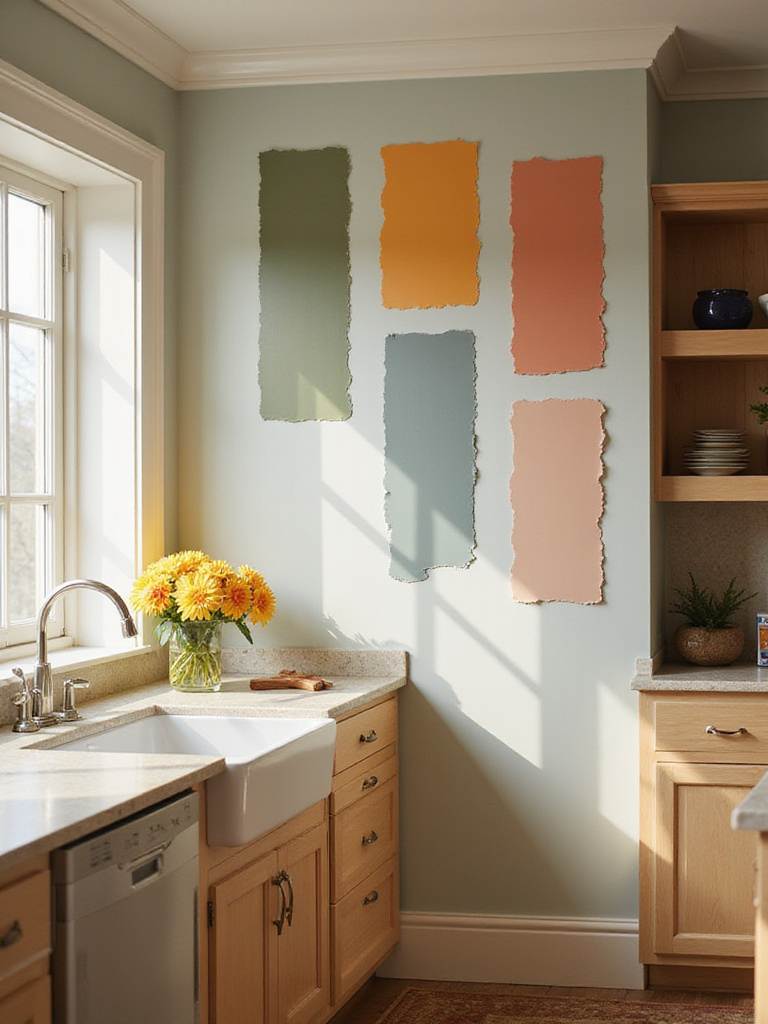
I always recommend painting a sample on poster board or using a large peel-and-stick swatch. This way, you can move it around the room—place it next to the window in the morning, by the stove under task lighting in the evening, and against the backsplash tile. Living with a color for a few days allows you to see how it feels during your daily routines. You might notice an undertone in the morning light you didn’t see at the store, and that insight can prevent a costly mistake.
Effective Sampling is Key:
- Use peel-and-stick samples or paint large poster boards so you don’t have to paint directly on the wall at first.
- Move the samples to different walls and observe them at different times.
- Compare the samples directly against your cabinets, countertops, and flooring.
- Always apply two coats to your sample to see the true final color.
This patient approach to sampling pays you back tenfold with a color choice you’ll love for years.
Of course, even the perfect color will fail if the surface beneath it isn’t ready.
12. Master Essential Wall Prep for a Flawless, Long-Lasting Finish
A beautiful paint finish is only as good as the surface it’s on. The real craft of a lasting paint job is in the meticulous preparation that happens before a can of color is even opened. Kitchen walls, in particular, gather an invisible film of cooking oils and grime that can sabotage paint adhesion, causing it to fail prematurely. Proper preparation isn’t just about cleaning; it’s about degreasing to remove that molecular layer.
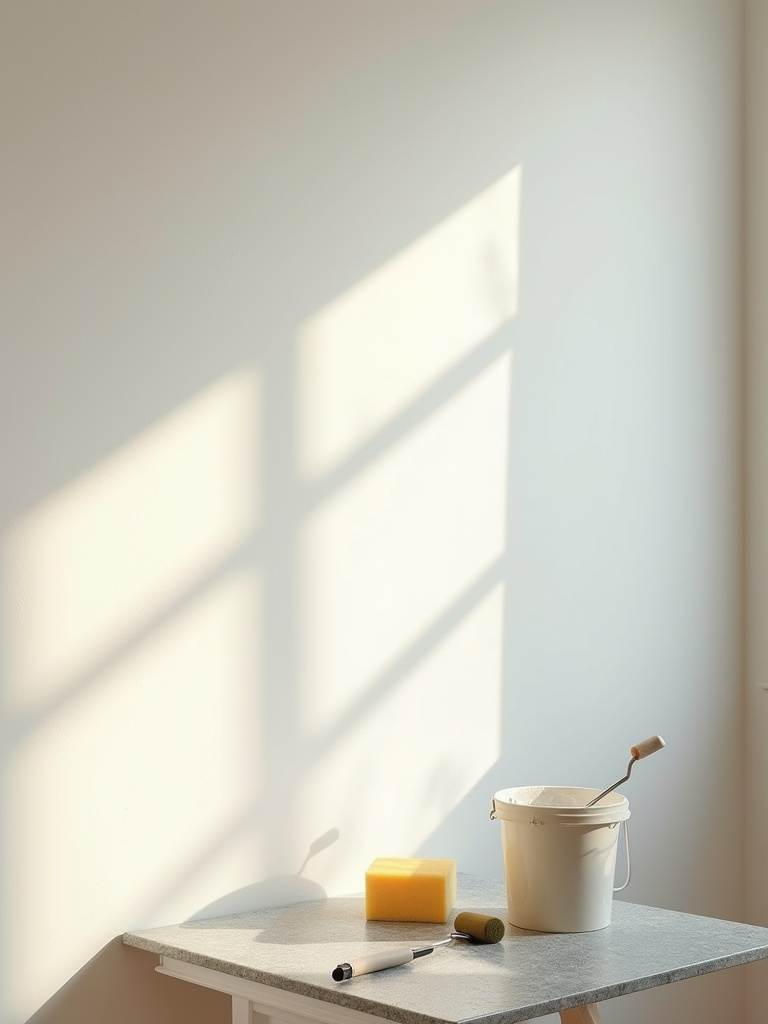
I find this preparatory stage almost meditative. It’s an act of care. When you take the time to thoroughly clean, carefully patch any imperfections, and apply the right primer, you’re creating the perfect canvas. You’re giving the paint the best possible chance to perform as its chemists and designers intended. This attention to detail can honestly add years to the life of your paint job, making the initial effort a sound investment.
Each step in preparation builds on the last: cleaning removes the surface barriers, patching creates a smooth and uniform texture, and priming ensures that the final coat of paint will bond perfectly and develop its true, rich color.
With a perfectly prepped surface, your next thought should be about the tools you use.
13. Invest in Quality Brushes and Rollers for Professional Results
The tools you choose to apply your paint have a direct impact on the final result. It’s one of those areas where spending a little more makes a world of difference. Premium brushes and rollers are engineered to hold more paint and release it evenly, creating a smoother finish with far fewer errant marks. You can feel the difference in the very first stroke—good tools just work with you, not against you.
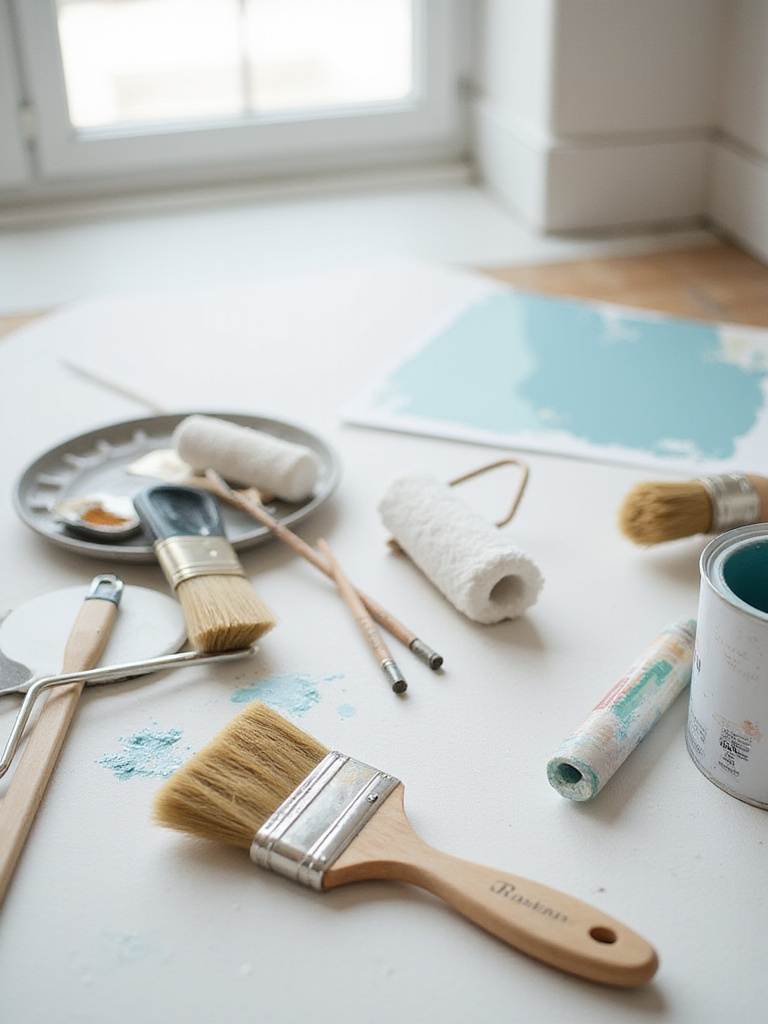
From an economic and sustainable standpoint, it just makes sense. A high-quality angled brush might cost more than a disposable one, but if you care for it, it can last through dozens of projects. More importantly, the superior finish you achieve means less time spent on frustrating touch-ups and a more professional, satisfying result.
What to Look for in Your Tools:
- Brushes: Choose synthetic bristles for water-based latex paints. An angled sash brush is essential for cutting in around trim and corners.
- Rollers: The roller’s “nap,” or thickness, should match your wall’s texture. A shorter nap is best for smooth walls.
- Ergonomics: Pick tools that feel comfortable in your hand, especially for larger projects.
The right tools can transform the act of painting from a tedious chore into a truly rewarding craft.
And part of that craft is having the discipline to wait.
14. Allow Adequate Drying Time Between Coats for Best Adhesion
In our rush to see a project finished, it’s tempting to apply the next coat of paint too soon. But patience here is truly a virtue. Paint needs time to cure—for the water or solvents to evaporate and for the resin particles to fuse into a hard, protective film. Rushing this process compromises the bond between the layers, which can lead to streaks, poor adhesion, and a finish that just won’t last.
You also have to consider the environment. High humidity, low temperatures, and poor airflow can all slow down drying times. For latex paint, you should typically wait at least four to six hours between coats, but in humid conditions, waiting overnight is even better. Oil-based paints take much longer, often requiring a full 24 hours. Trust what you feel—the surface should be completely dry to the touch, not tacky or cool.
The science of paint curing simply can’t be rushed. Allowing each coat to dry properly is a critical investment in the longevity and beauty of the final finish.
Once that beautiful finish is achieved, the goal is to keep it looking pristine.
15. Maintain Kitchen Walls Easily with Gentle Cleaning Routines
Even the most resilient kitchen walls benefit from a gentle maintenance routine. The key is to address splatters as soon as they happen, before they have a chance to set. A quick wipe-down can prevent a stain from becoming a permanent resident on your wall. A simple weekly dusting and immediate spot-cleaning can preserve that “just painted” look for years longer than if you let grime accumulate.
When stains are fresh, chemistry is on your side. But once grease and food particles sit on a surface, they begin to oxidize, making them much harder to remove without aggressive scrubbing that can mar the paint finish. Proactive maintenance avoids this headache entirely.
An Effective and Gentle Routine:
- Dust walls weekly with a microfiber cloth or a vacuum brush attachment.
- Wipe up splatters immediately with a soft, damp cloth.
- For general cleaning, use a simple solution of mild dish soap and warm water.
- Always test any cleaner on an inconspicuous area first.
A few minutes spent on regular upkeep will save you hours of deep cleaning and may even prevent the need for a premature repaint.
But life happens, and sometimes a simple cleaning isn’t enough.
16. Quickly Touch Up Minor Scuffs and Scratches for Freshness
It’s inevitable. In a well-loved kitchen, a stray chair leg will cause a scuff or a pan handle will create a small ding. Addressing these minor imperfections as they occur keeps them from becoming glaring focal points that detract from the room’s beauty. Quick touch-ups are one of the most effective ways to maintain the fresh, clean look of your walls between full repainting projects.

The secret to an invisible touch-up is technique. It’s often best to use a very small brush or even a cotton swab to dab the paint on, feathering the edges to blend it into the existing wall. I always advise my clients to keep a small, labeled jar of leftover paint from every project. This ensures you have a perfect color match for years to come, which makes these small repairs virtually seamless.
Having that touch-up paint and a few basic tools on hand is a simple practice that pays huge dividends in preserving the thoughtful and pristine atmosphere of your kitchen.
Now, let’s talk about how to achieve all this without breaking the bank.
17. Optimize Your Paint Budget Without Sacrificing Kitchen Quality
A smart approach to budgeting for your kitchen paint project is about strategic investment. It’s not about finding the cheapest option, but about getting the best value. I always recommend allocating more of your budget to a premium, high-durability paint for the high-traffic, high-splatter zones—like the area behind the stove and sink. For less critical areas, a good-quality mid-grade paint might be perfectly sufficient.
Think about the total cost over time. A higher-quality paint that requires fewer coats to cover and lasts several years longer often proves to be a better value than a cheaper paint that needs more coats and a repaint sooner. This long-term perspective helps justify investing in materials that will perform beautifully for years.
Ways to Optimize Your Budget:
- Invest in premium paint for the hardest-working walls.
- Buy high-quality tools that you can reuse for future projects.
- Time your purchase to take advantage of seasonal sales.
- Consider handling the preparation work—cleaning and patching—yourself, which saves on labor and allows more of your budget to go toward better materials.
Ultimately, a successful project strikes a thoughtful balance between the initial investment and the long-term satisfaction and performance you’ll get from your kitchen walls.
Finally, let’s look at how to ensure your choices feel current yet timeless.
18. Stay Ahead with Trending Kitchen Wall Paint Color Palettes
I’ve noticed a significant shift in kitchen color trends recently. As these spaces have become even more central to our homes, the color choices are leaning into warmth, comfort, and a deeper connection to the natural world. The sterile, all-white kitchen is giving way to more personal and nurturing environments.
The current trends are favoring earthy, grounded colors that create a sense of calm. Think of the soft, muted tones of the desert at dusk: terracotta, clay, mushroom, and deep, moody greens and blues. These hues are inspired by a desire for wellness and sustainability and have more emotional resonance and staying power than fleeting, fashion-driven colors. A move towards rich burgundy and warm sand tones also reflects this shift.
But adopting a trend isn’t about blindly following a fad. It’s about understanding the “why” behind it and seeing how it aligns with your own personal style and the permanent elements of your home, like your cabinetry and flooring. The most successful approach is to choose colors that not only feel contemporary but also deeply authentic to you and your space.
Conclusion
Creating the perfect kitchen walls is a journey that goes far beyond picking a color from a fan deck. It’s a thoughtful process of understanding materials, light, and function. It’s about seeing your kitchen as a complete ecosystem, where the durability of a finish is just as important as the nuance of a hue.
The insights we’ve walked through come from a place of respect for the home as a sanctuary. By choosing resilient finishes, committing to meticulous preparation, and making informed decisions about color, you create walls that not only stand up to the rigors of daily life but also age gracefully. They become a quiet, beautiful backdrop to countless meals and memories.
Your kitchen walls are more than just a surface; they are a canvas for your life. They set the tone for your daily rituals and reflect your unique story. With these principles as your guide, you are ready to choose a paint that doesn’t just look stunning today, but continues to enrich the heart of your home for many years to come.


