Hey there, fellow design enthusiasts! Zara here, ready to guide you through the wonderful world of bathroom wallpaper installation. You know, every time I step into a beautifully wallpapered bathroom, I’m transported back to my childhood home in Oakland, where my dad’s vibrant Indian textiles adorned every wall. It’s amazing how a simple sheet of patterned paper can transform a space, isn’t it?
Wallpaper has been jazzing up our walls since the 18th century, and let me tell you, it’s come a long way since then! These days, it’s not just about making your bathroom look pretty (though that’s a big plus). It’s about creating a little oasis that reflects your personality and protects your walls from moisture at the same time. Talk about a win-win!
If you’re feeling a bit overwhelmed by the idea of installing wallpaper yourself, don’t worry. I’ve got your back! This guide is packed with easy-to-follow tips that’ll have you wallpapering like a pro in no time. And hey, if you’re looking for some inspiration before we dive in, check out these wallpaper ideas for bathrooms to get your creative juices flowing.
So, grab a cup of chai (or your beverage of choice), and let’s embark on this DIY adventure together. Trust me, by the end of this article, you’ll be itching to give your bathroom a fabulous facelift!
Key Takeaways
Before we roll up our sleeves and get into the nitty-gritty, let’s take a moment to zen out and focus on the key points of our wallpapering journey:
- Gather your tools and materials beforehand. Trust me, there’s nothing worse than realizing you’re missing a crucial item mid-project!
- Prep those walls like you’re prepping for a meditation session – clean, smooth, and ready for transformation.
- Follow the installation steps carefully. It’s like a dance – each move builds on the last for a beautiful result.
- Don’t forget the finishing touches. They’re like the perfect accessories to your favorite outfit – they tie everything together.
- Keep some troubleshooting tips in your back pocket. Even the most seasoned DIYers encounter bumps along the way.
- Remember, patience is your best friend here. Take deep breaths and enjoy the process. Your bathroom’s glow-up is worth it!
Tools and Materials
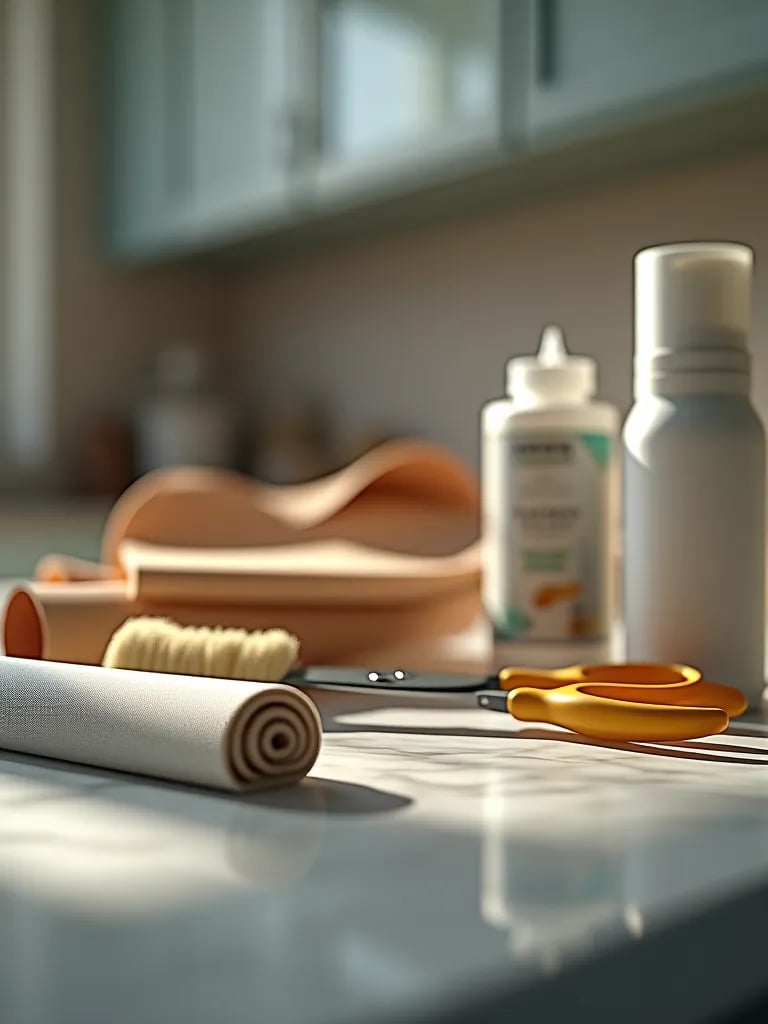
Alright, let’s talk about the essentials you’ll need for this project. Think of it as packing for a DIY adventure – you want to make sure you’ve got all the right gear!
Essential Tools
Just like how a yogi needs their mat and blocks, you’ll need some specific tools for this wallpapering journey:
- A utility knife (your precision cutting companion)
- A smoothing brush (to banish those pesky air bubbles)
- A seam roller (for picture-perfect seams)
- A tape measure (because accuracy is key)
- A level (to keep things straight and balanced)
- A paste brush (if you’re going old school with adhesive)
- A tray for your paste (keeping things neat)
Necessary Materials
Now, let’s talk about the star of the show – the wallpaper itself! There are so many options out there, it’s like being in a fabric bazaar in India. But for bathrooms, I always recommend going for vinyl. It’s like the yoga pants of wallpaper – flexible, durable, and perfect for high-moisture environments.
Don’t forget about adhesives – you can go for regular paste or a pre-pasted activator if you want to keep things simple. And just like how we use a yoga mat to protect the floor, grab some drop cloths to keep your bathroom surfaces safe from spills.
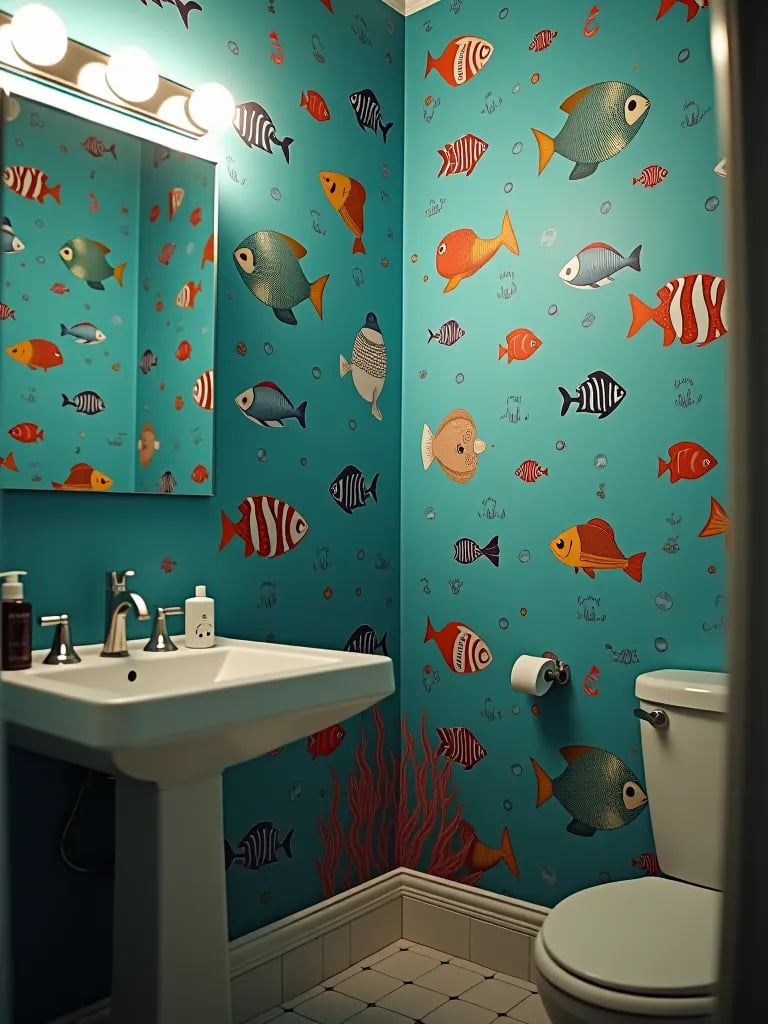
Choosing the Right Wallpaper
Selecting the perfect wallpaper is like choosing the right plants for your garden – you need to consider the environment. In a bathroom, humidity is your biggest factor. Look for wallpapers that can stand up to moisture, just like how succulents thrive in dry conditions.
And let’s not forget about style! Your wallpaper should vibe with your existing decor. It’s all about creating harmony in your space. If you’re working with a cozy bathroom, consider how to maximize space with bathroom wallpaper – the right pattern can make a world of difference!
When it comes to durability, think long-term. Opt for washable or scrubbable wallpapers. They’re like the cast iron skillets of the wallpaper world – with a little care, they’ll last for years and only get better with time.
Preparation Steps
Okay, now that we’ve got our tools and materials sorted, it’s time to set the stage for our wallpapering performance. Just like preparing for a garden party, a little prep work goes a long way in ensuring a smooth and enjoyable experience.
Room Preparation
First things first, let’s declutter your bathroom. Remove all those fixtures from the walls – towel racks, light switch covers, the works. It’s like giving your bathroom a blank canvas to work with.
Next, channel your inner protective parent and cover up those floors and counters. Dropcloth, plastic sheets – whatever you’ve got. We want to keep your surfaces safe from any wayward glue or water.
And don’t forget about lighting! Good visibility is crucial for this project. If your bathroom’s a bit dim, bring in some extra lamps. It’s like adding fairy lights to a garden – it makes everything clearer and more magical.
Wall Preparation
Now, let’s give those walls some TLC. Start by giving them a good scrub down. Think of it as a spa day for your walls – we want them clean, refreshed, and free from any old wallpaper remnants.
If your walls have any imperfections, now’s the time to smooth them out. Fill in those holes, sand down those bumps. We’re aiming for walls as smooth as a zen garden.
Finally, prime those walls. It’s like applying a good face mask before makeup – it creates the perfect base for your wallpaper to stick to.
Measuring and Cutting Wallpaper
Alright, time to measure up! Grab your tape measure and get those wall dimensions. And here’s a pro tip – always add a little extra length to your measurements. It’s like leaving room for dessert – better to have a bit too much than not enough.
When you’re cutting your wallpaper, use a straight edge for those clean lines. It’s like creating the perfect crisp fold in origami – precision is key for a professional look.
Installation Process
Excited? You should be! We’re about to transform your bathroom into a personal oasis. Let’s dive into the installation process, shall we?
Starting Point
First things first, we need to choose our starting point. It’s like picking the perfect spot for meditation – it sets the tone for everything that follows. I always recommend starting in an inconspicuous corner. It’s like practicing yoga in your living room before joining a class – it gives you room to find your groove.
Now, let’s talk about that all-important vertical guideline. Using a level, mark a straight line from ceiling to floor. This is your North Star, guiding you to wallpaper perfection. Remember, a straight start leads to a stunning finish!
Applying Adhesive
Time to get sticky! If you’re using a separate adhesive, mix it up according to the instructions. It’s like preparing a nourishing face mask – you want to get the consistency just right.
Apply the adhesive evenly, channeling your inner artist. Cover the entire back of the wallpaper, but don’t go overboard – we’re aiming for a smooth coat, not a goopy mess. Once it’s applied, let it sit for a bit. It’s like letting tea steep – give it time to reach its full potential.
Installing the First Strip
This is where the magic begins! Align your first strip with the guidelines we made earlier. It’s like setting up your yoga mat at the start of class – get it right, and everything else falls into place.
As you smooth the wallpaper onto the wall, work from the center outwards. It’s like spreading positive energy – start from your core and let it flow outwards. Keep an eye on that pattern match, adjusting as needed. Remember, patience is key here!
Handling Obstacles
Ah, the tricky bits – outlets, windows, and corners. Don’t stress, we’ve got this! When cutting around fixtures, channel your inner sculptor. Make precise cuts with your utility knife, revealing the shape beneath.
For those pesky corners, think of it like wrapping a present. Fold the paper neatly and trim any excess. It’s all about creating clean lines and smooth transitions.
Finishing Touches
We’re in the home stretch now! These final steps are like adding the perfect accessories to your outfit – they pull everything together and make your hard work shine.
Trimming Excess Paper
Grab that sharp utility knife of yours – it’s showtime! Trim any excess paper around the edges of your walls, windows, and fixtures. Think of it like giving your plants a little pruning – we’re shaping things up for a polished look.
Once you’ve made your cuts, use your smoothing brush to press down those edges firmly. It’s like tucking in the corners of a freshly made bed – that extra touch makes all the difference.
Cleaning Up
Now, let’s tidy up our workspace. Use a damp sponge to wipe away any adhesive residue. It’s like cleaning up after a fun cooking session – leaving your kitchen (or in this case, bathroom) sparkling.
Gather up all those paper scraps and dispose of them. And don’t forget to give your tools some love! Clean your brushes, rollers, and trays thoroughly. They’ve been your trusty companions on this journey – treat them well and they’ll be ready for your next DIY adventure.
Final Inspection
Step back and admire your handiwork! But don’t get too starry-eyed just yet – we’ve got a final check to do. Run your hands over the wallpaper, feeling for any air bubbles. If you find any, gently smooth them out with your brush.
Check those seams too – they should be snug as a bug. Use your seam roller to give them one last press. And of course, make sure your pattern aligns perfectly across the walls. It’s like arranging a beautiful mandala – every piece should fall into place.
Tips and Troubleshooting
Even the most seasoned DIYers encounter a few bumps along the way. But don’t worry – I’ve got some tips to help you navigate any challenges that pop up.
Avoid Common Errors
Misalignment is the nemesis of a good wallpapering job. Double-check (and triple-check!) your measurements before making any cuts. It’s like measuring ingredients for a delicate recipe – precision is key.
Be careful not to over-soak your wallpaper. Too much moisture can lead to stretching and bubbling. Follow the adhesive instructions closely – they’re there for a reason!
And those pesky air bubbles? Smooth them out as soon as you spot them. It’s like ironing out wrinkles in a beloved sari – catch them early for the best results.
Smooth Application Tips
Work in small sections to keep things manageable. It’s like tackling a big cleaning job – breaking it down into smaller tasks makes it less overwhelming.
Your smoothing tool is your best friend here. Use it to gently press out any wrinkles or bubbles as you go. And keep those hands clean! Oil and dirt from your fingers can transfer to the wallpaper, leaving marks.
Easiest Wallpaper for Beginners
If you’re new to the wallpaper game, let me let you in on a little secret – peel-and-stick wallpaper is a beginner’s best friend. It’s forgiving, easy to apply, and if you make a mistake? No worries! You can easily peel it off and try again.
Pre-pasted wallpaper is another great option for newbies. It’s like the instant noodles of the wallpaper world – just add water and you’re good to go!
And when it comes to patterns, start with something forgiving. Large, abstract patterns are great for hiding small imperfections. It’s like wearing a boldly patterned outfit – a small wrinkle here or there won’t be noticeable.
Oh, and before I forget – if you’re curious about different wallpaper materials, check out this guide on vinyl bathroom wallpaper material. It’s a great option for bathrooms and perfect for beginners!
Final Remarks
Wow, what a journey we’ve been on! From choosing your perfect wallpaper to smoothing out those final bubbles, you’ve learned all the ins and outs of bathroom wallpaper installation. I hope you’re feeling inspired and ready to tackle this project with confidence.
Remember, transforming your space is about more than just aesthetics. It’s about creating an environment that resonates with your soul, a little sanctuary where you can start and end your day feeling centered and refreshed.
As you embark on your wallpapering adventure, keep in mind that perfection isn’t the goal – joy is. Embrace the process, learn from any mishaps, and most importantly, have fun! Your bathroom is about to become a reflection of your unique style and creativity.
So go forth, my fellow DIY warriors! Roll up those sleeves, put on some upbeat tunes, and get ready to give your bathroom the glow-up it deserves. And hey, once you’re done, why not share your transformation with the world? I’d love to see how your projects turn out!
Remember, every great design starts with a single strip of wallpaper. Here’s to creating spaces that make our hearts sing and our spirits soar. Happy wallpapering!


