Hey there, fellow eco-warriors and design enthusiasts! Amara here, ready to guide you through the exciting world of bedroom wallpaper installation. Trust me, I’ve been there – staring at blank walls, imagining the possibilities, and yes, feeling a little intimidated by the process. But guess what? It’s easier than you think, and I’m here to walk you through every step of the way.
Bedroom wallpaper installation is like creating a canvas for your dreams. It’s a chance to infuse your personality into your space, all while being mindful of our planet. Whether you’re dreaming of a modern bedroom wallpaper makeover or something more traditional, this guide will help you transform your room with confidence and style.
So, grab your favorite sustainably sourced coffee, and let’s dive into the wonderful world of DIY bedroom wallpaper installation. Together, we’ll turn your bedroom into a cozy, chic retreat that Mother Nature would be proud of!
Key Takeaways
Before we roll up our sleeves (literally!), let’s break down the essentials of bedroom wallpaper installation:
- Gather your eco-friendly arsenal: From non-toxic adhesives to recycled smoothing tools, we’ll cover all the sustainable materials you’ll need.
- Prep like a pro: Learn how to prepare your room and walls for a smooth, long-lasting application.
- Measure twice, cut once: I’ll show you how to accurately measure and cut your wallpaper to minimize waste.
- Bubble-free bliss: Master the art of applying wallpaper without those pesky air bubbles.
- Patience is key: Rome wasn’t built in a day, and neither is a perfectly wallpapered bedroom. We’ll take it step by step for a professional finish.

Ready to transform your space? Let’s get started on your bedroom wallpaper installation journey!
Tools and Materials
Alright, eco-warriors, let’s talk about the tools and materials you’ll need for your bedroom wallpaper installation project. Think of this as gathering ingredients for a delicious, sustainable recipe – each item plays a crucial role in creating your dream space.
Essential Tools
First up, let’s assemble our eco-friendly toolkit:
- Tape measure: Opt for a durable, metal one that’ll last for years.
- Utility knife: Look for one with replaceable blades to reduce waste.
- Straight edge: A metal ruler works wonders and doubles as a cutting guide.
- Wallpaper smoother: Seek out ones made from recycled plastic or sustainable bamboo.
- Seam roller: This little tool is a game-changer for those pesky edges.
- Step ladder: Choose a sturdy, folding one made from sustainable materials.
- Sponge: Natural sea sponges are perfect for cleaning up and are biodegradable.
Remember, investing in quality tools means they’ll last longer, reducing waste in the long run. It’s all about thinking sustainably!
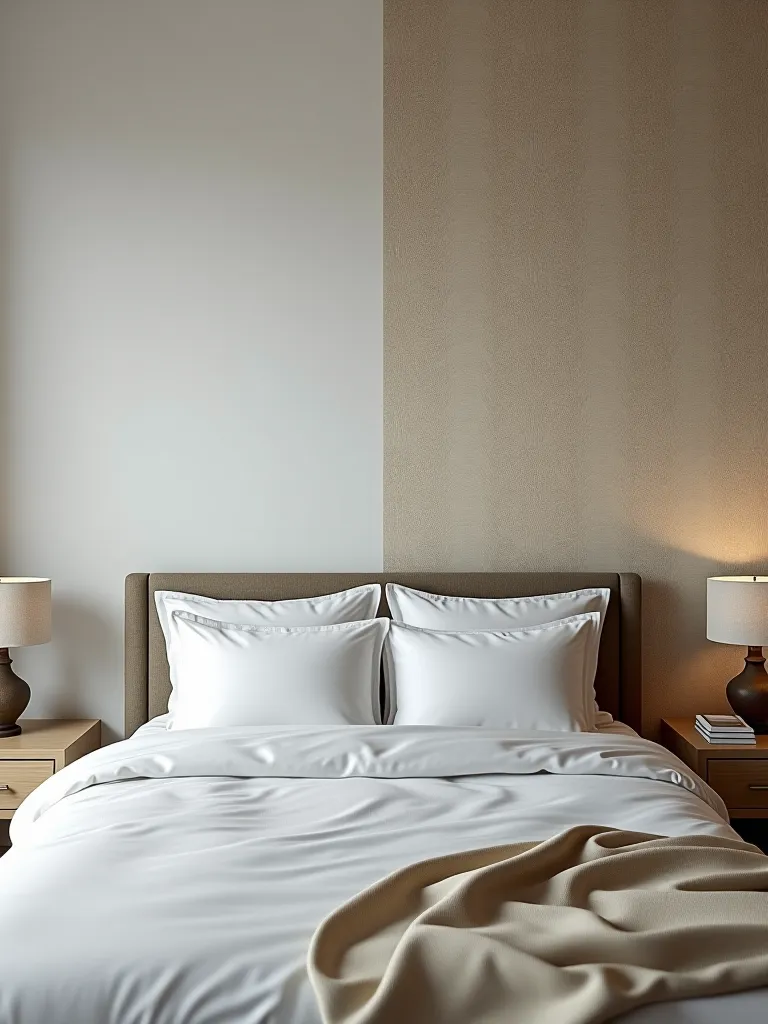
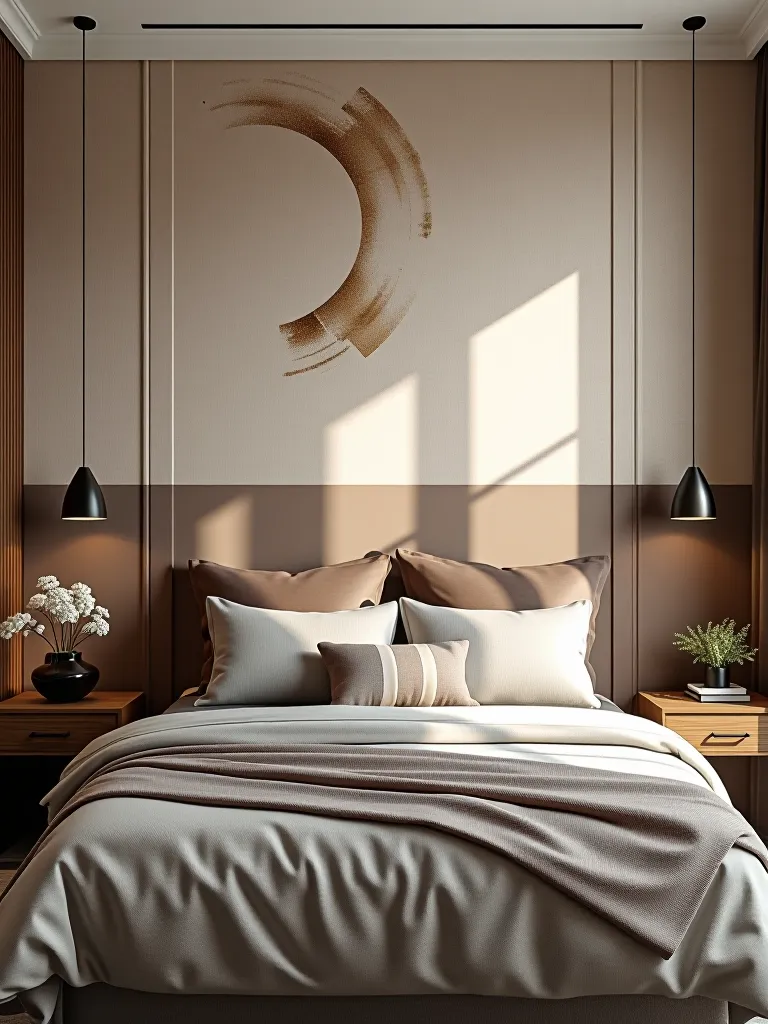
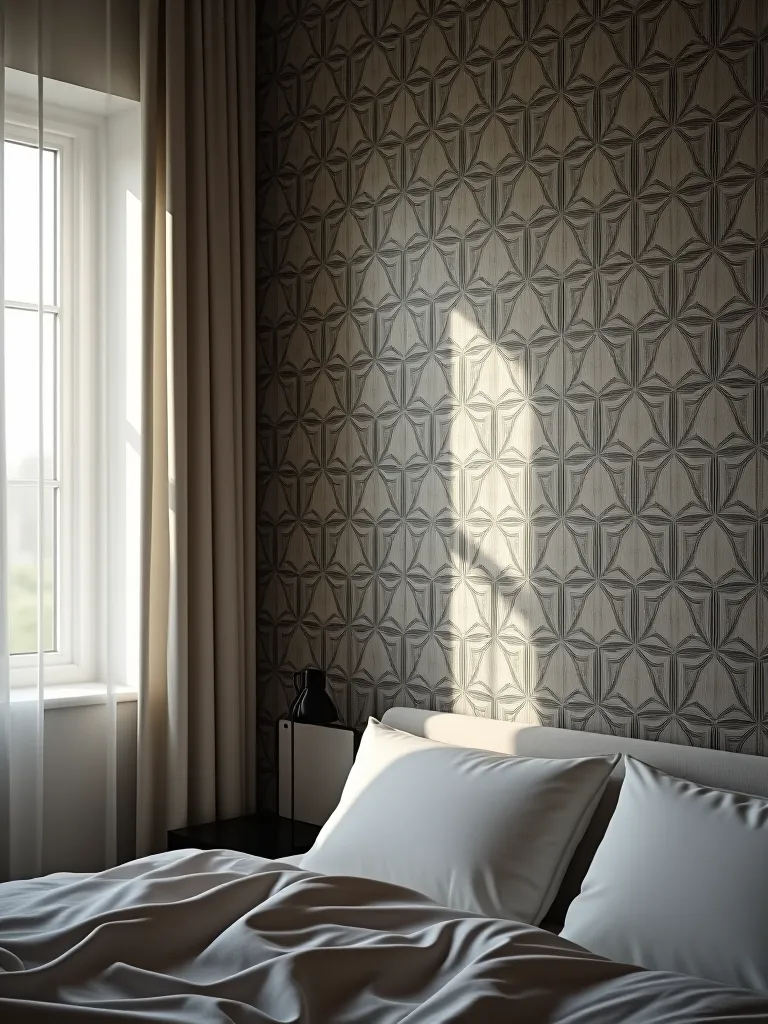
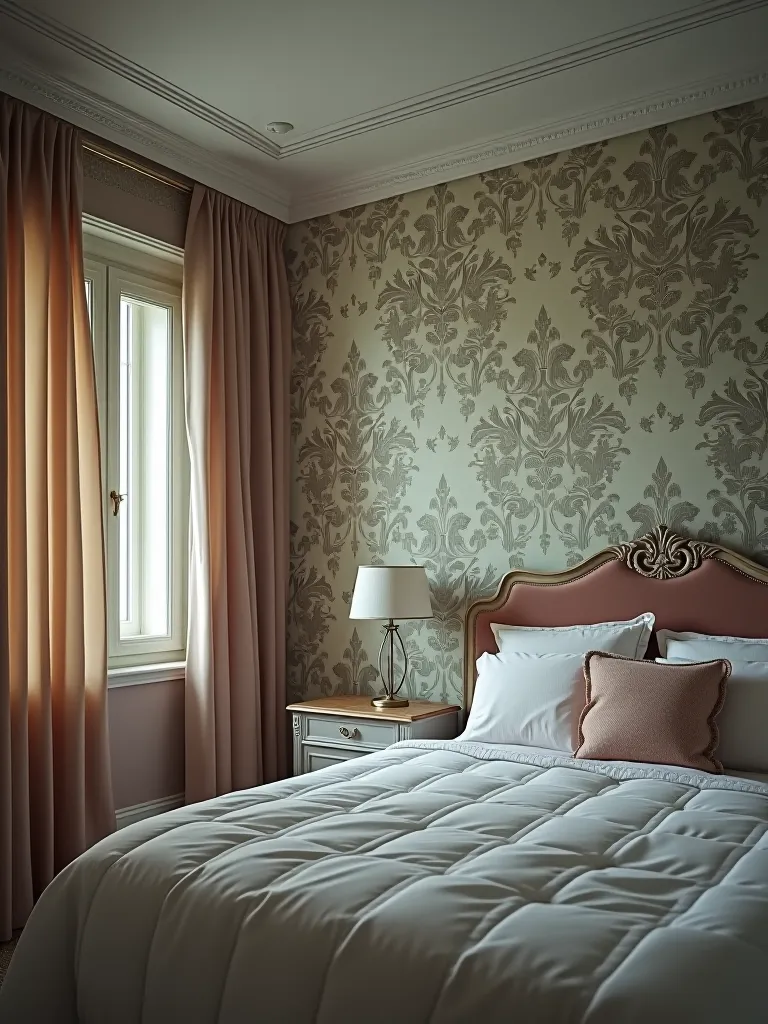
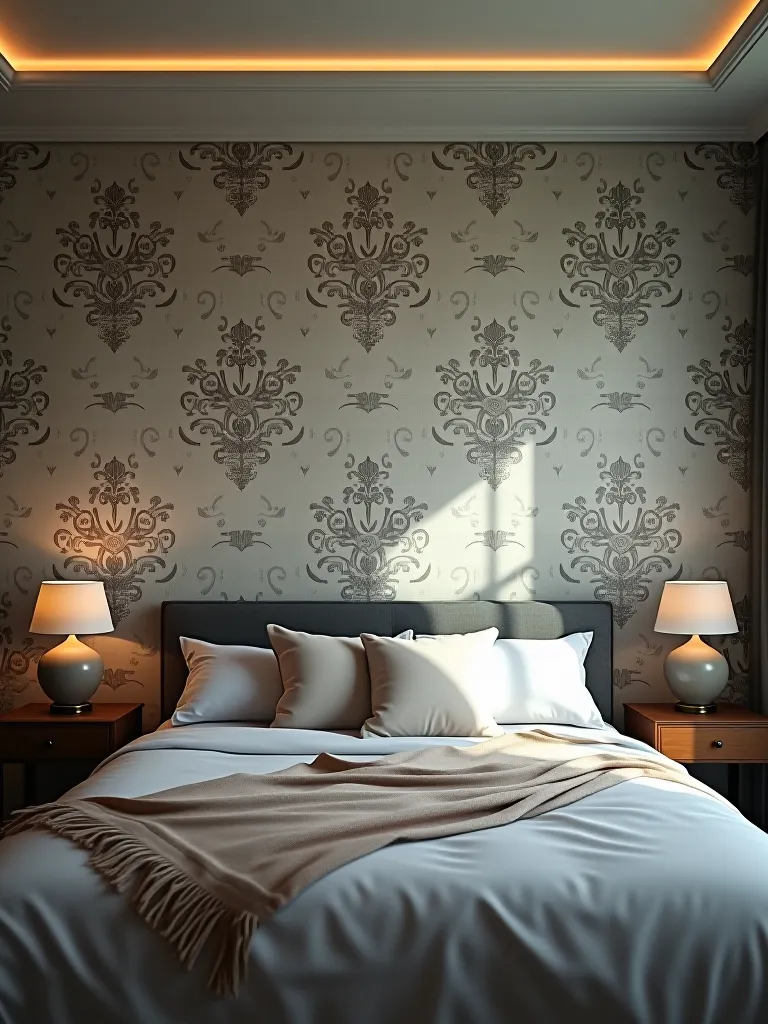
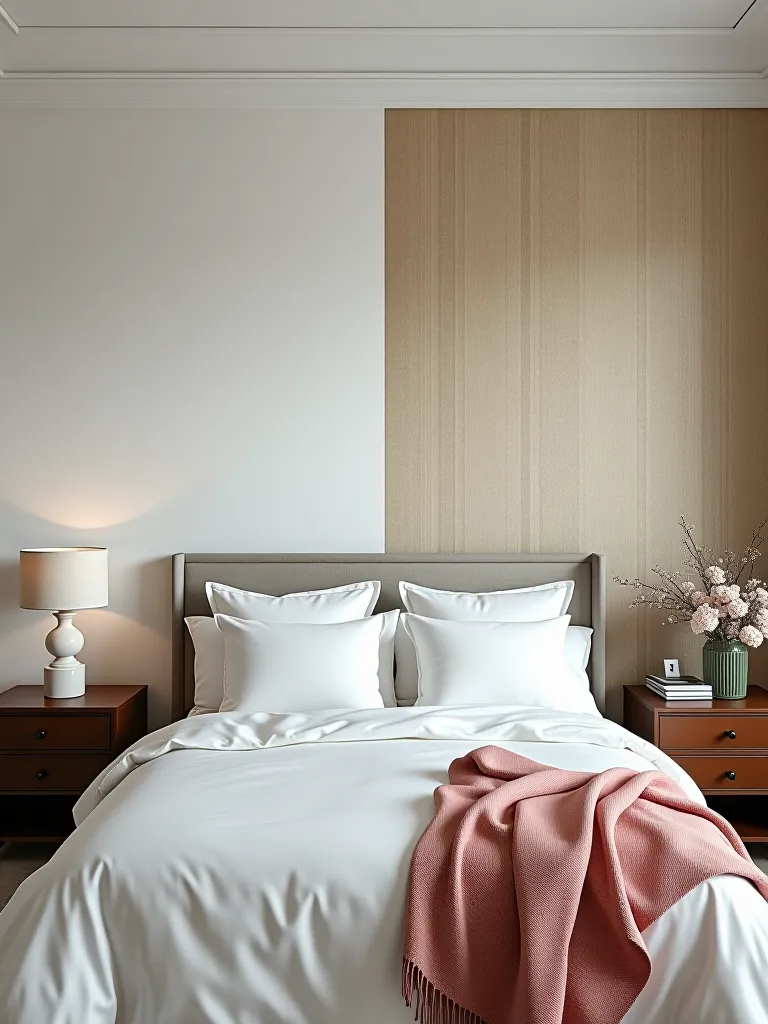
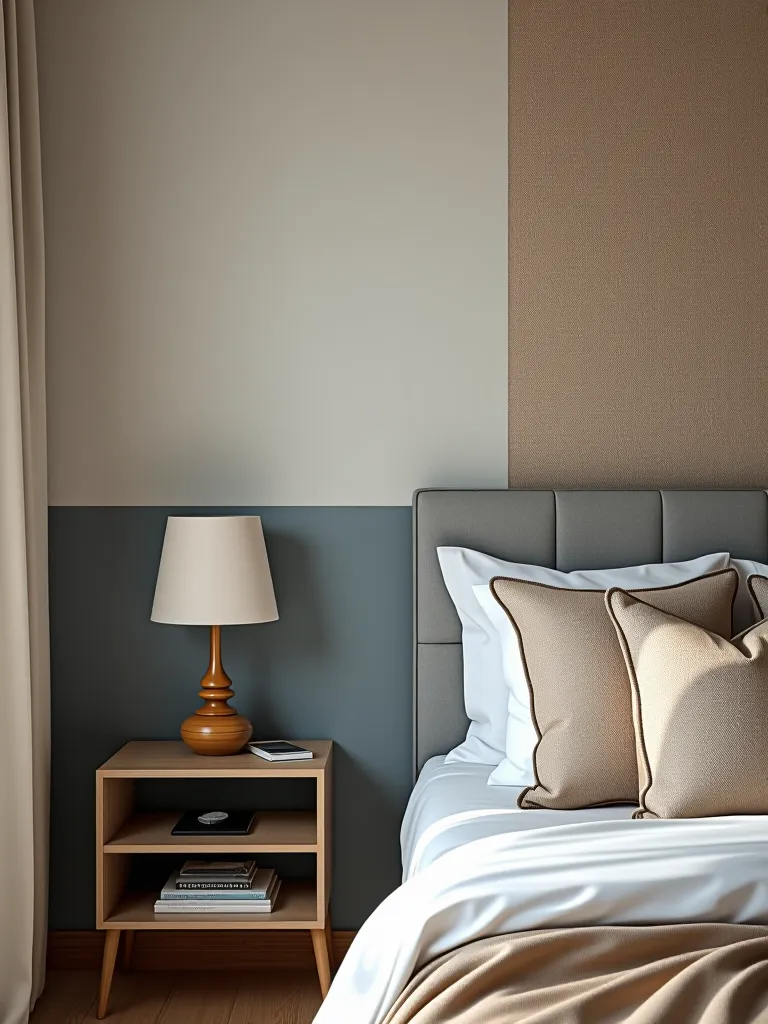
Types of Wallpaper
Now, let’s explore the world of wallpaper options. There are so many creative uses for modern bedroom wallpaper, and choosing the right type is key to a successful installation:
- Vinyl wallpaper: Durable and easy to clean, but look for eco-friendly options made from recycled materials.
- Fabric wallpaper: Adds warmth and texture, and can be made from sustainable fibers like organic cotton or bamboo.
- Paper wallpaper: Often more affordable and can be sourced from sustainably managed forests.
- Peel-and-stick wallpaper: Great for beginners and renters, with some brands offering eco-friendly options.

When choosing your wallpaper, consider not just the design but also its environmental impact. Look for wallpapers made from recycled materials or those that are certified as environmentally friendly.
Adhesives and Pastes
Choosing the right adhesive is crucial for your bedroom wallpaper installation. Here’s what you need to know:
- Pre-mixed paste: Convenient, but check for low-VOC (Volatile Organic Compounds) options.
- Powder paste: Mix it yourself for a more eco-friendly approach, as it reduces packaging waste.
- Paste-the-wall options: These can be more efficient and reduce waste during application.
When selecting your adhesive, look for brands that prioritize environmental responsibility. Many now offer non-toxic, low-VOC options that are better for both your health and the planet.
Remember, the key to a successful and sustainable bedroom wallpaper installation lies in choosing the right tools and materials. By opting for eco-friendly options, you’re not just creating a beautiful space – you’re also making a positive impact on the environment. Now that’s what I call a win-win!
Preparing the Room
Alright, eco-warriors, it’s time to set the stage for your bedroom wallpaper installation masterpiece! Proper preparation is like laying the foundation for a sustainable home – it ensures everything that follows is stable, efficient, and long-lasting. Let’s dive into getting your room ready for its eco-chic transformation.
Clear the Space
First things first, let’s declutter and create a clean canvas:
- Remove all furniture: This is a great opportunity to rethink your room layout and maybe even donate items you no longer need.
- Take down wall decorations: Carefully remove and store any artwork or photos.
- Remove light switch and outlet covers: Keep these in a safe place – you’ll need them later!
- Create a mindful workspace: Ensure you have ample room to move around and work comfortably.
Think of this as a chance to practice mindfulness in your space. As you clear the room, reflect on what truly brings you joy and what might be weighing you down.
Protect the Floor
Now, let’s safeguard your floors – because sustainability is all about protecting what we already have:
- Lay down drop cloths: Opt for reusable canvas ones instead of disposable plastic sheets.
- Secure the edges: Use painter’s tape to keep the clothes in place and prevent tripping.
- Create a designated “clean zone”: This area is for your tools and materials, keeping them off the bare floor.
By protecting your floors, you’re not just making cleanup easier – you’re also extending the life of your flooring, which is a win for your wallet and the planet!
Gather Supplies
Time to assemble your eco-friendly toolkit:
- Collect all your materials: Wallpaper rolls, adhesive, and application tools should be within easy reach.
- Prepare a water station: Fill a bucket with clean water and have a natural sponge ready for any adjustments.
- Double-check your supplies: There’s nothing worse than having to pause your project for a supply run!
Pro tip: Use a reusable water bottle to stay hydrated during your bedroom wallpaper installation project. It’s amazing how focused you can get once you start!
By taking the time to properly prepare your room, you’re setting yourself up for a smooth, efficient bedroom wallpaper installation process. Remember, good preparation is the secret sauce to a successful DIY project. Plus, it gives you a moment to center yourself and get excited about the transformation to come. Now, let’s move on to prepping those walls!
Wall Preparation Steps
Now that your room is clean and protected, it’s time to focus on the canvas for your bedroom wallpaper installation – your walls! Proper wall preparation is like nurturing the soil before planting a garden. It ensures your wallpaper will thrive and look beautiful for years to come. Let’s dive into making those walls picture-perfect!
Clean the Walls
First up, we’re going to give those walls a good, eco-friendly cleanse:
- Dust be gone: Use a microfiber cloth to gently remove any dust or cobwebs.
- Tackle stubborn spots: For any persistent marks, mix a solution of warm water and mild, eco-friendly soap.
- Rinse well: Use a clean, damp cloth to remove any soap residue.
- Let it breathe: Allow the walls to dry completely before moving on.
Remember, cleaning your walls isn’t just about aesthetics – it’s about creating the best possible surface for your wallpaper to adhere to. Think of it as preparing a clean slate for your room’s new story!
Repair Imperfections
Now, let’s address any little imperfections that might be hiding on your walls:
- Fill in the gaps: Use an eco-friendly spackle to fill any holes or cracks.
- Sand it smooth: Once the filler is dry, sand the areas gently for a seamless finish.
- Dust off: Wipe away any sanding dust with a slightly damp cloth.
This step is all about creating a smooth, even surface for your wallpaper. It’s like ironing out the wrinkles in a beautiful piece of fabric before sewing – it sets you up for a flawless finish!
Apply Primer
Last but not least, let’s talk primer – the unsung hero of bedroom wallpaper installation:
- Choose wisely: Opt for a low-VOC primer specifically designed for wallpaper application.
- Apply evenly: Use a roller or brush to apply a thin, even coat of primer.
- Be patient: Allow the primer to dry completely before moving on to hanging your wallpaper.
Applying primer might seem like an extra step, but trust me, it’s worth it! It helps your wallpaper adhere better and can even make it easier to remove down the line if you decide to change things up.
For those of you working with a tight budget, don’t worry! There are plenty of ways to achieve a stunning budget bedroom wallpaper makeover without compromising on quality or style.
By taking the time to properly prepare your walls, you’re setting the stage for a successful bedroom wallpaper installation. Think of it as an act of love for your space – you’re creating the perfect foundation for your new, beautiful walls. Now, who’s ready to start measuring and cutting that gorgeous wallpaper?
Measuring and Cutting Wallpaper
Alright, eco-warriors, we’re getting to the exciting part of our bedroom wallpaper installation journey – measuring and cutting! This step is where precision meets creativity, and where we can flex our sustainable muscles by minimizing waste. Let’s dive in and make every inch count!
Measure the Walls
First up, let’s get those measurements just right:
- Start with height: Measure from the ceiling to the baseboard at several points along each wall.
- Width matters: Measure the width of each wall, accounting for windows and doors.
- Add a little extra: When calculating how much wallpaper you need, add an extra 4-6 inches to each measurement for trimming.
Pro tip: Sketch a quick diagram of your room with all the measurements. It’s like creating a map for your bedroom wallpaper installation adventure!
Cut the Wallpaper
Now, let’s turn those measurements into action:
- Unroll with care: Lay your wallpaper on a clean, flat surface – those drop cloths we put down earlier are perfect for this!
- Measure twice, cut once: Use your wall measurements to mark your cutting lines, adding that extra 4-6 inches we talked about.
- Make clean cuts: Use a sharp utility knife and a metal straight edge for precise, clean cuts.
- Label with love: Gently number each strip on the back in pencil to keep track of the order.
Remember, every piece of wallpaper we save from the scrap heap is a win for the planet. Be thoughtful and precise in your cutting to minimize waste.
Check Pattern Alignment
If your chosen wallpaper has a pattern, this step is crucial for a seamless look:
- Lay it out: Place your cut strips side by side on the floor.
- Match it up: Ensure the pattern aligns perfectly from one strip to the next.
- Adjust as needed: If the pattern doesn’t line up, you may need to trim or recut some strips.
Think of this like putting together a beautiful, sustainable puzzle. Each piece should fit just right to create your perfect bedroom picture.
By taking the time to measure and cut your wallpaper accurately, you’re not just ensuring a beautiful final result – you’re also being mindful of resources and reducing waste. It’s these small acts of consciousness that add up to make a big difference for our planet.
Now that we’ve got our wallpaper cut and ready, who’s excited to start hanging? The transformation is just around the corner!
Applying and Hanging Wallpaper
This is it, eco-warriors – the moment we’ve been building up to in our bedroom wallpaper installation journey! It’s time to bring your walls to life with your carefully chosen, sustainably sourced wallpaper. Take a deep breath, center yourself, and let’s create some magic!
Apply Adhesive
First things first, let’s get that eco-friendly adhesive ready:
- Read the instructions: Different wallpapers require different application methods, so always check the manufacturer’s guidelines.
- Mix it up: If you’re using a powder adhesive, mix it to a smooth consistency – think of it as making a sustainable smoothie for your walls!
- Apply with care: Whether you’re pasting the wall or the paper, use a roller or brush to apply an even layer of adhesive.
- Be mindful: Only apply adhesive to one strip’s worth of wall or paper at a time to prevent it from drying out.
Remember, patience is key here. Taking your time with the adhesive application sets the foundation for a smooth, bubble-free finish.

Hang the First Strip
Now for the exciting part – hanging your first strip of wallpaper:
- Start smart: Begin in a less noticeable corner of the room, just in case there are any initial hiccups.
- Use a level: Ensure your first strip is perfectly straight – it sets the tone for the entire room.
- Smooth operator: Gently press the paper onto the wall, starting from the top and working your way down.
- Brush it out: Use your smoothing tool to carefully work out any air bubbles, moving from the center to the edges.
This first strip is like planting a seed – it’s the start of your room’s transformation, so give it lots of love and attention!
Smooth Out Bubbles
As you continue hanging strips, keep an eye out for any air bubbles:
- Be gentle: Use your smoothing tool with firm but gentle pressure to work out any bubbles.
- Work methodically: Start from the center of each strip and move outwards towards the edges.
- Patience pays off: Take your time with this step – rushing can lead to tears or creases in the paper.
Think of smoothing out bubbles as a mindfulness exercise. It’s a chance to connect with your space and ensure every inch of your wallpaper is perfect.
Trim Excess
Finally, let’s give your bedroom wallpaper installation those finishing touches:
- Wait a moment: Allow the paper to settle for a few minutes before trimming.
- Use a guide: A metal straight edge will help you achieve clean, precise cuts.
- Trim with care: Use a sharp utility knife to carefully trim excess paper along the ceiling, baseboards, and around fixtures.
- Double-check: Step back and look for any spots that might need touch-ups.
Trimming is like putting the final brushstrokes on a painting – it’s where your bedroom wallpaper installation comes to life!
Remember, throughout this process, it’s okay if things aren’t perfect on the first try. Wallpapering is a skill that improves with practice. Be patient with yourself and enjoy the process of bringing your vision to life.
As you step back and admire your handiwork, take a moment to appreciate not just the beauty of your new walls, but also the sustainable choices you made along the way. Your bedroom wallpaper installation isn’t just a design statement – it’s a testament to your commitment to creating a beautiful, eco-friendly home.
Closing Thoughts
Wow, what a journey we’ve been on together! From prepping our space to that final, satisfying trim, we’ve transformed your bedroom into a personalized eco-chic haven. Take a moment to bask in the glow of your accomplishment – you’ve not only mastered the art of bedroom wallpaper installation, but you’ve done it with the planet in mind.
Remember when we started, and the task seemed a bit daunting? Look at you now – a DIY wallpaper pro! You’ve learned to measure with precision, cut with care, and apply with patience. These skills aren’t just about creating a beautiful room; they’re about empowering yourself to shape your environment in sustainable, creative ways.
As you enjoy your newly wallpapered bedroom, think about the story it tells. Each carefully aligned pattern, each smoothed-out bubble, represents a choice you made to bring your vision to life. And the best part? You did it in a way that aligns with your values, choosing eco-friendly materials and minimizing waste along the way.
But let’s not stop here! Your successful bedroom wallpaper installation is just the beginning. Maybe you’re already eyeing that hallway or thinking about giving your living room a makeover. The skills you’ve learned here can be applied to any room in your home, allowing you to create a cohesive, eco-friendly space that truly reflects your personality.