Picture this: You’re standing at your back door, looking out at that slab of concrete. Right now, it might just be a place for the lonely grill and a few forgotten chairs. But I want you to see what I see: a blank canvas. An outdoor studio. A place that’s waiting for you to compose a masterpiece of light, texture, and living. Your backyard patio isn’t just an afterthought; it’s an extension of your creative soul and your home.
As an artist who designs spaces, I’ve seen so many creatives feel stuck with their outdoor areas. They get overwhelmed by Pinterest boards and generic advice from big-box stores. They forget that the same principles we use to create art—composition, balance, mood—are exactly what’s needed to build a space that feels incredible. So, let’s cut through the noise. I’m going to give you the real story on what matters, the shortcuts I wish I’d known, and how to turn that boring patch of ground into a place that truly feeds your spirit.
Planning Your Perfect Outdoor Retreat (Part 1)
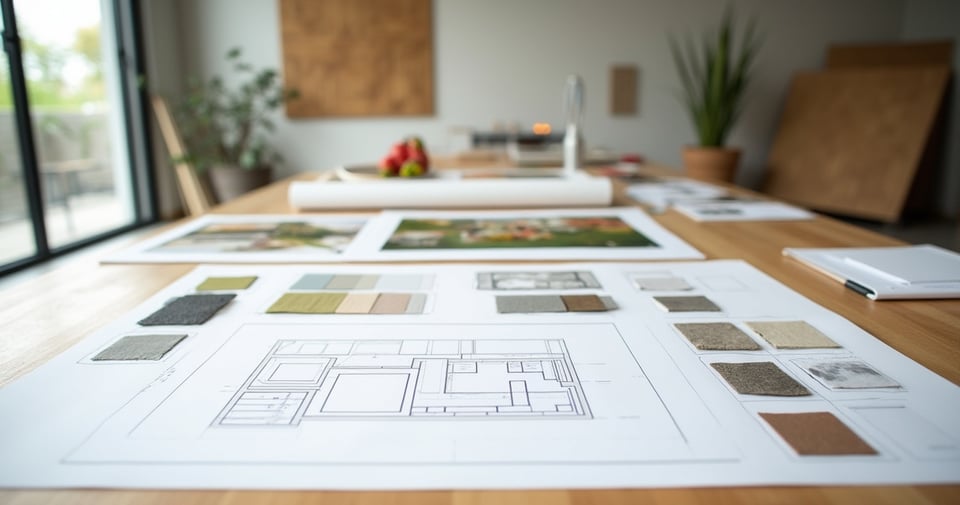
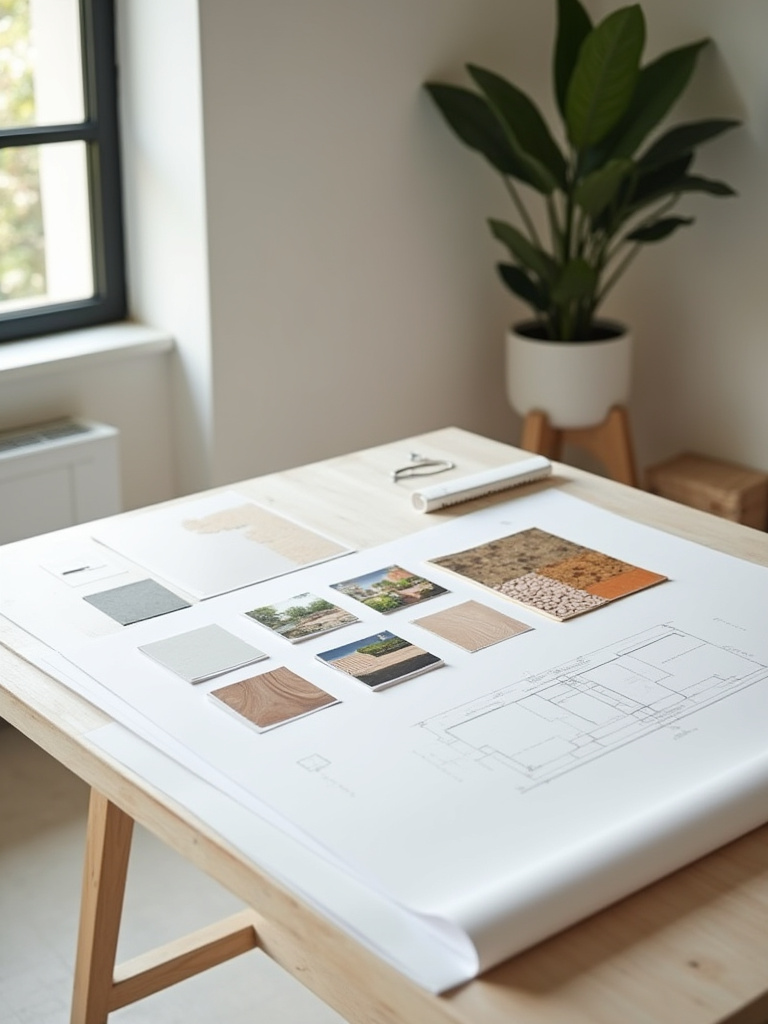
This is the dreaming and sketching phase. Don’t rush it. This is where you lay the conceptual groundwork, just like thumbnails for a painting. Getting this part right saves you from creating something that looks good but feels all wrong.
1. First, Answer the Big Question: What Is This Space For?
Before you even think about pavers or pergolas, you have to define the soul of your patio. Everyone will tell you to “define its purpose,” which sounds like a corporate memo. I’m asking you to think about the verb. What is the primary action you’ll be doing here? Is this a space for solitary morning coffee and sketching? Is it a workshop for messy projects like pottery or sanding? Or is it a stage for lively dinners and critiques with your fellow creatives?
Be brutally honest. Don’t design a huge entertaining area if you’re a die-hard introvert who just wants a quiet corner to read. The biggest mistake is creating a space for a life you think you should have instead of the one you actually live. Once you have your main verb—relax, create, connect—everything else, from the size to the materials, will start to fall into place. Your vision becomes the anchor for every decision.
This initial vision is your North Star, guiding you as you start dealing with the more concrete, and often more intimidating, details of the project.
2. The Reality Check: Budget and Timeline
Can we just talk about money for a second? We artists are brilliant at making something from nothing, but this is one area where wishful thinking can lead to a half-finished disaster. Establishing a budget isn’t about limiting your creativity; it’s about giving it structure. I once tried to build a massive studio wall of shelves with a shoestring budget, and I ended up with wobbly, unfinished wood for a year because I ran out of money halfway through. It was a constant, frustrating reminder of poor planning.
Start by researching real local costs for materials and labor—don’t just trust a national average from a blog post. Then, here’s the most important part that nobody wants to do: add a 15-20% contingency fund. Call it your “Oops Fund” or “Creative Freedom Fund.” It’s for the unexpected gnarly tree root, the sudden price hike on that perfect tile, or the brilliant idea you have mid-project. A plan without a contingency isn’t a plan; it’s a prayer.
With your budget grounded in reality, you can now turn your attention to the canvas itself—your yard—and see what it’s telling you.
3. Read the Landscape: Sun, Wind, and Water
Your backyard already has its own personality, and you have to work with it, not against it. Before you decide where the patio goes, spend a full day—heck, a full weekend—just observing. Be a landscape artist studying your subject. Where does the morning light hit? That’s your coffee spot. Where is the harsh, creativity-killing afternoon sun? That’s where you’ll need a pergola or a big, beautiful umbrella.
Watch how the wind moves through the space. You don’t want to put a fire pit in a wind tunnel. And after it rains, see where puddles form. That’s your land telling you exactly where you have a drainage problem. Ignoring these natural cues is like trying to paint on a wet canvas; the result is a muddy mess. I’ve seen gorgeous, expensive patios built in swampy corners of a yard that rendered them unusable half the year. Listen to your space first.
Once you understand the natural energy of your yard, you can start sketching the flow of human energy across it.
4. Sketch Your Zones: Creating Rooms Without Walls
Okay, now for the fun part: composition. You wouldn’t just throw random elements onto a canvas, and you shouldn’t do it with your patio either. Think in terms of “zones,” which is just a designer’s way of saying you’re creating different “rooms” for your activities. Use a rope or garden hose to physically lay out these areas on the ground. Where does the “dining room” go? Where is the “lounge”? How do you move between them?
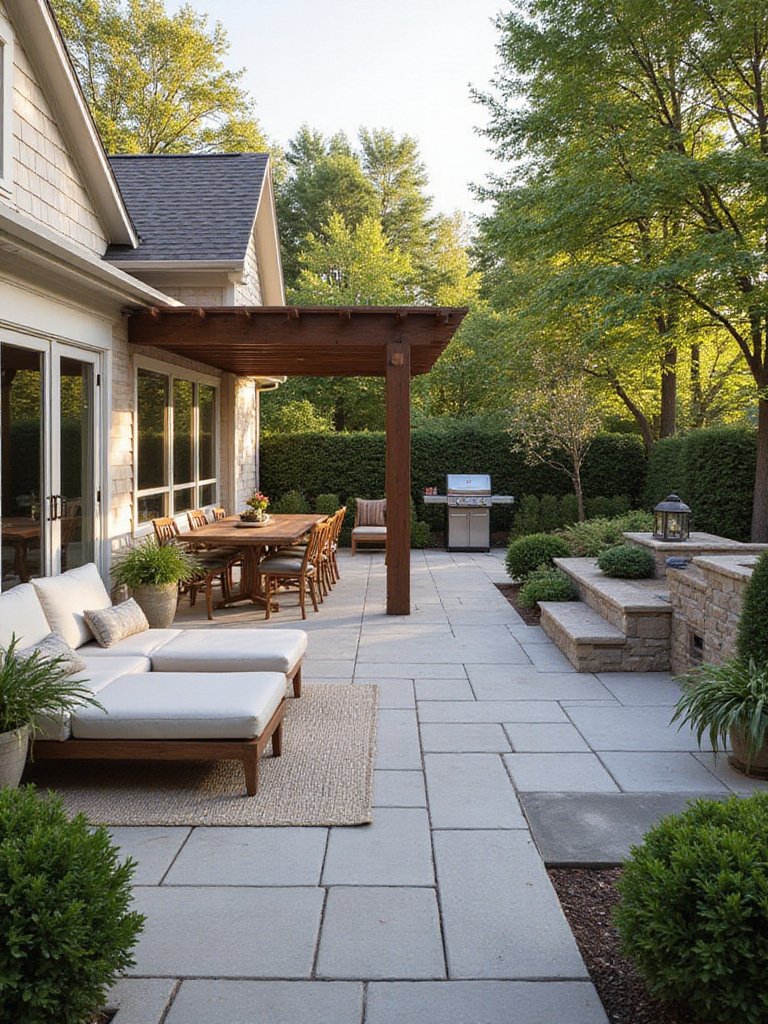
This is all about creating flow and purpose. The path from your kitchen door to the grill should be direct and clear. The quiet reading nook should feel protected and separate from the main social area. You can define these zones with furniture, an outdoor rug, a change in paving material, or even a couple of large planters. It creates a space that feels intentional and organized, making even a small patio feel larger and more functional.
Now that you have the creative blueprint, it’s time to shift into the practicalities of making it a legal, lasting reality.
Planning Your Perfect Outdoor Retreat (Part 2)
This part feels like the boring administrative work of being an artist, like filling out grant applications. But trust me, getting this right is what separates a professional, lasting installation from a DIY headache.
5. Play by the Rules So You Can Break Them Later
I know, I know. Permits and zoning codes are the least creative part of this entire process. It’s tempting to skip it, especially for something that feels like it’s “just in your backyard.” Don’t. I watched a friend build the most stunning raised deck, a true work of art, only to have a neighbor complain. Because he hadn’t checked the setback requirements, he was forced to tear down a third of it. It was heartbreaking and expensive.
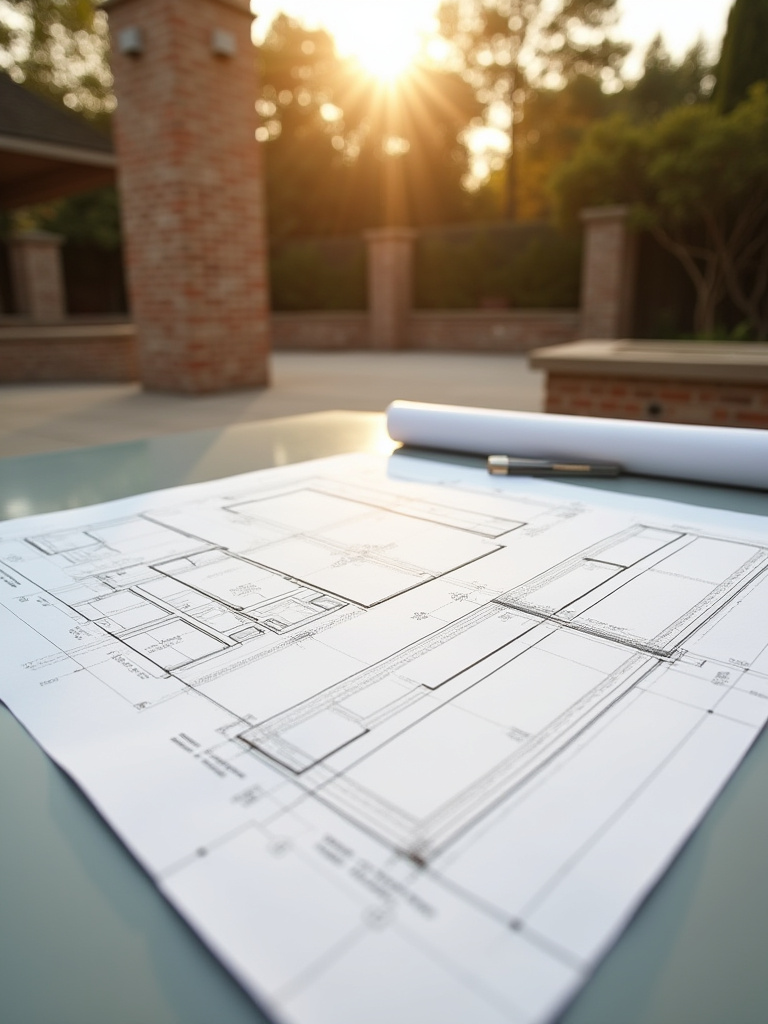
Your local building department’s website is your best friend here. Look up setback rules (how far the patio must be from your property line), impervious surface limits (how much of your yard you can cover with non-drainable stuff), and permit requirements for things like decks, pergolas, or retaining walls. It’s a pain in the neck now, but it’s infinitely less painful than a stop-work order or a demolition notice later. Get the rules handled so you can have the freedom to create without worrying.
With the legal framework in place, we can move on to the literal foundation of your project—what’s underneath and what it’s made of.
Foundation and Materializing Your Design (Part 1)
This is where your vision starts to become a physical thing. The choices you make here are about texture, permanence, and strength. This is the underpainting of your patio—it won’t be visible, but it will determine the quality of the final piece.
6. Choose Your Palette: Selecting Surface Materials
The surface of your patio is its skin. It’s the texture under your bare feet, the color that sets the mood. This isn’t just a technical choice; it’s a primary aesthetic one. Do you want the warm, organic feel of rustic brick, the cool, sleek modernism of large concrete pavers, or the wild, natural elegance of flagstone? Think about it like choosing your medium. Each one has a different character and requires a different technique.
But here’s the practical artist’s take: you have to balance beauty with brawn. That gorgeous, porous travertine tile might look amazing in a Southern California showroom, but in a place with harsh freezes and thaws, it will crack and spall within a few years. Be realistic about your climate and your tolerance for maintenance. And please, get samples. Bring them home and look at them in the morning light, in the afternoon sun, and when they’re wet. The material’s personality will change, and you need to love all of it.
Before you can lay down that beautiful surface, you have to prepare the ground for it with obsessive precision.
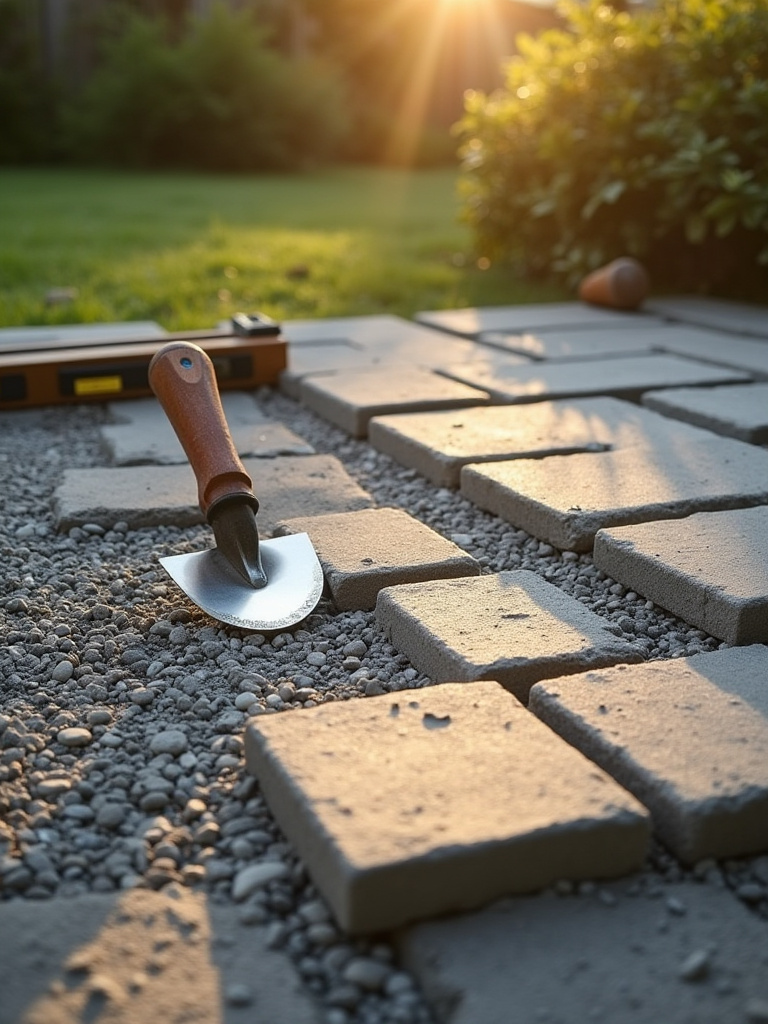
7. The Unseen Hero: Preparing a Rock-Solid Sub-Base
Here’s a secret: a great patio has almost nothing to do with the pavers on top and everything to do with the layers of gravel and sand underneath. This is the part everyone wants to rush, and it’s the absolute worst place to cut corners. A poorly prepared sub-base is why you see patios that look like sad, lumpy skate parks after a few years, with pavers sinking and weeds growing everywhere.
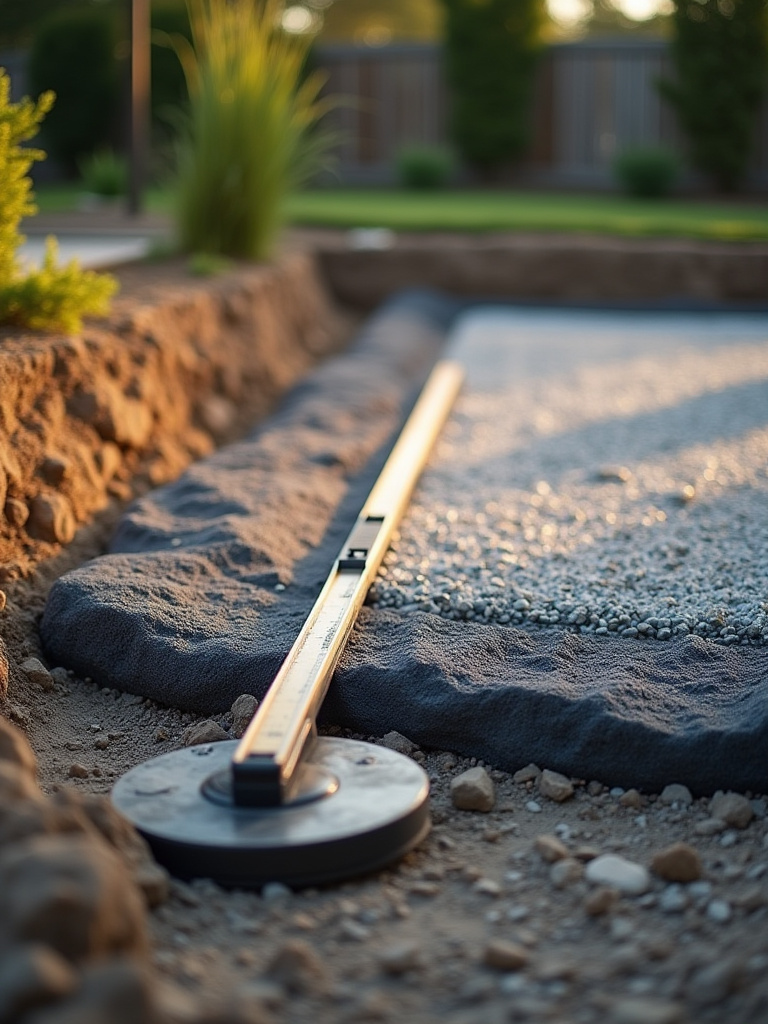
Think of it like stretching and gessoing a canvas. It’s tedious, but without a perfectly flat, stable, and taut surface, your painting will eventually sag and crack. You need to dig down, create a slight, almost imperceptible slope away from your house for drainage, and then compact layers of gravel with a plate compactor. That machine is your best friend. This meticulously packed foundation is what will keep your artwork flat and stable for decades to come.
A stable base is nothing without a plan for the most powerful force in nature: water.
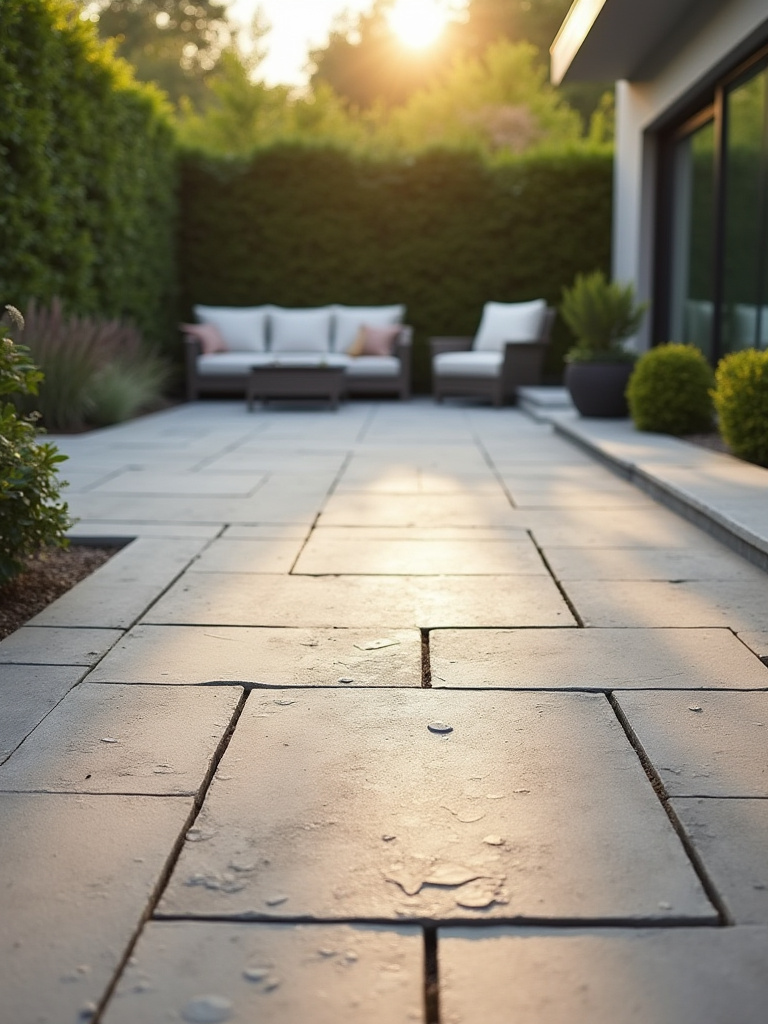
8. Outsmart the Rain: Smart Drainage Solutions
Water is the enemy of every structure humans have ever built. For a patio, it’s a quiet destroyer. If you let water pool on the surface or collect against your house’s foundation, you’re inviting a world of problems: moss, mildew, cracking from ice, and even serious foundational damage to your home. Designing for drainage isn’t glamorous, but it’s non-negotiable.

The most basic solution is the slight slope we just talked about (about a quarter-inch drop for every foot). For bigger water issues, you might need a channel drain (like a grate) or a French drain (a hidden, gravel-filled trench). I once worked on a space that had a perpetually soggy corner. Instead of fighting it, we turned it into a feature by creating a beautiful rain garden with water-loving plants at the edge of the patio, solving the drainage problem and adding a stunning natural element. Don’t fight water; give it a graceful path to exit.
With the prep work done, it’s time for the most satisfying step: bringing the surface to life.
9. The Main Event: Laying Pavers or Pouring Concrete
This is the moment of truth, the final brushstrokes. Whether you’re setting pavers one by one or pouring a sea of concrete, precision is everything. For pavers, it’s like creating a mosaic. Start from a corner and work your way out, tapping each piece into place and using a level constantly. It’s a slow, methodical rhythm, but the result is a surface with texture and pattern.
Pouring concrete is more like a performance art piece. It’s a frantic, one-shot deal that has to be done quickly and perfectly before it sets. You need a solid frame, reinforcement inside, and the right tools to smooth the surface. The secret weapon for concrete is control joints—those lines you see cut into sidewalks. They give the concrete a planned place to crack as it expands and contracts, preventing a web of ugly, random cracks from forming later. It’s about embracing imperfection by controlling where it happens.
Now that the main floor of your outdoor room is complete, it’s time to define the edges and add the furniture that makes it a home.
Foundation and Materializing Your Design (Part 2)
Your patio is built. The “floor” is in. Now we add the elements that give it structure, definition, and comfort. Think of this as framing your artwork and placing the key sculptural elements within the composition.
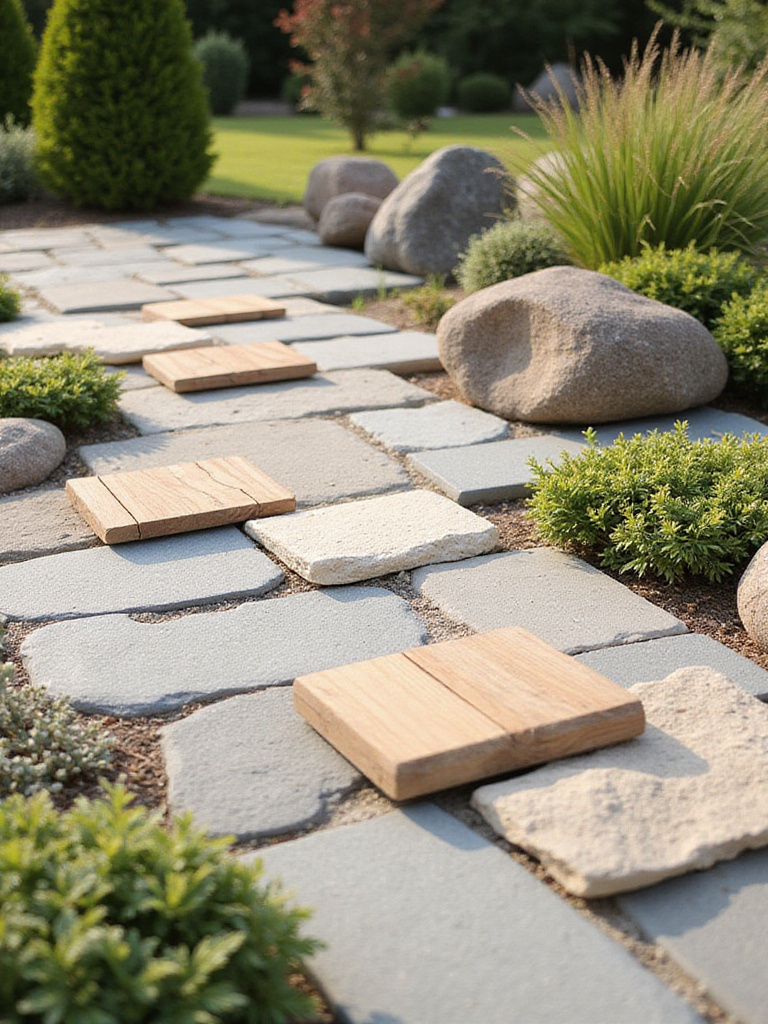
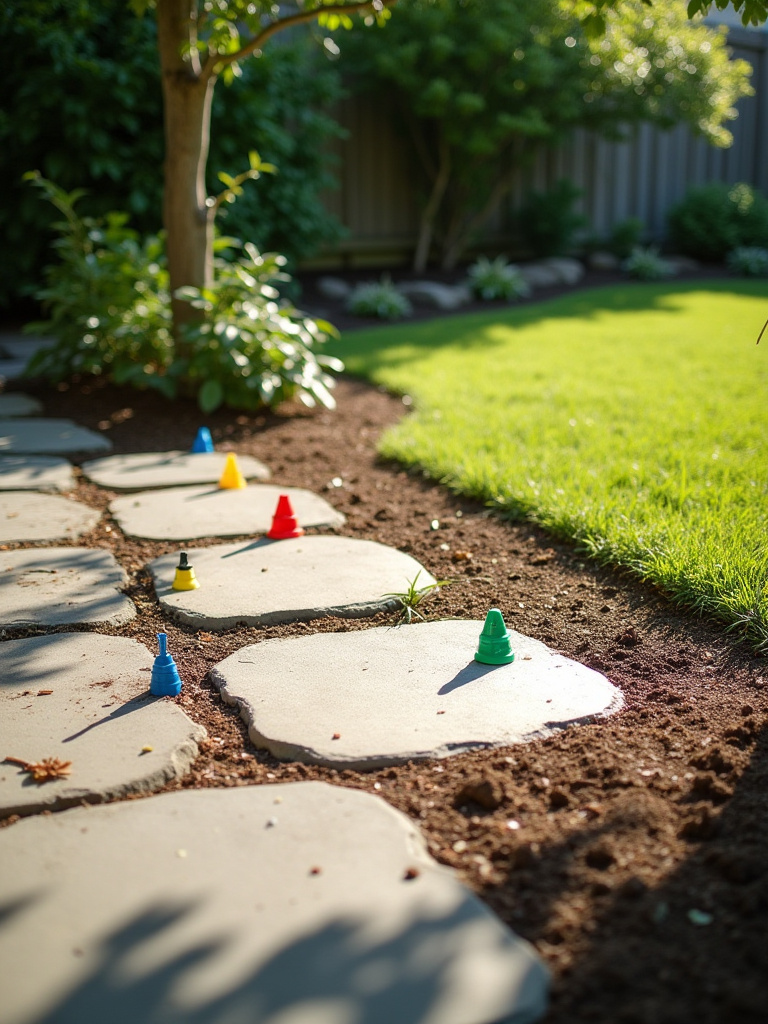
10. Frame Your Masterpiece: Edging and Walkways
A patio floating in a sea of grass can feel unfinished. Edging is the frame for your artwork. It creates a clean, intentional line between the hardscape and the softscape (your lawn or garden beds), making everything look crisp and tidy. It also does the practical work of keeping grass from creeping into your patio and holding your pavers in place. The material can match your patio or offer a beautiful contrast—a line of dark steel against pale concrete, for example.
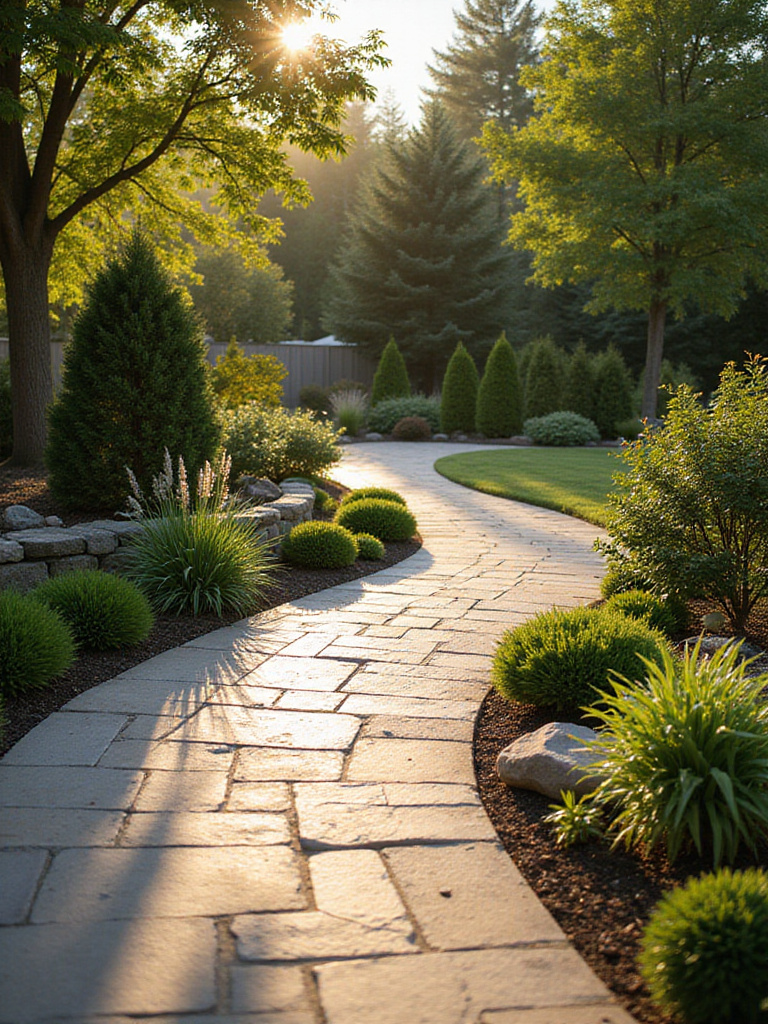
Walkways are the brushstrokes that guide the eye and the body through your backyard composition. They connect your outdoor “rooms” and create a sense of journey. A gently curving flagstone path feels completely different from a straight, formal brick walk. Don’t just think about the shortest distance between two points; think about the experience. What do you want people to see as they walk from the patio to the garden shed or the fire pit? A pathway controls the pace and the view.
With the structure defined, you can now furnish your outdoor room with pieces that invite you to stay.
11. The Art of the Seat: Choosing Furniture That Lasts
Here’s the deal with patio furniture: everyone gets seduced by the stylish, cheap set at the big-box store. And within two seasons, the cushions are a faded, mildewy mess and the “metal” frame is bleeding rust onto your beautiful pavers. I am begging you: prioritize durable, weather-resistant materials over trendy designs that won’t last. Your patio is not a place for fast fashion.
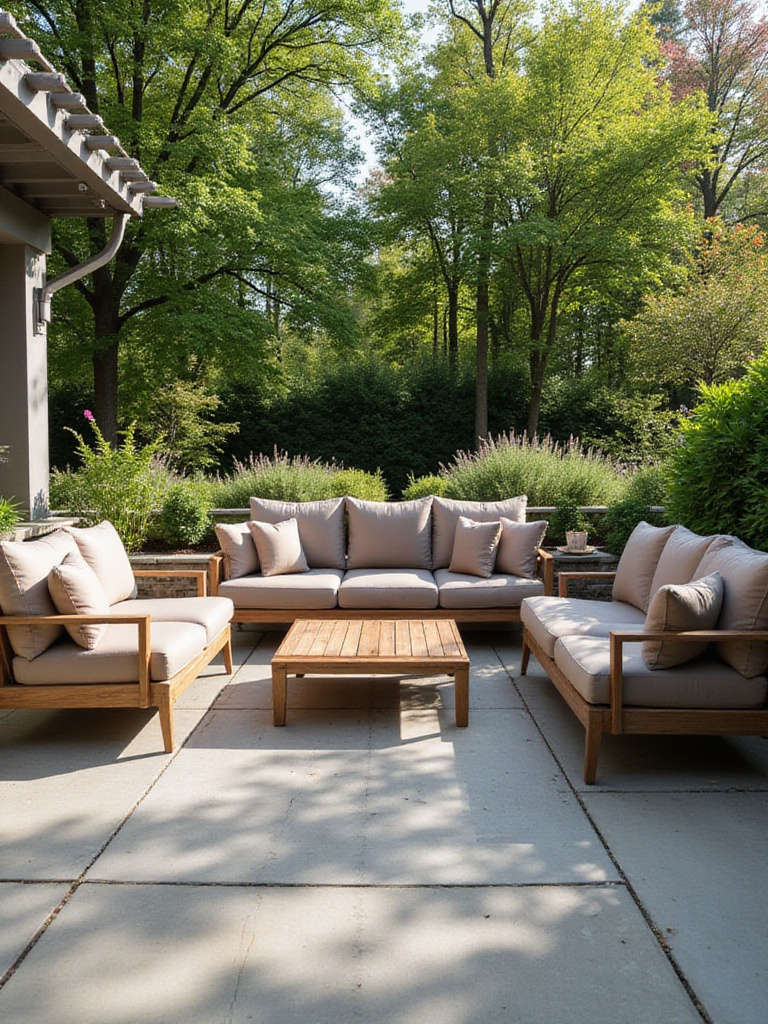
Think of furniture as the functional sculpture in your space. Look for materials like powder-coated aluminum, teak (which ages to a beautiful silver), or high-quality synthetic wicker. For fabrics, solution-dyed acrylics (like Sunbrella) are the gold standard; the color is part of the fiber, so it resists fading for years. Yes, it’s a bigger investment upfront, but buying one great set that lasts a decade is far more artist-friendly—and eco-friendly—than buying five cheap sets that you have to throw away.
Your patio is now functional. Let’s make it magical. We’re moving from construction to curation, adding layers of light and life.
Enhancing Ambiance and Functional Appeal (Part 1)
This is where you infuse the space with mood and personality. We’re talking about light, fire, and food—the elements that turn a structure into a destination.
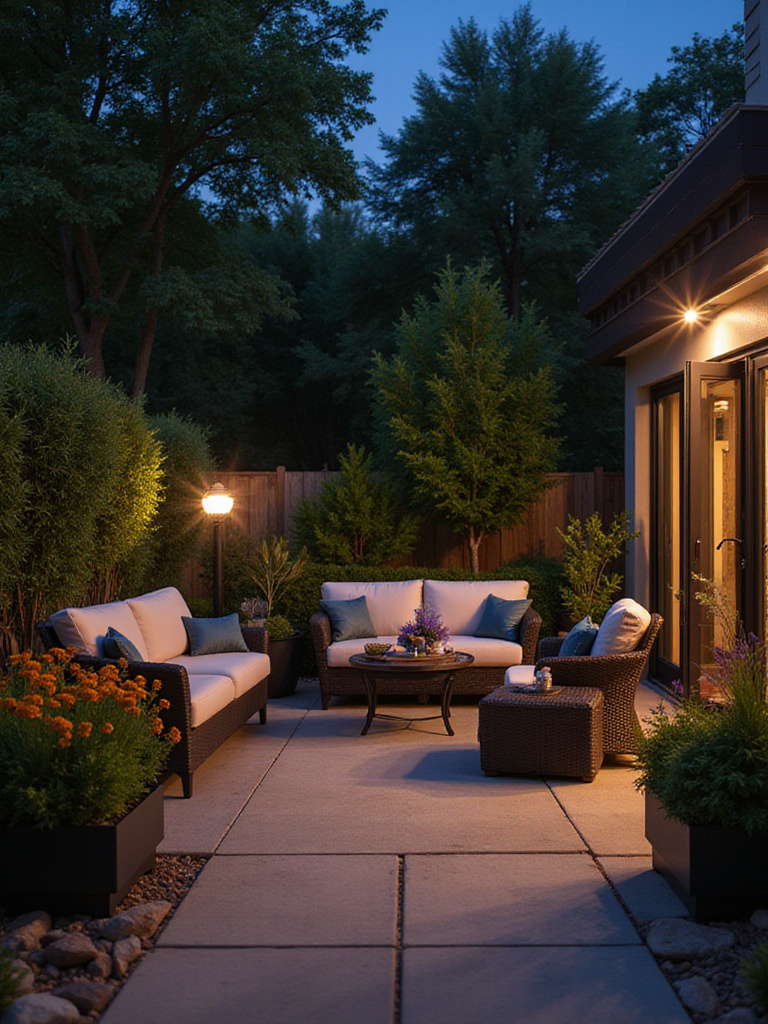
12. Paint with Light: Creating Mood After Dark
As any artist knows, light is everything. It sculpts form, creates drama, and completely transforms a space. Outdoor lighting isn’t just about sticking a floodlight on the corner of your house so you don’t trip. It’s about painting with light. Use a layered approach. You need your “general” light, like the soft, celebratory glow from string lights. You need “task” light for the grill. But the magic is in the “accent” light.
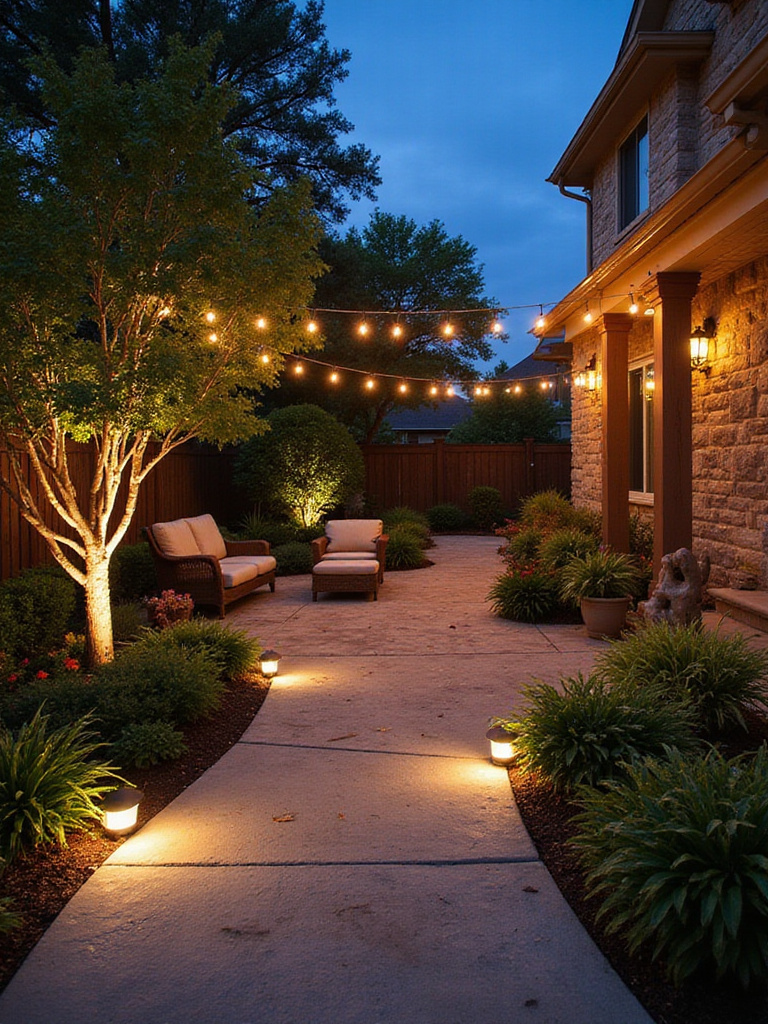
Use small uplights to turn a Japanese maple into a living sculpture at night. Graze a stone wall with light to bring out its rugged texture. Light the inside of a planter or a water feature. The key is to light the effect, not the source. You want to see the beautifully lit tree, not the glaring bulb aimed at it. Play with warm-toned LEDs and put everything on dimmers. This is your chance to be a cinematographer in your own backyard.
With light creating visual warmth, it’s time to think about the kind of warmth you can actually feel.
13. Sculpting the Sky: The Power of Shade
Just as important as light is its counterpart: shadow. A patio that’s baking in the sun all day is a space you’ll never use. Shade is what makes it a refuge. You have so many creative options here beyond a wobbly market umbrella. A pergola is an incredible architectural element. It creates a defined “ceiling” for your outdoor room, and you can play with the shadows it casts. Grow a gorgeous wisteria or climbing rose over it for a soft, natural canopy.
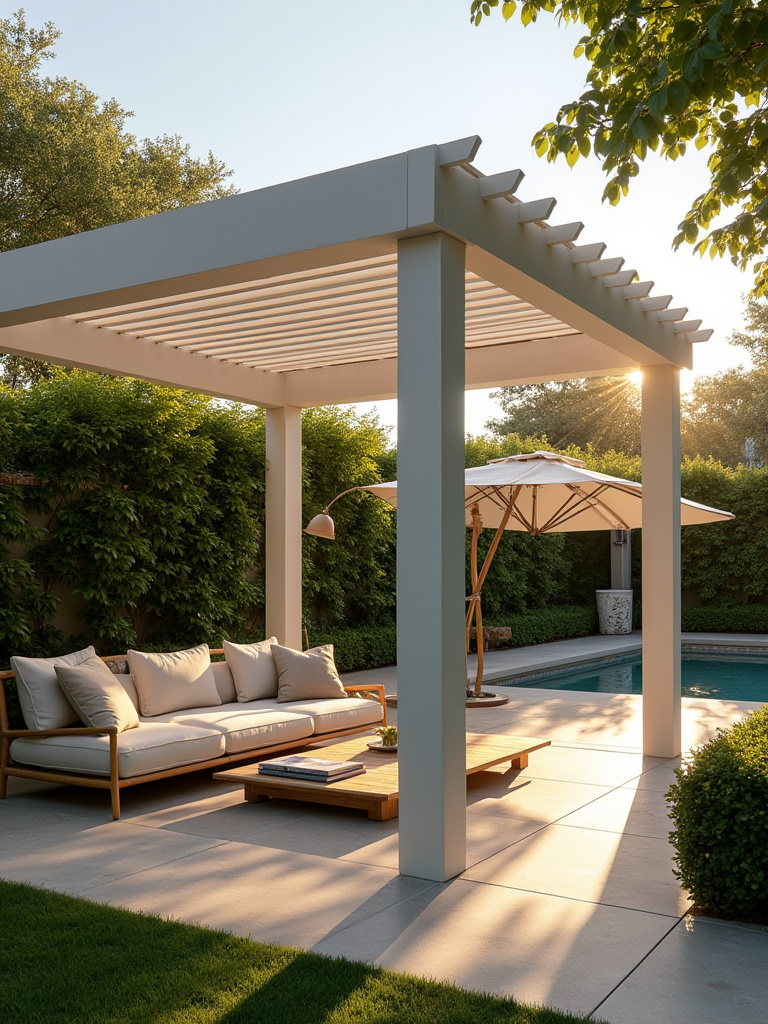
For more flexibility, a retractable awning can give you sun when you want it and shade when you need it at the touch of a button. A simple shade sail can be a dramatic, sculptural statement. Whatever you choose, make it feel like an intentional part of the design, not a flimsy afterthought. Think of it as controlling the light in your studio; sometimes you need to diffuse it to see your work clearly and comfortably.
Now let’s bring one of the best parts of indoor life outside: the kitchen.
14. The Creative Cook: The Grill Station and Outdoor Kitchen
There is something fundamentally wonderful about cooking outdoors. It transforms a chore into an event. You don’t need a massive, decked-out kitchen to capture this magic. A well-designed, dedicated grill station can be just as effective. The key is to give yourself a workspace. All you really need is your grill and at least two feet of counter space on either side—one side for your raw ingredients, the other for your finished masterpiece.

This simple setup stops the frantic juggling act of plates, tongs, and platters. Use materials that can take the heat and the grease—stainless steel, granite, or sealed concrete are great. And think about location: keep it close enough to the house for easy trips but position it so smoke doesn’t blow back into your seating area or open windows. This small “kitchen” zone instantly makes your patio a more functional and inviting hub for entertaining.
Once the meal is done, there’s no better way to keep the conversation going than by gathering around a fire.
15. The Modern Campfire: Designing a Fire Feature
Fire is magnetic. It’s primal. It draws people in and encourages them to linger. A fire pit or outdoor fireplace instantly becomes the heart of your patio, a focal point for connection. You can go with a simple, portable metal fire bowl or a built-in gas fire pit that lights with the flick of a switch. Gas is clean and convenient, but you can’t beat the crackle, smell, and soul of a real wood fire.
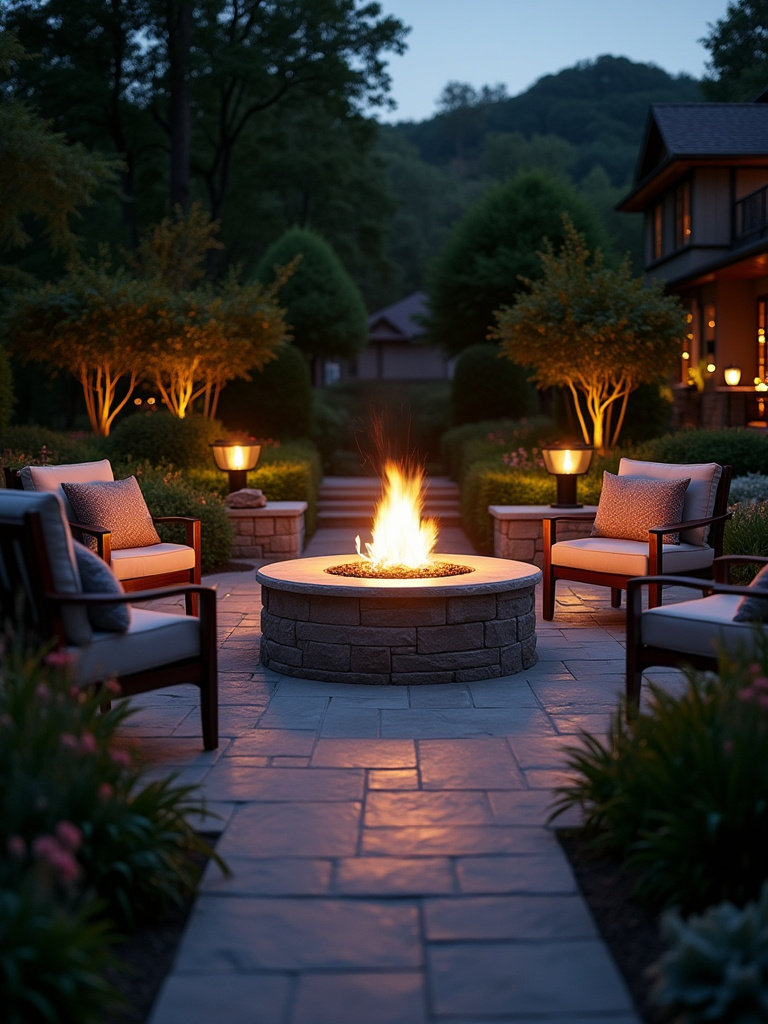
The most critical part is the seating composition. Don’t just scatter chairs around it. Create a dedicated zone. Built-in stone benches can define the space and provide permanent seating. Comfortable, deep-seated chairs invite guests to settle in. Just remember to check your local codes on open flames—there are always rules about how far they need to be from any structure. Safety first, so you can relax and enjoy the magic.
With the major sensory elements in place, it’s time to add the final layer of life and personality.
Enhancing Ambiance and Functional Appeal (Part 2)
This is about the details that make the space feel alive and truly yours. It’s the final touches, the accessories, the living elements that soften the hard edges of stone and wood.
16. Living Sculptures: Using Planters and Vertical Gardens
A patio without plants is just a stage with no actors. Greenery is what breathes life into a hardscape. Use planters as sculptural elements. A trio of large, identical planters can create a powerful rhythm and a sense of order. A collection of different pots in complementary colors and textures feels more eclectic and bohemian. Think about composition: use a tall “thriller” plant for height, a mounding “filler” plant for body, and a trailing “spiller” plant to soften the edges of the pot.
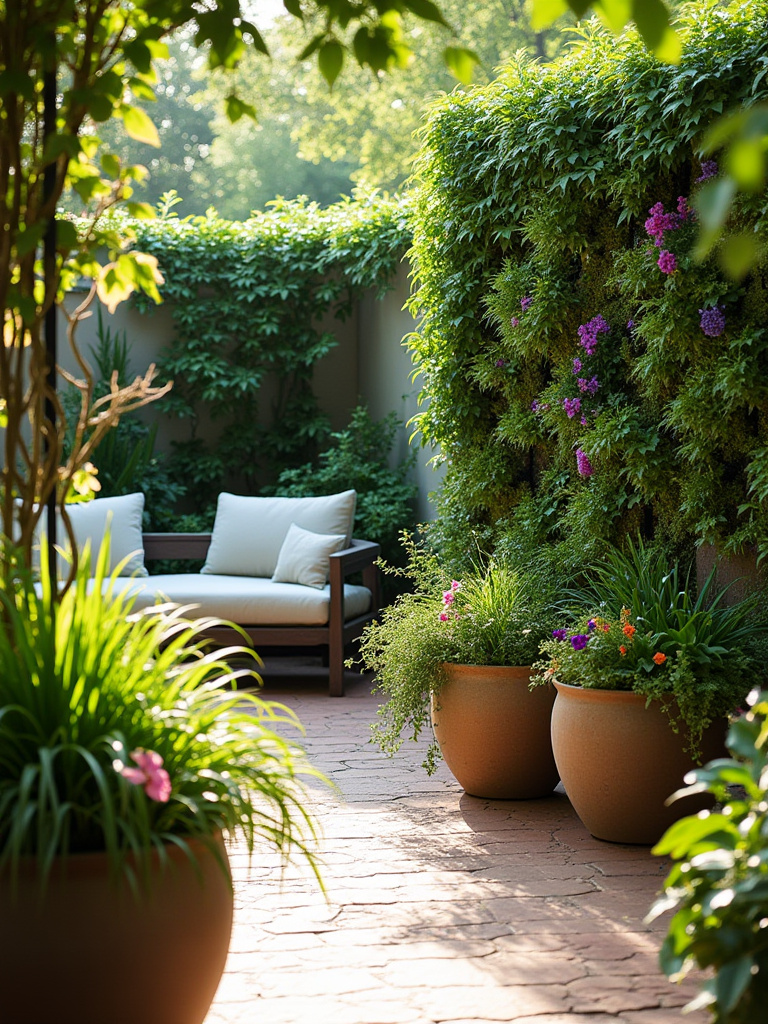
And if you’re short on floor space, go vertical. A vertical garden is a living wall, a tapestry of texture and color. You can grow herbs for your outdoor kitchen, a cascade of flowers, or a mix of handsome succulents. It’s an incredibly efficient way to add a massive dose of life without sacrificing a single square foot of your precious patio space.
Now for the final styling touches that make the space feel as comfortable as your living room.
17. The Final Details: Curating Outdoor Accessories
This is where you bring your indoor aesthetic outside. Think of your patio like a room and accessorize it. An outdoor rug is a game-changer; it defines a seating area and adds color, pattern, and softness underfoot. Throw pillows and blankets (made from outdoor fabrics, of course) make chairs instantly more comfortable and inviting.
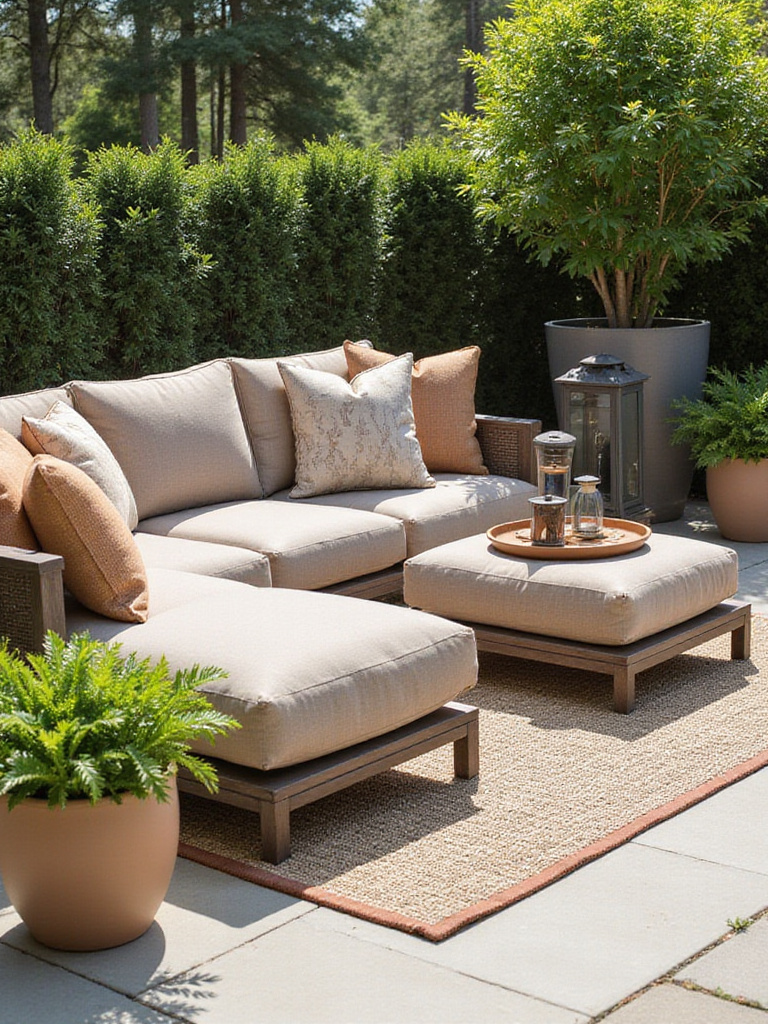
Don’t be afraid to add art. A metal sculpture, a ceramic wall piece, or even a weatherproof canvas can add a focal point and a huge dose of personality. Lanterns, candles, and unique string lights contribute to that layered lighting we talked about. Just remember the artist’s rule: curation is key. Don’t clutter the space. Choose a few meaningful, beautiful, and durable pieces that enhance the mood rather than overwhelm it.
You’ve created your masterpiece. Now, let’s talk about how to protect it for the long haul.
Sustaining Your Patio’s Beauty and Value
Think of this as varnishing your painting. A little bit of maintenance goes a long way in protecting your work from the elements and ensuring it looks just as beautiful in a decade as it does today.
18. The Studio Cleanup: Your Regular Cleaning Routine
You wouldn’t let dust and grime build up on your work, and you shouldn’t let it happen on your patio. A simple, regular cleaning routine is the single best thing you can do to preserve your investment. A quick sweep every week to get rid of leaves and debris prevents them from decaying and staining the surface. Deal with spills—like wine or greasy food—immediately, just like you would on a studio floor.
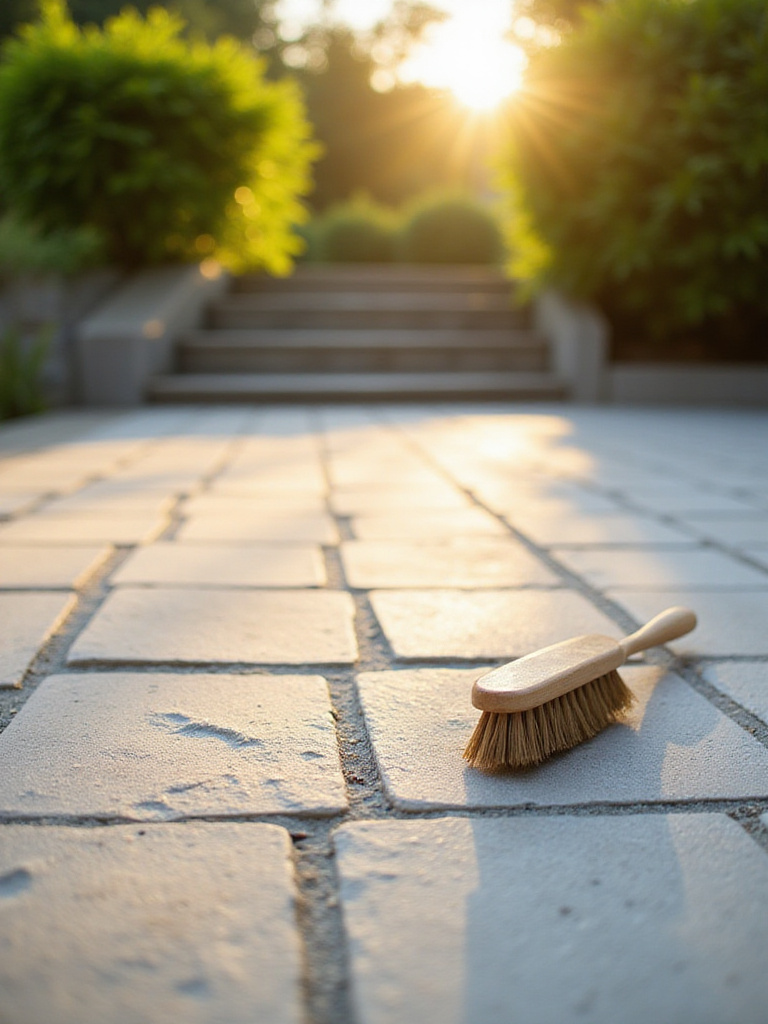
Once or twice a season, give it a good scrub with a gentle, material-appropriate cleaner. A pressure washer can be amazing, but be careful—using too much pressure can be like sandblasting your art, etching stone and splintering wood. Start with a low setting and a wide fan tip. This regular cleanup isn’t a chore; it’s the simple, meditative act of caring for a space you love.
For a deeper level of protection, you need to add a protective topcoat.
19. The Varnish Coat: Applying Protective Sealants
For materials like natural stone, concrete, and unglazed tile, a sealant is your invisible shield. These materials are porous, meaning they absorb water and stains like a sponge. In cold climates, that absorbed water freezes, expands, and causes cracks and flaking. A good sealant penetrates the surface and repels water, oil, and grime.
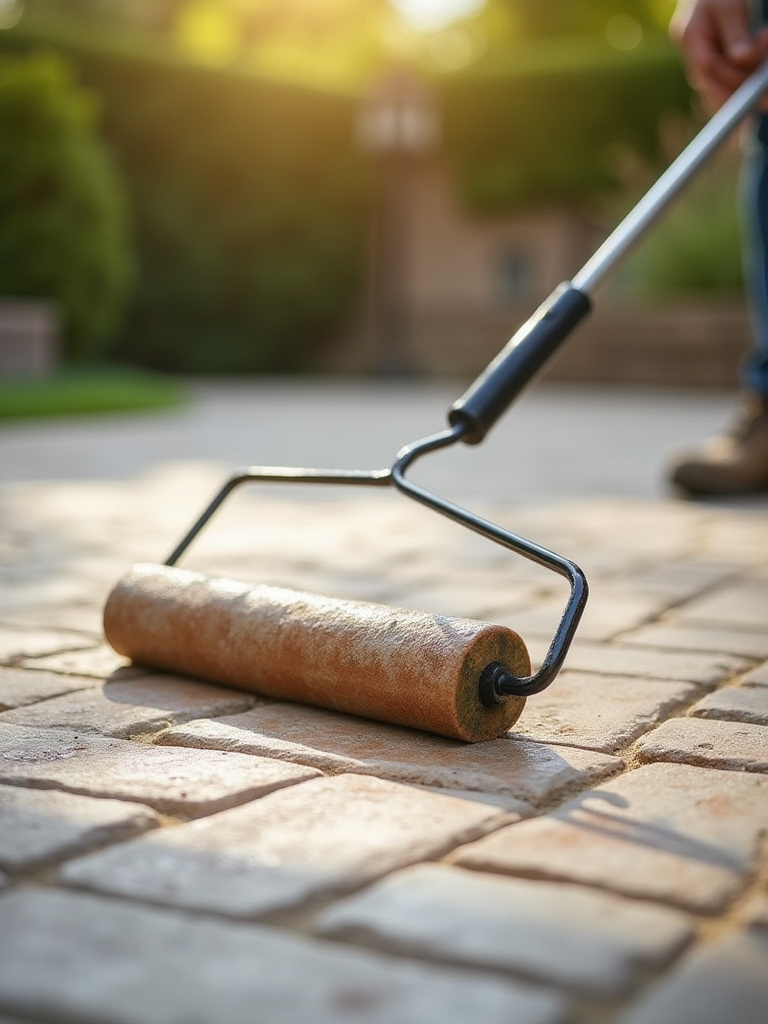
Sealing isn’t a one-and-done job. You’ll need to reapply it every few years, depending on the product and how much weather your patio gets. It’s a bit of work, but it’s what keeps your colors from fading, makes cleanup a thousand times easier, and prevents the slow, steady damage that water can inflict. It’s the single most effective act of preservation you can perform.
Even with the best protection, small flaws will appear. The trick is to fix them before they become big problems.
20. Touch-Ups and Mending: Fixing Small Flaws Immediately
Your patio is a living space, exposed to the elements. It’s going to get little dings and scratches. A paver might start to wobble, or a tiny hairline crack might appear in the concrete. The instinct is to ignore it. Don’t. These small issues are the entry points for major damage. That wobbly paver lets water get underneath, eroding the base and causing its neighbors to wobble, too. That tiny crack lets water in, which will freeze and turn it into a chasm.
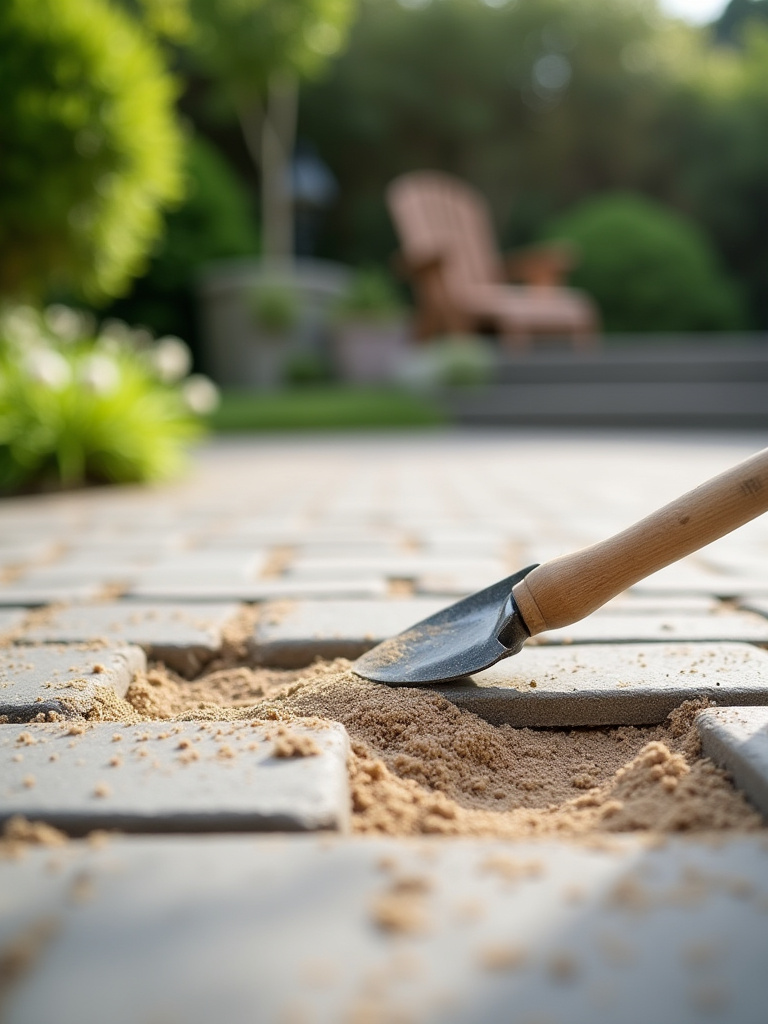
Addressing these things right away is fast, cheap, and easy. Keep a small bag of polymeric sand on hand to fix paver joints. Have a tube of concrete crack filler in your workshop. Spending ten minutes on a tiny repair now will save you a weekend of back-breaking labor and a huge expense down the road. It’s about being a diligent steward of your creation.
Finally, let’s ensure your beautiful sanctuary is a no-fly zone for unwanted buzzing guests.
21. Curate Your Ecosystem: Smart Pest Management
Nothing can ruin the vibe of a perfect evening on your patio faster than a squadron of mosquitoes. But you don’t have to douse your beautiful space in noxious chemicals. An artist’s approach to pest control is about creating a balanced ecosystem. First, remove their habitat: get rid of any standing water, no matter how small. That’s where mosquitoes breed. An upturned pot saucer can host a whole generation.
Next, use plants as your allies. Aromatic herbs like lavender, rosemary, mint, and citronella grass are natural repellents and they look (and smell) beautiful in planters around your seating areas. A simple oscillating fan can also work wonders; most flying pests are weak flyers and can’t navigate a steady breeze. It’s about making your space inviting for you, and uninviting for them, in the most beautiful way possible.
Conclusion
So there it is. Your backyard patio is so much more than a project. It’s a canvas. It’s a space waiting for you to compose it, to fill it with the light, textures, and life that reflect who you are. By thinking like an artist—by considering the vision, the materials, the composition, and the finishing touches—you can create an outdoor room that’s not just beautiful, but functional, lasting, and deeply personal. It’s your outdoor studio, your sanctuary, your stage.
Don’t just let these ideas sit on a list. Pick one. The one that made your heart beat a little faster. Start there. Maybe it’s just getting a few big, beautiful planters to start. Maybe it’s sketching out the zones with a garden hose. Take that first small step from dreaming to doing. Go on and make your masterpiece. The canvas is waiting.


