Can we talk about why everyone gets this wrong? You’ve already done the hard work. Your space is minimalist. You have the ergonomic chair, the 4K monitor, the noise-canceling headphones, and a smart home ecosystem that responds to your every word. Your digital life is perfectly optimized. And yet… there’s a subtle tension in the room. A low-grade hum of distraction you can’t quite place. It doesn’t feel like the sanctuary you intended.
The secret isn’t another piece of technology or a more expensive designer object. The secret is that modern productivity has taught us to fill every space, while true serenity comes from understanding what to leave out. The transformation you’re seeking lies in mastering the room’s energy, and the primary tool for that is light. Not just any light, but intentional light.
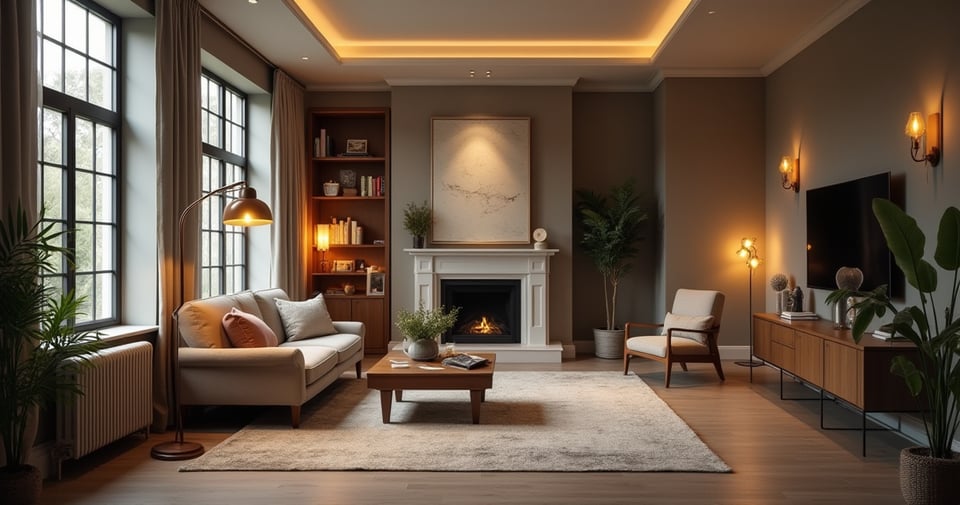
Your living room light fixture is not merely decoration. It is the heart of your home’s emotional landscape. It’s the instrument you use to compose the feeling of a space. These principles are my shortcuts—the things I wish I’d known earlier about using ancient wisdom to solve this very modern problem.
Foundation and Planning: Laying the Groundwork for Perfect Lighting
Before you even browse a single catalog, the most important work happens. This is the silent part of the process, the part where you define your intention. Most people skip this and go straight to shopping, which is why their rooms often feel like a collection of objects rather than a cohesive whole. This foundational work ensures that every choice you make later is grounded in purpose.
1. Assess Your Living Room’s Functional Needs
Forget “functional needs.” That sounds like a user manual. Let’s reframe this as understanding the rituals of your space. What do you actually do in this room? Be honest. Is it where you perform deep work from 9 to 5? Is it where you unwind with a show at night? Is it the place you connect with your partner, or where your children build forts? Each of these is a different ritual requiring a different quality of energy, and therefore, a different quality of light.
Don’t just install a bright overhead light and call it a day. That’s like using a megaphone for every conversation. Map out your zones. There’s the “focus zone” for work, the “decompression zone” on the sofa, and maybe a “connection zone” where you have conversations. Write down the primary ritual for each zone. Now you’re not just lighting a room; you’re illuminating specific moments of your life. This is the difference between a house and a sanctuary.
This initial mindfulness is the bedrock of a successful design. Without it, you are simply decorating. With it, you are creating a space that actively supports your well-being.
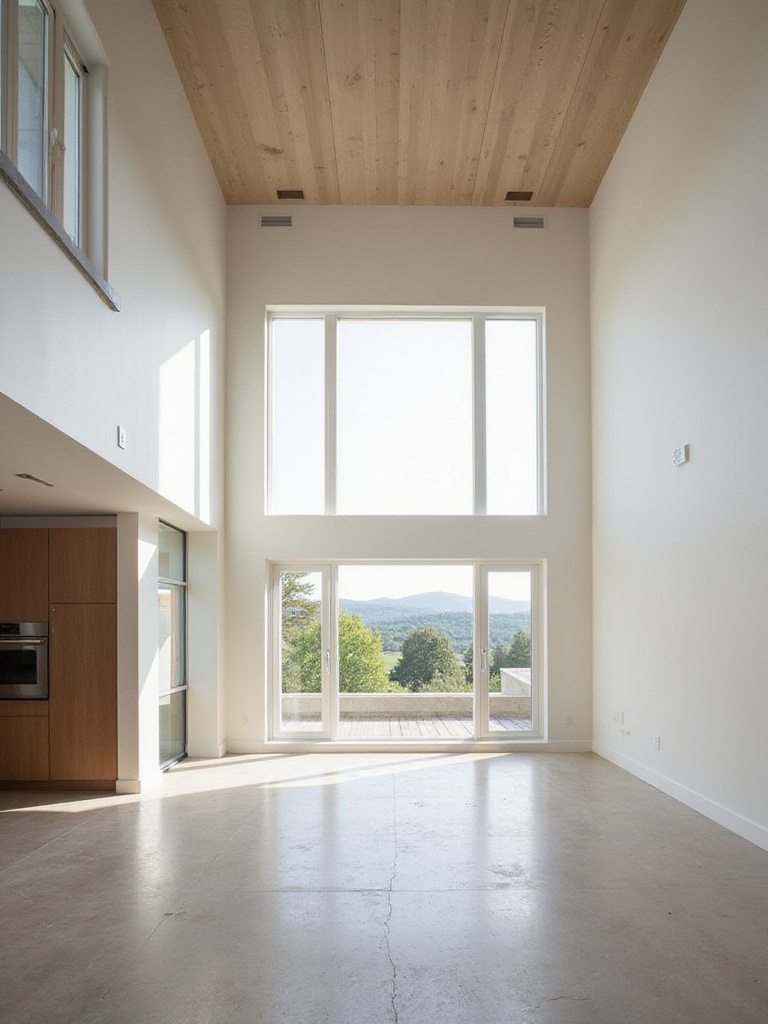
2. Determine Ceiling Height for Fixture Type Compatibility
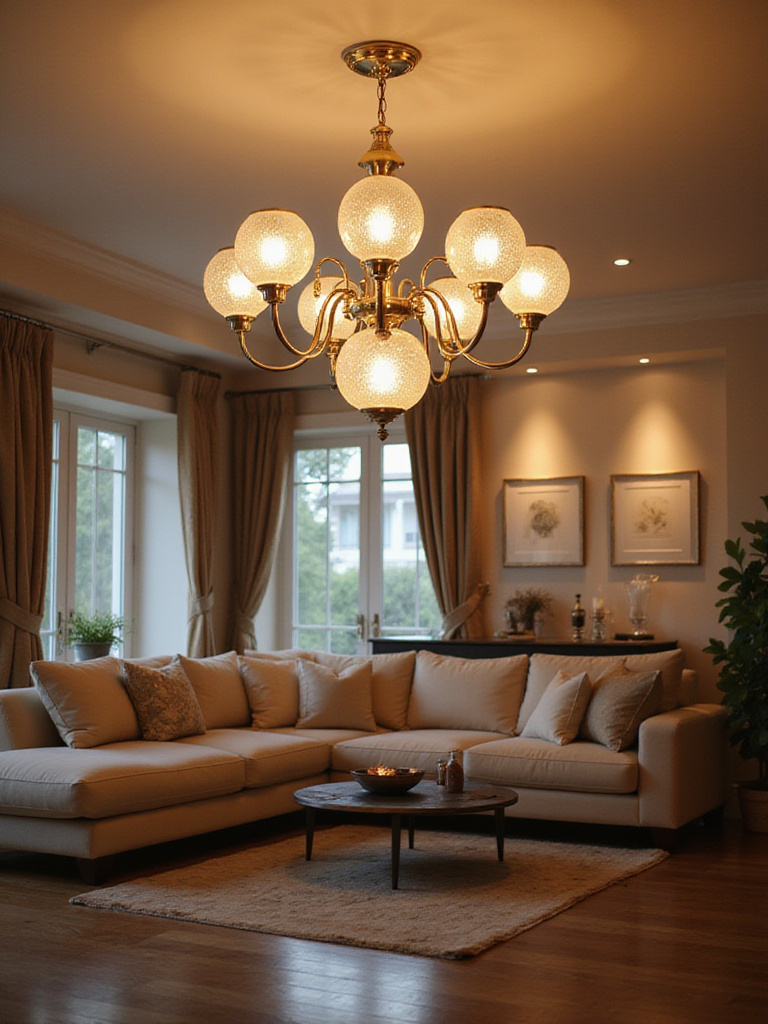
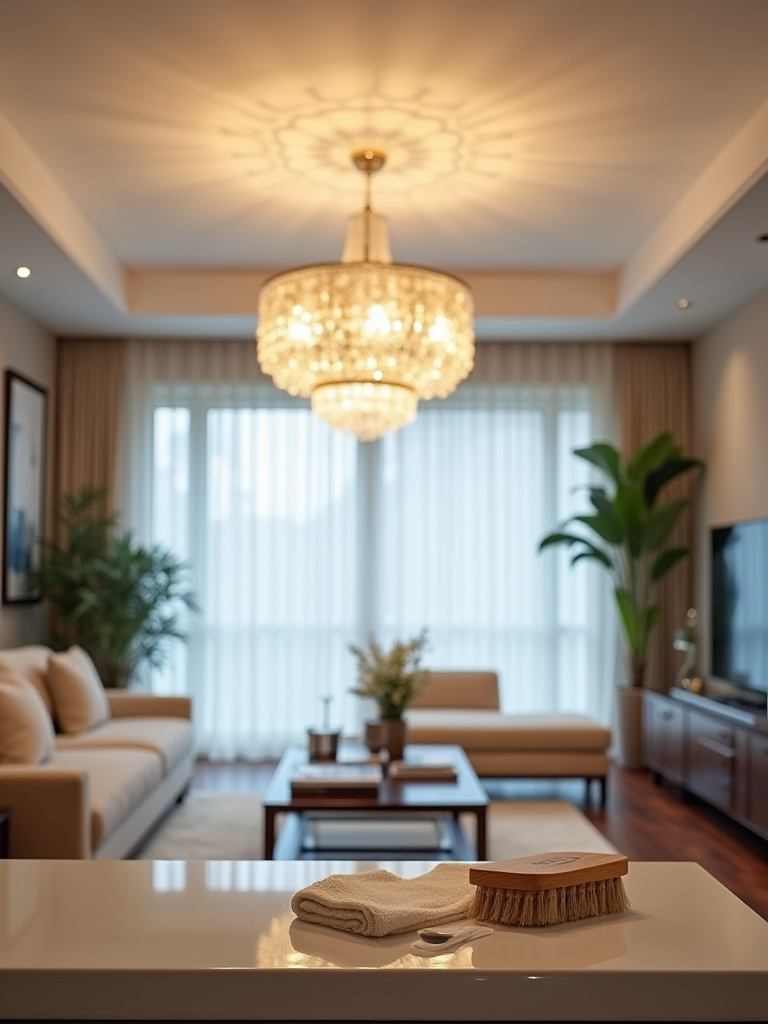
This is about more than just a measurement. It’s about respecting the volume of your space. A low ceiling in a traditional Japanese home creates intimacy and calm. A soaring ceiling in a modern loft creates a sense of expansion and freedom. Your light fixture must honor this vertical dimension, not fight it. A massive, heavy chandelier in a room with an eight-foot ceiling feels oppressive—it visually crushes the space and creates a sense of unease. Conversely, a tiny flush-mount fixture in a room with vaulted ceilings is just lost. It’s a whisper in a cathedral.

The shortcut here is simple. For walking paths, you need at least seven feet of clearance from the floor to the bottom of the fixture. If it hangs over a coffee table, 30-36 inches above the surface is a good starting point. But this isn’t just about rules; it’s about feel. Before buying, I have clients hang a balloon or even an open umbrella from a string to simulate the fixture’s size and height. It sounds silly, but it gives you a physical sense of its presence, its visual weight, in the room. You’ll know instantly if it honors the space or dominates it.
Once you respect the room’s volume, the fixture becomes a natural extension of the architecture rather than an awkward addition.
3. Evaluate Existing Electrical Capacity and Junction Box Location
Here is where most of the “beautiful but broken” designs fall apart. You can find the most serene, perfectly-proportioned fixture in the world, but if your home’s wiring can’t support it safely, it’s just a problem waiting to happen. This is the unseen work, the foundation beneath the floorboards. In zen philosophy, the work no one sees is often the most important, as it provides the stability for everything built upon it. Ignoring this is just asking for flickering lights, tripped breakers, or worse.
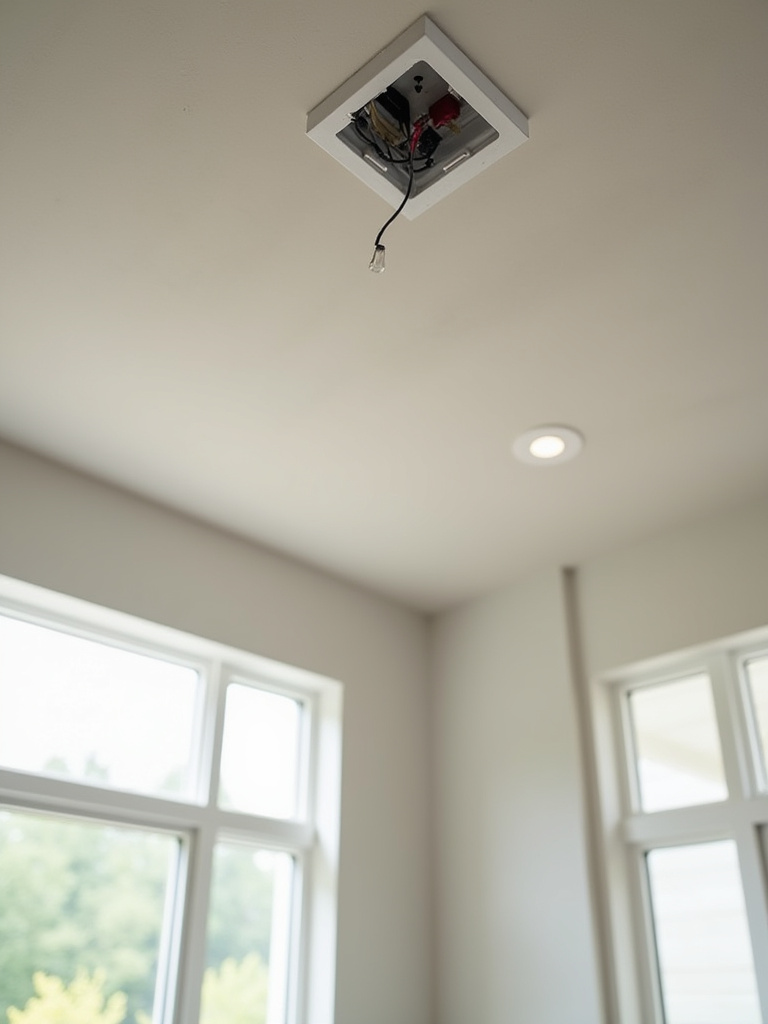
Everyone else will tell you to just hire an electrician, and you should. But here’s what actually matters for you to know before you even call them. Look at the fixture’s weight. Anything over 30-50 pounds likely needs more support than the standard plastic junction box in your ceiling can offer. It needs to be anchored to a structural joist. Also, consider its wattage. If you’re replacing a single 60-watt bulb with a chandelier that has twelve 40-watt bulbs (480 watts total), you need to know if that circuit can handle the load, especially if it’s already powering half your living room. This isn’t just noise; it’s fundamental safety.
Knowing this ahead of time lets you have an intelligent conversation with your electrician and helps you filter choices, saving you from the heartbreak of falling for a fixture your home simply can’t accommodate.
4. Plan for Layered Lighting: Ambient, Task, and Accent
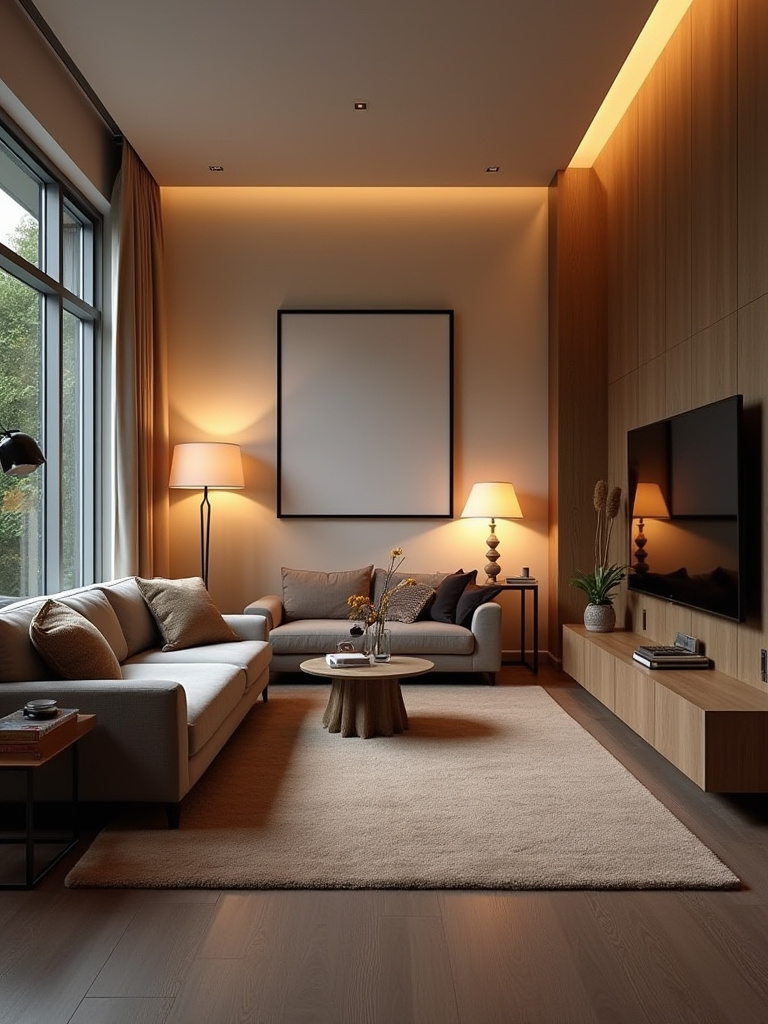
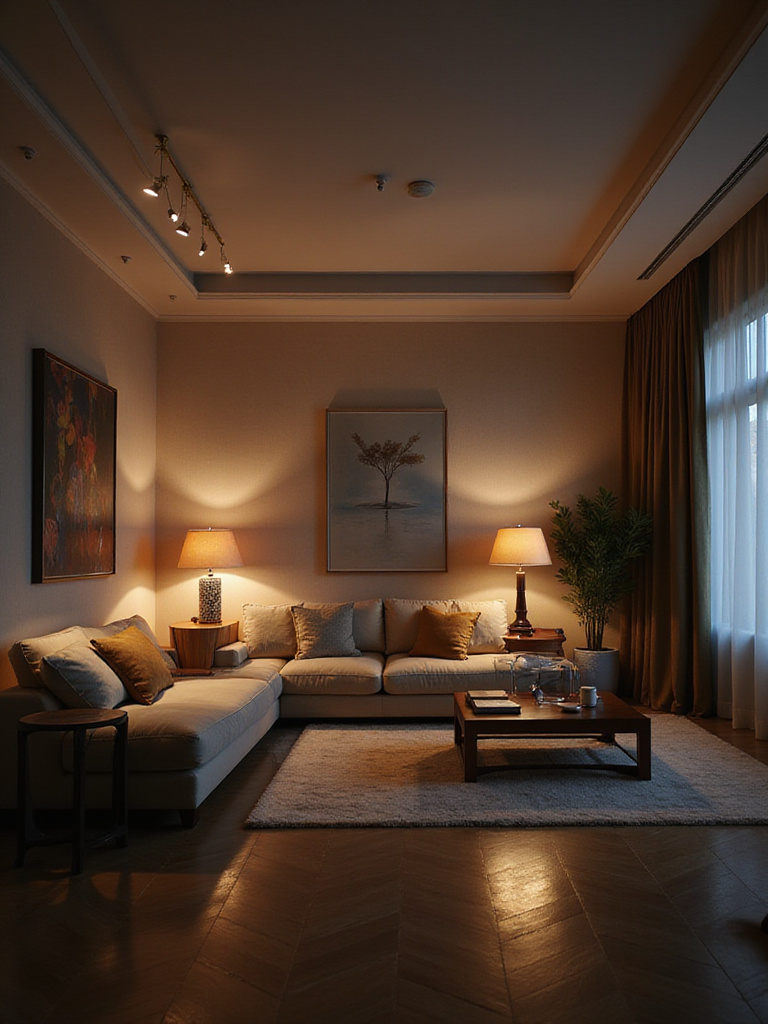
Everyone talks about layered lighting, but they often describe it as a technical formula. That’s missing the point. Think about a forest. You don’t have one giant sunbeam lighting everything equally. You have the soft, diffused light filtering through the canopy (ambient). You have bright, direct shafts of light hitting a clearing (task). And you have beautiful, dappled light catching the texture of bark on a tree (Komorebi, or accent). This is how nature uses light, and it’s deeply calming to our nervous systems.
This is what we replicate indoors. Your ambient light—from recessed cans or a central fixture—is the foundational, soft glow that makes the room feel safe and navigable. Your task light—a floor lamp for reading or an art lamp for work—is the focused beam that allows for concentration without strain. Your accent light—a small spotlight on a plant or a piece of art—is the sparkle. It creates depth and character, turning a flat, boring wall into something with dimension. It’s the interplay of light and shadow, what the Japanese call Notan, that makes a space interesting.
You can’t achieve this with a single fixture. A room with only overhead ambient light is like a photograph with no contrast. It’s flat and lifeless. A room without it is a cave. You need all three layers working in harmony.
5. Define Your Desired Ambiance and Mood
We touched on rituals, but this goes deeper. This is about defining the core intention for your space. How do you want to feel when you walk into this room? Use single words. “Calm.” “Energized.” “Cozy.” “Spacious.” “Intimate.” Write them down. These words are your design compass. They will guide every single choice you make, from the style of the fixture to the color temperature of the bulb. This is the step everyone skips because it feels too abstract, but it’s the most critical shortcut to a room that genuinely feels right.
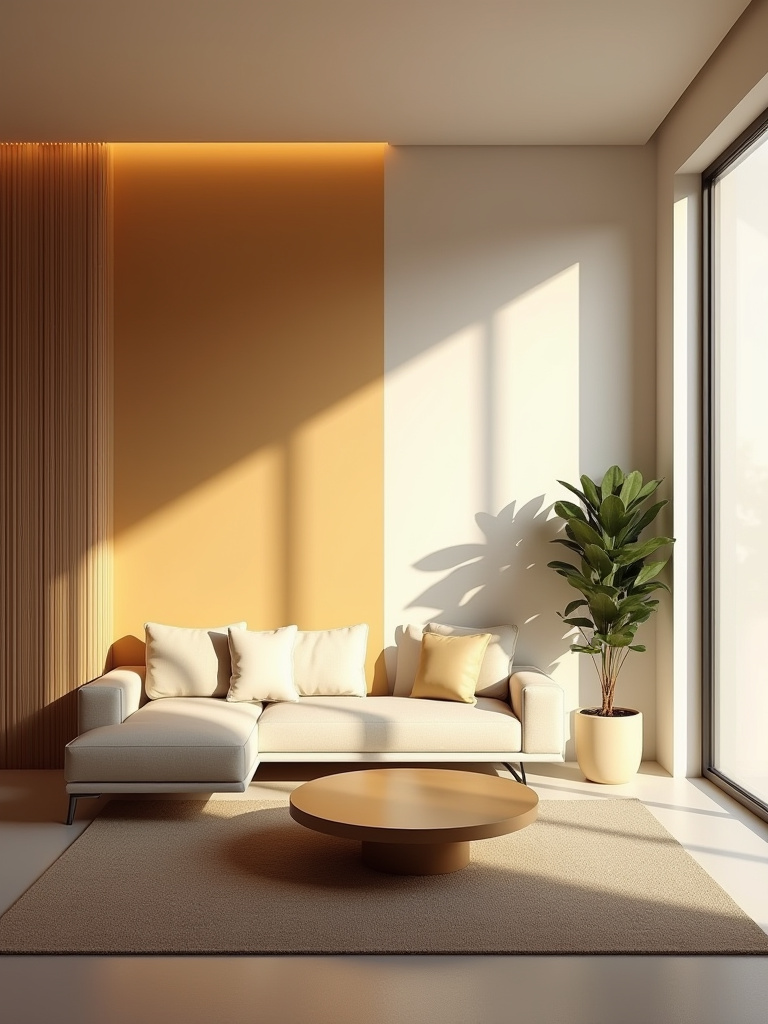
Once you have your intention, the choices become radically simpler. A room intended for “cozy” and “intimate” feeling immediately rules out harsh, blue-toned industrial fixtures. A room designed to feel “energized” and “spacious” means you’ll probably avoid heavy, dark-shaded lamps that absorb light. A friend of mine wanted his living room to be his “decompression chamber.” His one word was “sanctuary.” We immediately knew we needed soft, diffused, warm light. No sharp shadows, no clinical brightness. That single word guided the entire project.
Without this step, you’re just shopping. With it, you are curating an emotional experience. It’s the most efficient way to get what you really want.
6. Measure Room Dimensions to Ensure Correct Fixture Proportions
Proportion is the silent language of design. When it’s right, you don’t notice it—the room just feels balanced and harmonious. When it’s wrong, it’s all you can see. The common rule—add the room’s length and width in feet to get the fixture’s diameter in inches—is a decent starting point. For a 12’x15′ room, you’d start looking at fixtures around 27″ in diameter (12+15=27). It’s a useful shortcut, but it’s not the whole story. You also have to consider the scale of your furniture.
I once worked with a client who had a massive, deep sectional sofa that took up most of the room. The standard “room dimension” formula suggested a medium-sized fixture, but when we put it in, it looked like a toy floating above the substantial furniture. The sofa’s visual weight demanded a larger fixture to create balance. The lesson is simple: a light fixture doesn’t exist in an empty room. It must be in proportion not only to the architectural container but also to the other objects within that container.
Before you commit, take a photo of your space and use a simple app to sketch the potential fixture into the photo to scale. Your eye will tell you immediately if the balance is off.
Selection and Implementation: Choosing and Setting Up Your Fixtures
Now that we’ve set our intention, we can move from the abstract to the tangible. This is where you choose your tools. Remember, each fixture is a tool designed for a specific purpose. We’re not just picking pretty objects; we’re selecting the right instruments to shape the light and cultivate the feeling we defined in the first phase.
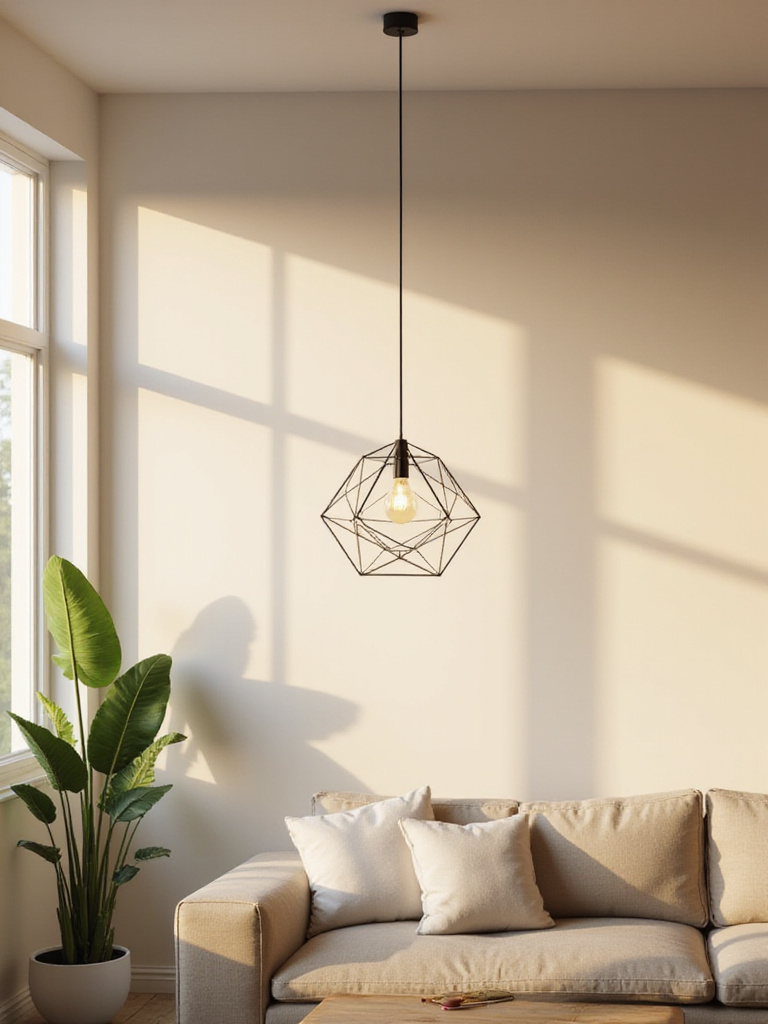
7. Choose the Right Fixture Type for Your Room’s Function and Aesthetics
Let’s cut through the noise. There are really only a few core types of fixtures, and each does a different job. A chandelier or pendant hangs down, making a statement and often becoming a focal point. They’re great for rooms with higher ceilings. A flush or semi-flush mount sits close to the ceiling, perfect for lower-ceiling rooms where you need ambient light without sacrificing headspace. Wall sconces provide softer, indirect light that bounces off the walls, reducing glare and creating a gentler atmosphere. And track lighting or spotlights are your precision tools, for when you need to direct light to an exact spot.

The mistake most people make is choosing a fixture type based purely on looks. “I love that chandelier!” they’ll say, trying to force it into a room with a seven-foot ceiling. Form must follow function. First, decide what job the light needs to do (ambient, task, or accent). Then, consider the physical constraints of your room (like ceiling height). Only then should you look for a style you love within the appropriate category.
This isn’t about limiting your creativity. It’s about providing a framework that ensures your final choice is both beautiful and effective.
8. Match Fixture Style to Your Overall Interior Decor
This seems obvious, but the nuance is often missed. The goal isn’t to create a perfectly matched “theme” room. That can feel sterile and boring. The goal is harmony. A truly serene space has a quiet sense of coherence where nothing is screaming for attention. Your light fixture should feel like a natural part of the conversation, not an interruption. If your room has the clean lines and natural wood tones of a Scandinavian or Japanese minimalist aesthetic, a heavy, ornate crystal chandelier is going to create visual chaos.
Here’s the shortcut: look at the materials and shapes already present in your room. If you have soft, curved furniture, look for fixtures with organic shapes. If your room has strong, geometric lines and black metal accents (like window frames or table legs), then a fixture that incorporates those elements will create a sense of cohesion. The fixture’s finish—be it matte black, brushed brass, or natural wood—should echo at least one other finish in the room.
It’s this simple thread of continuity that ties the whole space together. Your light fixture becomes the piece of “jewelry” that complements the outfit, rather than a weird accessory that clashes with it.
9. Ensure Correct Scale and Proportion with Furniture and Room Size
We’ve talked about proportion in relation to the room, but it’s crucial to revisit it in context with furniture. Imagine a massive dining table with a tiny little pendant light hanging over it. It looks ridiculous. The same applies in the living room. Your primary light fixture, especially if it’s over a seating area, should be in conversation with the furniture beneath it. Its scale should feel anchored and intentional.
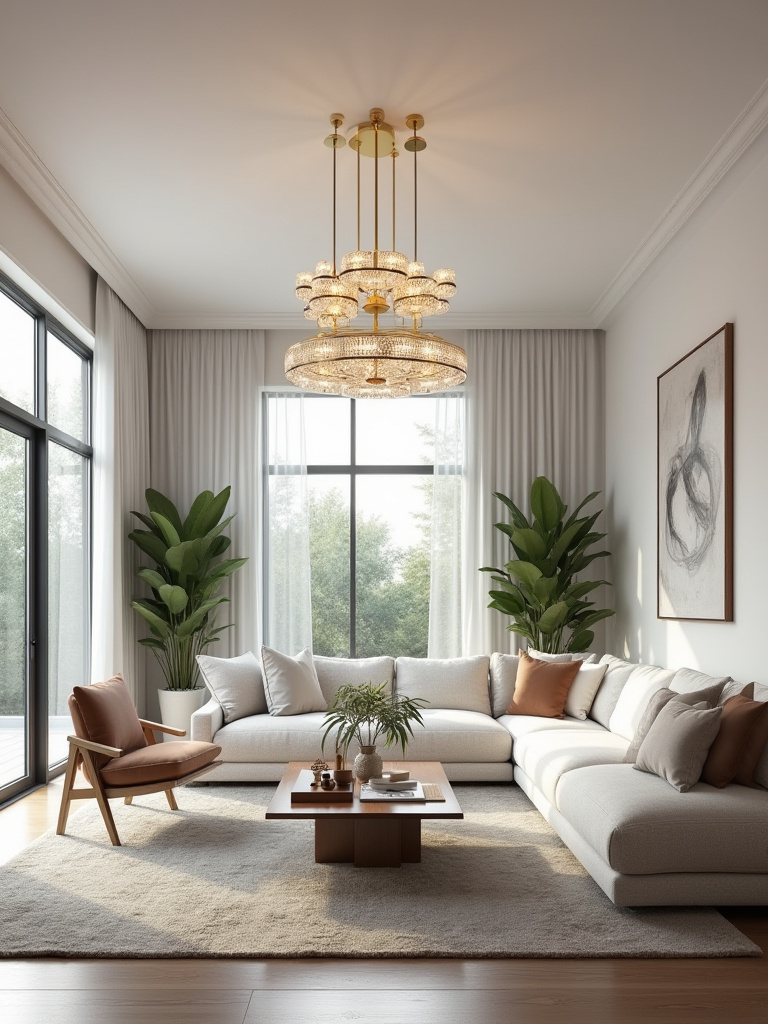
Here’s the practical tip I always give: the fixture over your main coffee table or seating area should be roughly one-half to two-thirds the width of the table. This creates a pleasing visual pyramid, anchoring the fixture to the furniture and making the entire grouping feel cohesive. It draws people in. It creates a center of gravity for the room, a natural place for gathering and connection.
Don’t just hang a light in the geometric center of the ceiling. Hang it in the center of the room’s activity. This subtle shift in placement can make a huge difference in how the space feels.
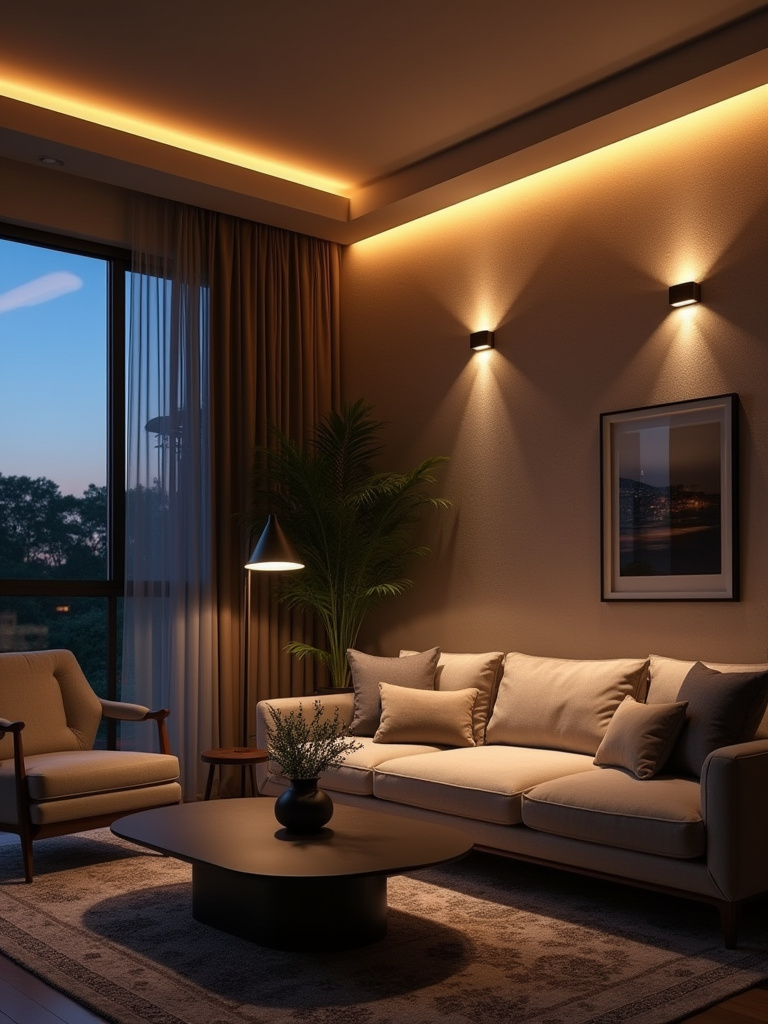
10. Incorporate Dimmer Switches for Ultimate Lighting Versatility
This is non-negotiable. If you do only one thing from this entire list, do this. A light fixture without a dimmer is a one-trick pony. It has one volume: ON. A dimmer switch gives you an entire orchestra of possibilities. It is the single most effective and affordable tool for controlling the mood of a room. Your morning work session might need bright, clear light at 80% intensity. But that same light is jarring and clinical for a relaxing evening. With a dimmer, you can dial it down to a warm, intimate 20% glow.

I once consulted on a space that was technically perfect—beautiful furniture, great layout—but the owner hated being in it at night. It felt like an office. We didn’t change a single fixture. We just spent an afternoon installing dimmer switches on every light circuit. The transformation was immediate and profound. He finally had control over the room’s energy.
It’s the difference between a static photograph and a living, breathing film. It allows the room to adapt to your life, moment by moment.
11. Understand Different Mounting and Installation Methods
You don’t need to become an expert installer, but understanding the basics protects you. The core principle is this: gravity is relentless. A fixture must be securely anchored. When you look at a fixture, ask yourself: How does this attach? A lightweight flush mount can usually be supported by a standard electrical box. But a heavy pendant or chandelier is trying to pull that box out of your ceiling every second of every day. It needs a direct connection to something solid, like a ceiling joist or a specially installed brace.
This is why I always check the fixture’s installation manual before a client purchases it. You can almost always find it online as a PDF. Skim it. Does it mention needing a fan-rated or heavy-duty junction box? Does it require special bracing? Knowing this upfront prevents the “uh-oh” moment when an installer tells you they need to cut a giant hole in your ceiling to add support, tripling the installation cost.
A little bit of research here is the shortcut to a smooth, predictable, and safe installation day. It’s mindfulness in action.
12. Prioritize Safety by Selecting UL-Certified Fixtures and Components
This is the boring but essential part. You see fixtures on dubious websites for a fraction of the price. It’s tempting. Don’t do it. A UL (or ETL, or CSA) certification means the product has been independently tested for safety. It means the wiring won’t spontaneously melt, the materials won’t easily catch fire, and it’s built to a recognized standard. An uncertified fixture is a black box of risk that you are hanging directly over your family’s heads.
Think of it this way: choosing a certified fixture is an act of respect for your home and your safety. It’s a decision to build on a foundation of quality, not a foundation of chance. When I learned how many house fires are traced back to faulty, uncertified lighting equipment, I made it a hard rule for all my projects. It’s simply not worth the risk to save a few dollars.
Look for the little UL sticker or marking on the fixture itself. If you’re buying online and can’t see it, ask the seller explicitly. If they can’t confirm it, walk away. It’s that simple.
Styling, Enhancement, and Optimization: Maximizing Your Lighting Potential
The fixture is chosen and installed. The foundation is solid. Now comes the refinement. This is where we fine-tune the quality of the light itself and integrate it seamlessly into our digital lives. This is where technology becomes a true servant of serenity, rather than a source of distraction.
13. Select the Optimal Bulb Type and Wattage for Each Fixture
The light fixture is the body; the bulb is its soul. You can have the most beautiful lamp, but if you put a harsh, flickering, cool-blue bulb in it, the effect is ruined. Let’s demystify bulbs. For almost all uses now, LED is the answer. It’s efficient, long-lasting, and offers incredible control. But not all LEDs are created equal. You need to look at three things: lumens (brightness), Kelvin (color temperature), and CRI (color rendering index).
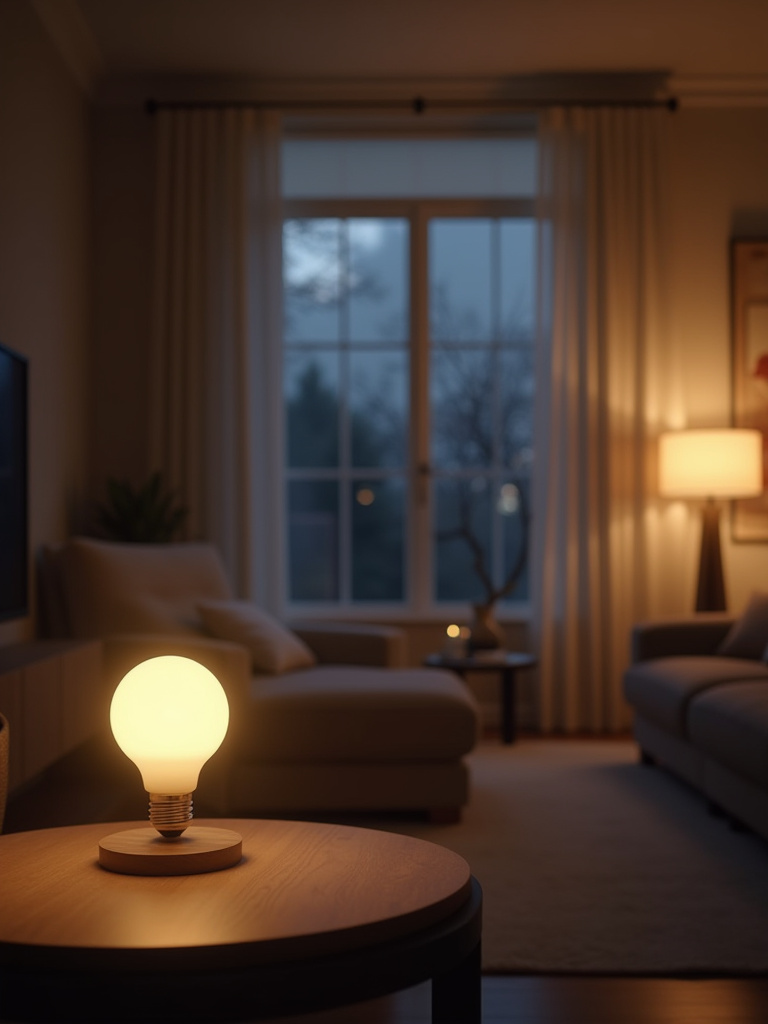
Here’s the shortcut. For a living room, you generally want a warm, inviting light. Look for a Kelvin temperature between 2700K and 3000K. This mimics the warm glow of incandescent bulbs and candlelight. Anything higher (like 4000K or 5000K) starts to feel like an office or a hospital. CRI is a measure of how accurately the light shows colors. Look for a CRI of 90 or higher. This will make your art, your furniture, and even skin tones look rich and natural, not washed out and weird. It’s what everyone gets wrong; they buy a cheap bulb with a low CRI and wonder why their beautifully designed room looks drab.
Don’t get bogged down in wattage anymore. Wattage is just energy use. Look at lumens to determine brightness, and look at Kelvin and CRI to determine the quality and feel of the light.
14. Control Color Temperature to Fine-Tune Room Mood
This is where modern technology gets really interesting. We just talked about choosing a bulb with the right color temperature. But what if you didn’t have to choose? Tunable white smart bulbs allow you to change the color temperature of your light throughout the day. This isn’t a gimmick; it’s a powerful tool for aligning your indoor environment with your natural biological rhythms. Our bodies are designed to wake up with cool, bright, blue-toned light (like the morning sun) and wind down with warm, dim, amber-toned light (like a sunset or firelight).
You can program your lighting to support this. Set a scene for “Focus” during the day that’s a clean, bright 4000K. Then, create a scene for “Unwind” that automatically shifts all the lights in the evening to a cozy, warm 2700K and dims them to 50%. This simple automation has a profound impact on your sleep quality and stress levels. It gently signals to your brain that it’s time to transition from work mode to rest mode.
This is the pinnacle of adapting traditional wisdom (living in sync with natural cycles) for the digital age. It’s using technology not to distract us from nature, but to reconnect us with it.
15. Integrate Smart Lighting Systems for Convenience and Efficiency
Smart lighting isn’t just about saying, “Hey Google, turn on the lights.” The real power is in automation that removes friction from your life and promotes a state of calm. The goal is to create a lighting environment that anticipates your needs so you don’t even have to think about it. For example, you can link your lights to motion sensors so the hallway gently illuminates when you walk through it at night. Or schedule them to slowly dim over the last hour of the evening, creating an effortless wind-down ritual.
The BS everyone tells you is that you need to make your whole house “smart.” You don’t. Start with one room. Start with one lamp. The best systems, like Philips Hue or Lutron Caséta, are built on the principle of simplicity. The most serene smart home is the one you barely notice is there. It just works, creating a supportive, responsive environment in the background.
The goal of this technology should be silence—fewer buttons to push, fewer decisions to make, and more effortless flow in your daily rituals.
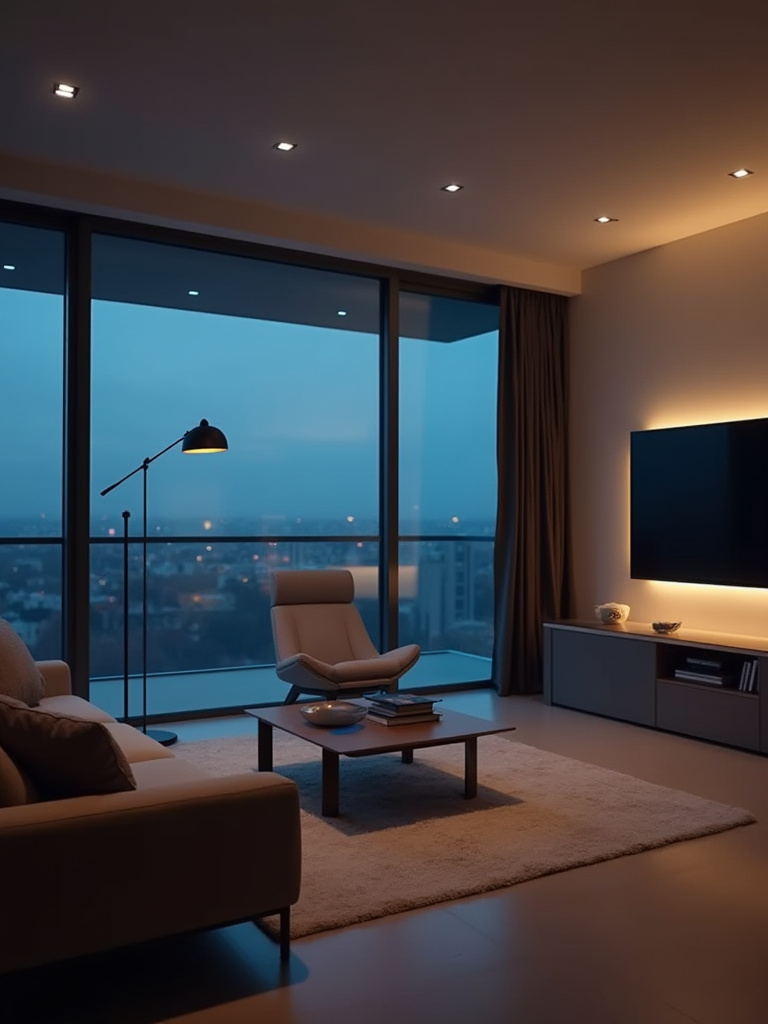
16. Utilize Task Lighting Effectively for Reading and Hobbies
Here’s a pet peeve of mine: people trying to read on a sofa lit only by a distant overhead light. I can almost feel their eye strain from across the room. General ambient light is not enough for focused tasks. You need dedicated task lighting. This is a bright, direct source of light that illuminates what you’re working on without creating glare or harsh shadows. An adjustable floor lamp by a reading chair or a sleek bar light over a desk are perfect examples.
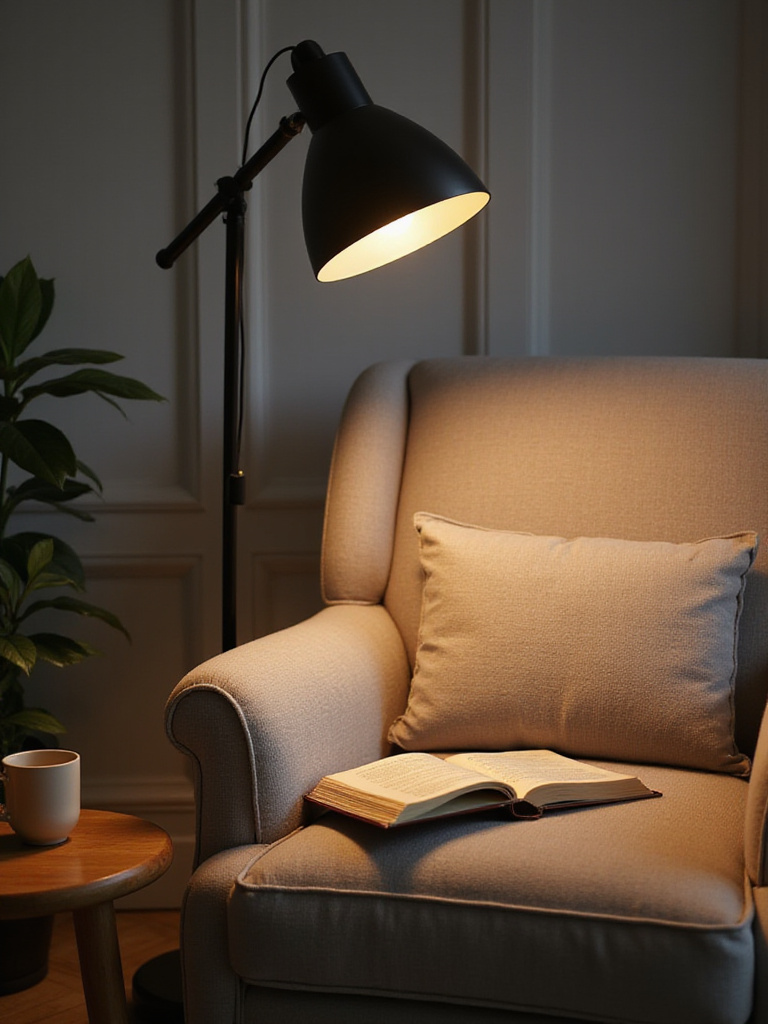
The placement is key. The light should come from the side and slightly behind you, shining directly onto your book or workspace, not into your eyes or reflecting off a screen. A lot of people put the lamp directly behind them, which just casts a shadow of their own head onto their work. Think about it. A surgeon doesn’t work under a dim chandelier; they have a powerful, focused light aimed directly at the task at hand.
Applying this same principle to your reading or hobbies is an act of self-care. It honors the activity and reduces physical stress on your body.
17. Add Accent Lighting to Highlight Architectural Features or Art
This is the final, artistic layer. This is how you create magic. Accent lighting is what separates a professionally designed space from an amateur one. It’s the small, often hidden, lights that highlight what’s beautiful and let the rest fall into quiet shadow. It’s about drawing the eye and telling a story. A small spotlight aimed at a textured stone fireplace, an uplight behind a tall plant that throws dramatic shadows on the ceiling, or a picture light that makes a piece of art glow—these are the details that give a room soul.
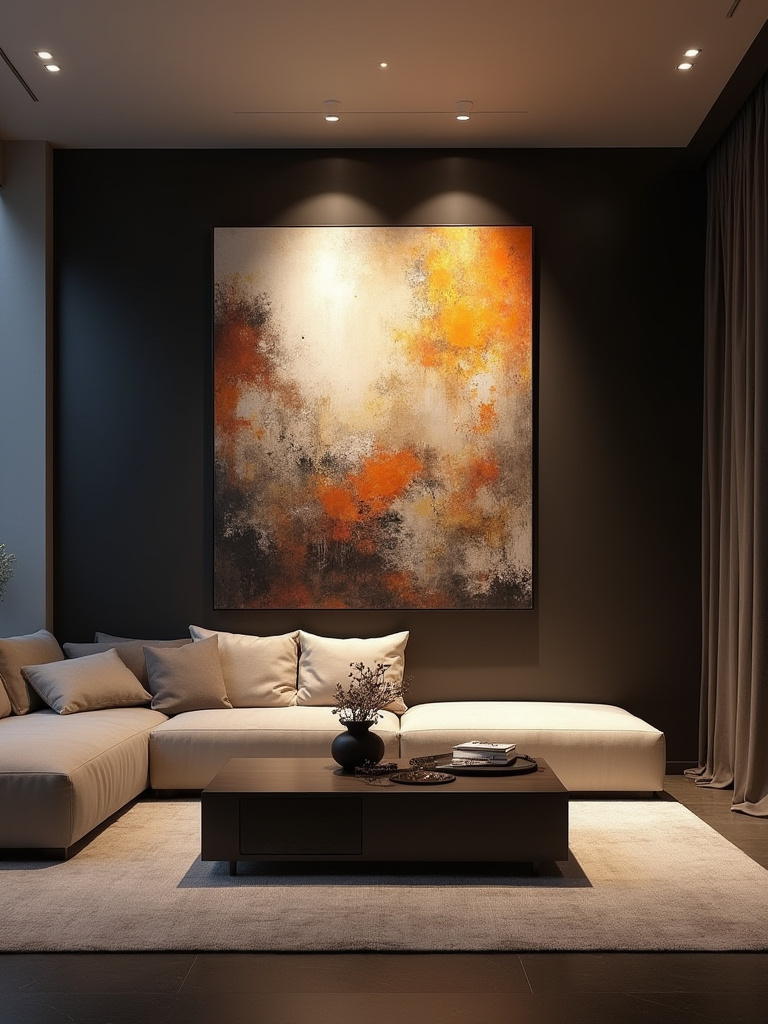
Most people either skip this entirely or overdo it, floodlighting everything. That’s not the point. The power of accent lighting lies in its restraint. It’s about choosing one or two focal points. What do you want to be the hero of the room? Light that. Let the boring, flat drywall wall next to it recede into darkness. This contrast—the Notan I mentioned earlier—is what creates visual interest and a sense of depth.
It’s the most impactful way to add a layer of sophistication and personality to your space with minimal effort.
18. Schedule Professional Installation and Future Maintenance
I used to think I could do it all myself. Then I watched a “simple” light fixture installation turn into a weekend-long project involving drywall repair and multiple trips to the hardware store. Here’s the shortcut I wish I’d known: honoring expertise saves you time, stress, and money in the long run. A licensed electrician will install a fixture safely, correctly, and efficiently, often in under an hour. They understand the nuances of electrical load and proper mounting that you and I might overlook.
Think of it as an investment in peace of mind. Your home’s electrical system is not the place to experiment. Beyond the initial installation, have them check the connections every few years, especially for heavy or complex fixtures. It’s a simple act of maintenance, like changing the oil in a car. It prevents small issues from becoming big, expensive problems.
Knowing when to delegate to a master of their craft is a core principle of a mindful and efficient life. This is one of those times.
Conclusion
So, we see it now, don’t we? The perfect living room light fixture is not an object you buy; it’s the result of an intentional process. It begins with a silent understanding of your space and your rituals and ends with a dynamic environment that can be tuned to support your focus, your relaxation, and your connection with others. Light is the most powerful and often most overlooked tool you have for shaping the energy of your home.
You don’t need to do all of these things at once. Start with one principle. Install a dimmer switch. Buy a single, high-quality CRI bulb. Define the intention for your space. Each small, mindful choice is a step away from digital noise and a step toward serene, functional living. Banish the flat, lifeless glare and compose a space that not only looks right, but feels right. Your sanctuary awaits.


