Picture this: You’re standing in your bedroom, and it’s become the room where everything ‘without a home’ goes to die. The sad chair piled with clothes, the blank walls, the overhead light that makes you look like a zombie. It functions, sure, but it doesn’t inspire. It doesn’t feel like a sanctuary or a studio. As an artist who lives and works in the same square footage, I know that feeling down to my bones. My first “live-work” space was a glorified closet with a hot plate, and I had to get very, very creative to make it a place where I could both rest my head and fire up my imagination.
The biggest lie we’re told is that a beautiful, functional space costs a fortune. It doesn’t. It costs creativity and a little bit of sweat. Forget the glossy magazines and the impossible “before and afters.” This is the real story of how you turn your room into a space that truly fuels you—both your life and your art. It’s about being resourceful, seeing the potential in what you already have, and making smart choices that deliver a huge impact. Let’s get our hands dirty.
Strategic Planning & Foundation Prep
Everyone wants to jump to the fun stuff—the paint, the pillows, the art. I get it. But skipping this part is like trying to paint a masterpiece on a dirty, wobbly canvas. This is where you set your intention. This is the foundational sketch that makes the final piece come together beautifully, and it will save you so much money and heartache.
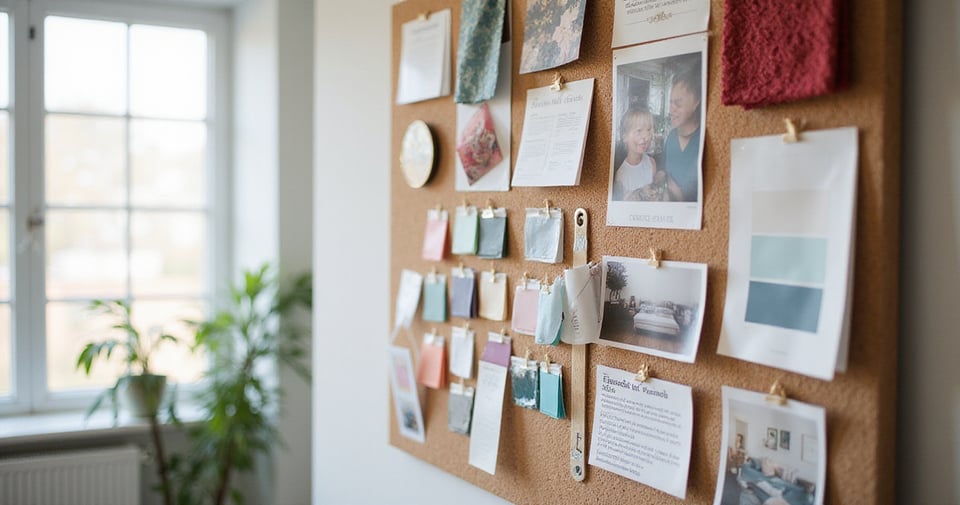
1. Create a ‘Mood Board’ for Visual Inspiration & Cohesion
You know what people always ask me? “Where do I even start?” Right here. A mood board is not just a bunch of pretty pictures you pin to a board. It’s your visual compass. It’s the filter you’ll run every single decision through. When you’re standing in a thrift store looking at a lamp, you’ll hold it up to your mental mood board and know instantly if it’s a ‘yes’ or a ‘no.’ This single step will save you from making those random, “it-was-on-sale” purchases that clutter up your space and your vision.
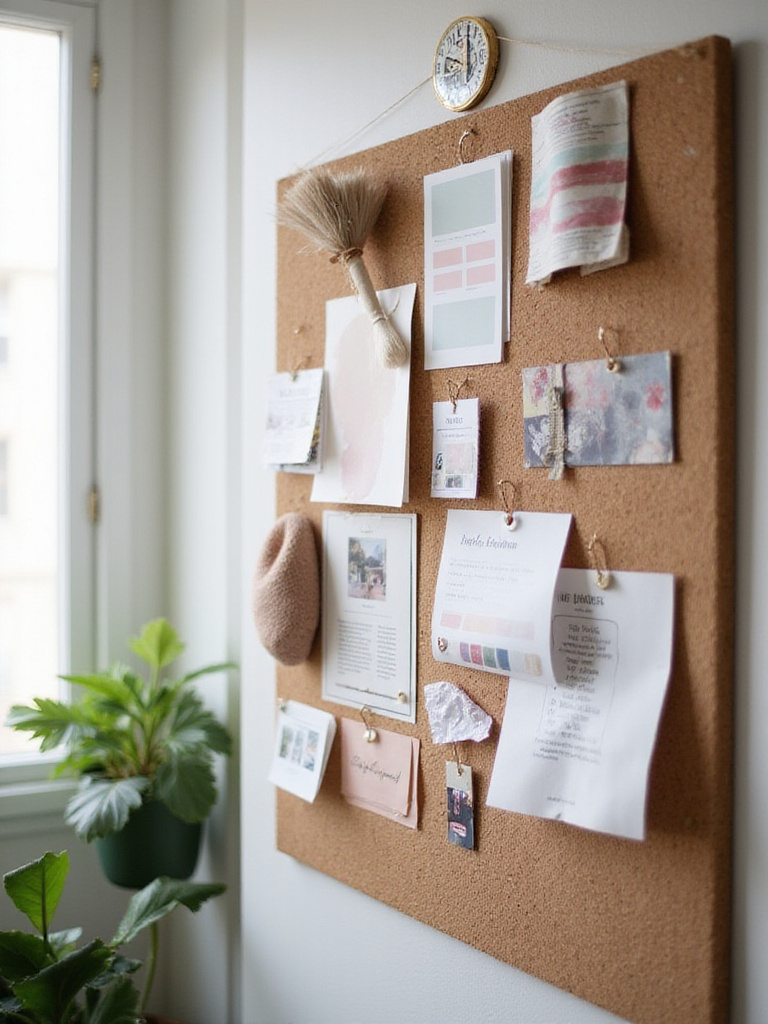
Forget the corporate-speak about “defining aesthetics.” Just ask yourself: How do I want to feel in this room? Calm? Energized? Cozy? Start with words, then find images that match that feeling. Rip pages from magazines, grab fabric swatches, collect postcards, add paint chips. It’s a collage. It’s tactile. And the biggest shortcut? Add photos of things you already own and love. This ensures the new vision will actually work with what you’re keeping, creating a space that feels curated, not decorated.
This planning sets the stage, but before we bring anything new in, we have to clear the decks.
2. Declutter Ruthlessly: Free Up Space and Peace of Mind
Can we talk about the most underrated, completely free makeover tool? It’s called empty space. As an artist, I call it negative space, and it’s just as important as the subject of the painting. You can’t create—or rest—in a room that’s visually screaming at you. Decluttering isn’t just about getting rid of junk; it’s about making room for your mind to breathe. It’s about creating a canvas that isn’t already covered in doodles.
I once worked with a client who swore she had no room for a small drafting table. After we spent a Saturday mercilessly clearing out her closet and the space under her bed, we “found” a 3×5 foot space that was absolutely perfect. She didn’t need a bigger room; she just needed to own less stuff. Be brutal. If you haven’t used it in a year, if it doesn’t “spark joy” (thanks, Marie), or if you’re keeping it out of pure guilt, it’s time for it to go. Sell it, donate it, give it away. The freedom you’ll feel is better than any new object you can buy.
With a clean slate, you now know exactly what you have and what you truly need, which brings us to the most practical step of all.
3. Set a Realistic Budget: Avoid Overspending Pitfalls Easily
This is the part that makes everyone groan, but listen: a budget isn’t a restriction; it’s a creative constraint. And creatives thrive on constraints. Having no limits is paralyzing. Having a specific set of rules forces you to be innovative and resourceful. That’s where the real magic happens. This isn’t about what you can’t have; it’s about figuring out a clever way to get the feeling you want with the money you do have.
The most important shortcut I can give you is this: build in a 15-20% “oops” fund. Always. Because you’re going to need a specific paintbrush, or run out of spackle, or that “perfect” lamp is going to be $20 more than you thought. Not having a contingency plan is how projects die halfway through, leaving you with a half-painted room and a whole lot of frustration. Track everything in a simple spreadsheet or a notebook. It’s not sexy, but it’s what separates a finished, beautiful room from a chaotic, expensive mess.
Now that you know how much you have to spend, the first place to shop is in your own home.
4. Take Inventory of Existing Furniture: Maximize What You Already Own
Everyone’s first instinct is to go online and start shopping for new furniture. Stop. The most unique, character-filled, and sustainable pieces are probably the ones you already own. You’re just bored with them. I want you to walk into your room and look at every piece of furniture as if you’re seeing it for the first time. That old dresser? What if it were painted a deep, moody green? That clunky nightstand? What if it had sleek new hardware?
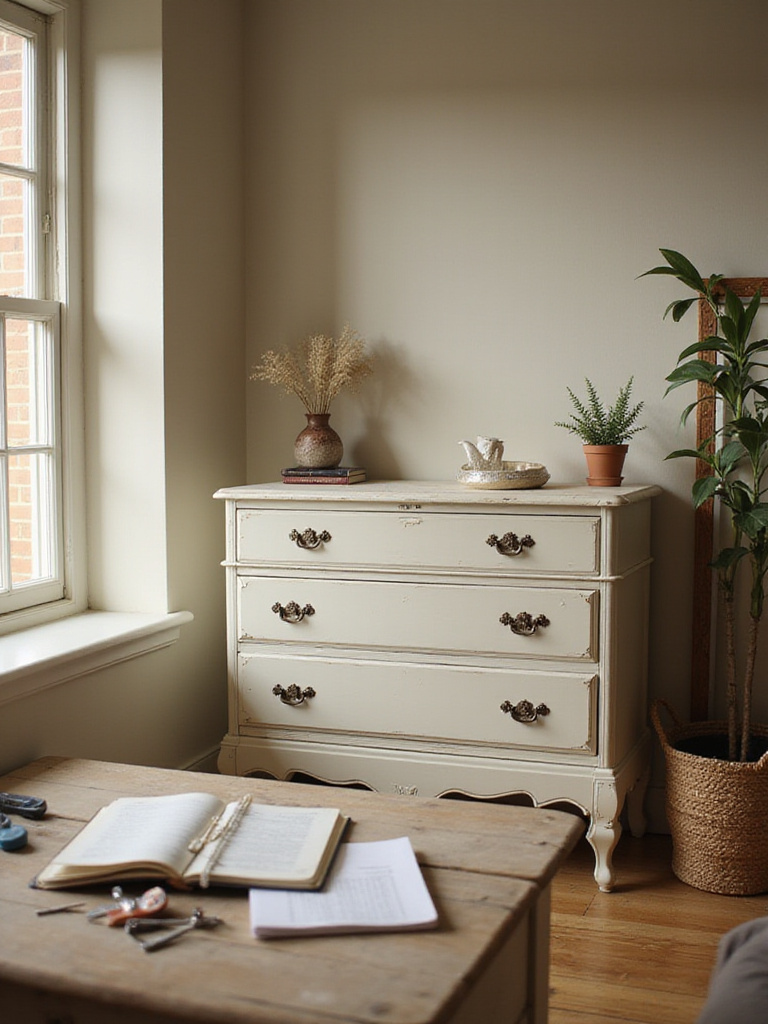
The trick is to see potential, not problems. A few years ago, I inherited a set of truly hideous, orange-toned pine nightstands. My first thought was to haul them to the curb. But I was broke. So, I got out my sander, some white paint for the bases, and a dark stain for the tops. For the price of a few supplies, I suddenly had a chic, two-toned set that looked like it came from a boutique. Before you spend a dime, “shop” your own house. You’ll be shocked at the hidden gems you find.
Once you’ve rediscovered your treasures, it’s time to figure out where they’ll live.
5. Map Out Your Desired Layout for Optimal Flow and Functionality
You wouldn’t start a painting by just throwing color at the canvas, would you? You’d think about composition, balance, and flow. Your room is no different. Don’t just push everything against the walls. That’s the fastest way to make a room feel like a boring, static box. The layout is the most powerful tool you have for changing how a room feels, and it costs nothing but a bit of time and muscle.

Here’s the shortcut every designer uses: get a roll of painter’s tape. Measure your big furniture pieces and tape out their dimensions on the floor. Live with it for a day. Can you walk around the bed easily? Can you open the closet door all the way? This simple step lets you feel the flow of the room before you throw your back out moving a heavy dresser five times. Start with the most important piece—the bed—and build the composition around it. A well-composed room feels intentional and harmonious, no matter how cheap the furniture is.
With the bones of the room in place, we can finally start adding color and personality.
Smart Decor & Creative DIY Transformations
This is where we get our hands dirty. This is the part where your bedroom stops being just a room and starts becoming a reflection of you. These are the high-impact, low-cost moves that create the “wow” factor.
6. Paint Walls in a Fresh, Budget-Friendly Hue for Instant Impact
If you only have $100 to spend on your entire bedroom makeover, spend it on paint. Nothing—absolutely nothing—delivers a more dramatic transformation for less money. Paint can make a room feel bigger, brighter, cozier, or moodier. It can hide a multitude of sins and create a backdrop that makes everything else in the room look better. It’s pure magic in a can.
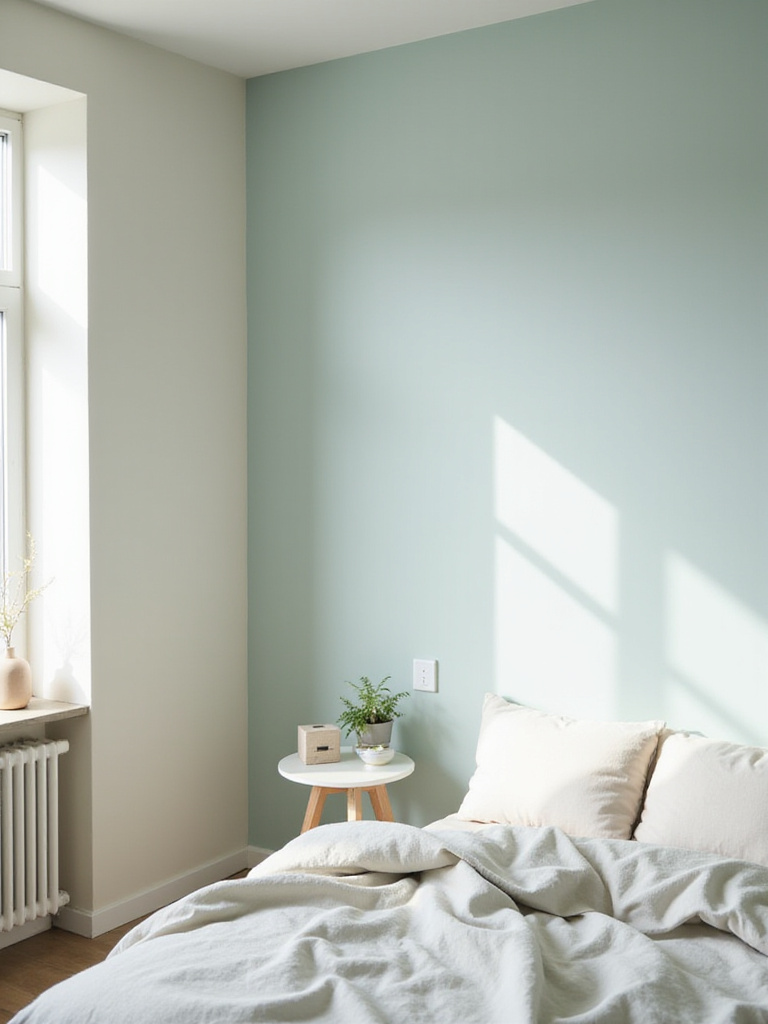
But here’s the BS everyone falls for: they pick a color from a tiny chip under fluorescent store lighting. Don’t do it. Buy a few sample pots, paint big squares on a couple of different walls, and watch them throughout the day as the light changes. That “perfect” greige can look purple at night. That soft white can look glaringly yellow in the afternoon sun. Sampling is the one step you cannot skip. Trust me. It’s the difference between a room you love and a room you have to repaint in six months.
Once your walls are singing, it’s time to make your furniture harmonize.
7. Repurpose Old Furniture with a Fresh Coat of Paint or Stain
This is where you can truly make a space your own. Turning a generic, thrifted, or hand-me-down piece of furniture into a custom work of art is one of the most satisfying things you can do. But I learned this one the hard way. Early on, I was so excited to paint a vintage desk that I just slapped a coat of latex paint directly onto the glossy old varnish. Within a week, it was peeling and chipping if you so much as looked at it funny. It was a disaster.
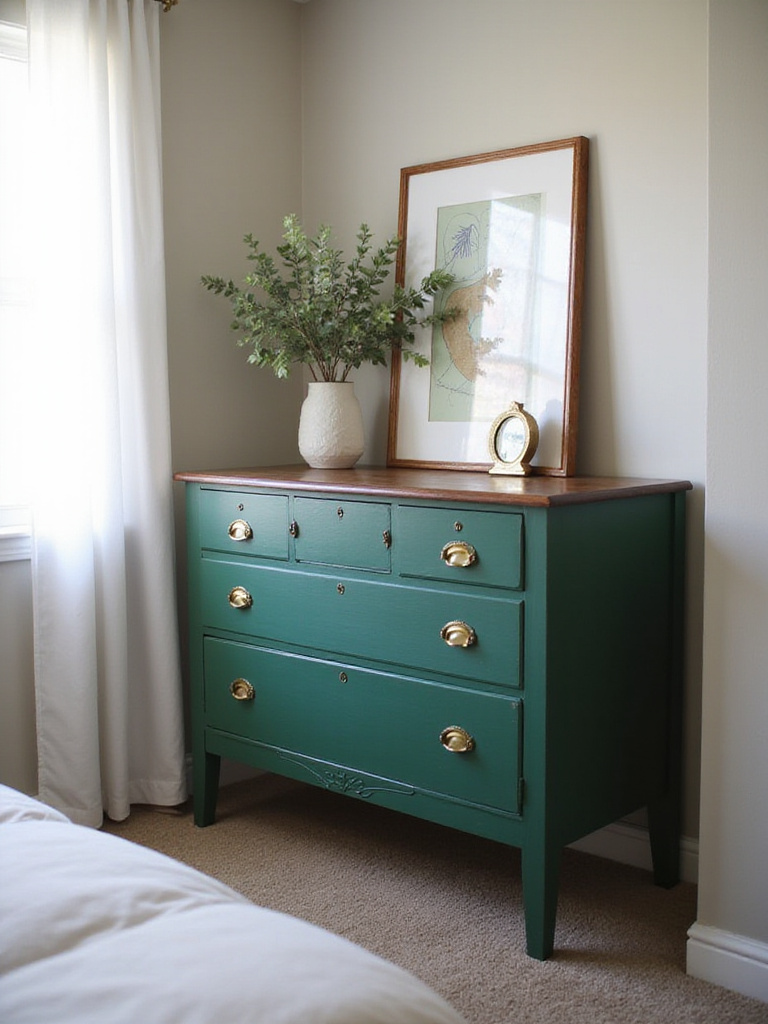
The shortcut I wish I’d known is the power of a shellac-based primer, like Zinsser B-I-N. It’s stinky, but it will stick to literally anything—laminate, varnish, you name it. A light sanding and a coat of good primer is the secret to a professional, durable finish that lasts. Don’t skip the prep work. Your patience will be rewarded with a piece that looks amazing and holds up to real life. Clean, sand, prime, paint. That’s the mantra.
Your furniture is now a star, but every star needs a stunning backdrop.
8. Design an Affordable Gallery Wall with Printable Art & Thrifty Frames
As a creative person, your walls should tell your story. A gallery wall is the perfect way to do this, but please don’t go out and buy a bunch of matching, mass-produced “art” from a big-box store. Your walls deserve better. You can create an incredible, personal gallery wall for next to nothing if you know where to look.

The internet is your best friend here. Look up the New York Public Library or the Rijksmuseum’s digital collections—they have thousands of high-resolution vintage illustrations, maps, and paintings you can download for free. Etsy is full of affordable printable art. Print them at home or your local print shop, then hit the thrift stores for frames. Who cares if the frames are ugly and mismatched? A can of black or gold spray paint makes them a cohesive family instantly. This is your personal museum. Fill it with things that mean something to you.
This personal touch on the walls will make your room feel more like you, but nothing anchors a bedroom like a great headboard.
9. Create a Statement Headboard Using Inexpensive Materials
A bed without a headboard is like a sentence without a period. It just feels… unfinished. A statement headboard anchors the bed, creating a strong focal point that makes the entire room feel more pulled-together and intentional. But store-bought headboards can be ridiculously expensive. The good news is, you can make one out of almost anything.
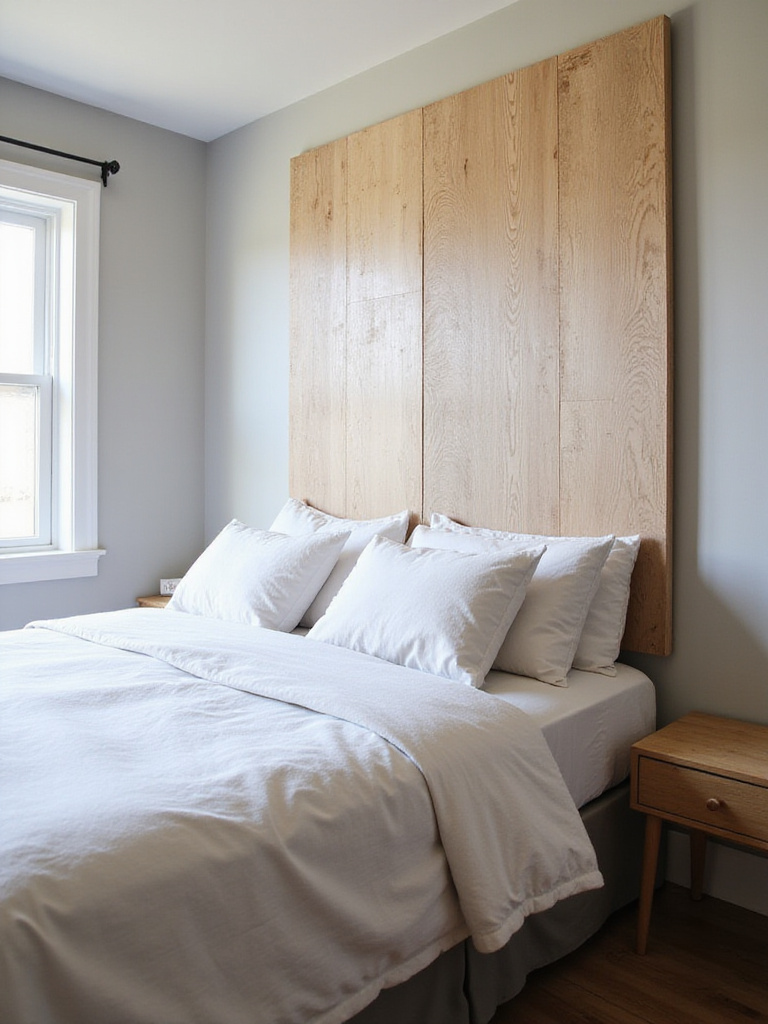
Think of it as a sculpture. I’ve seen clients create stunning headboards by painting a dramatic arch directly on the wall behind the bed. I’ve seen them made from old doors turned on their side, a large piece of plywood upholstered with foam and funky fabric (a staple gun is your best friend), or even woven macrame wall hangings. The goal is to create a zone for the bed that has presence and personality. It doesn’t have to be complicated to be impactful.
That powerful anchor piece deserves a supporting cast, which is where refreshing your other furniture comes in.
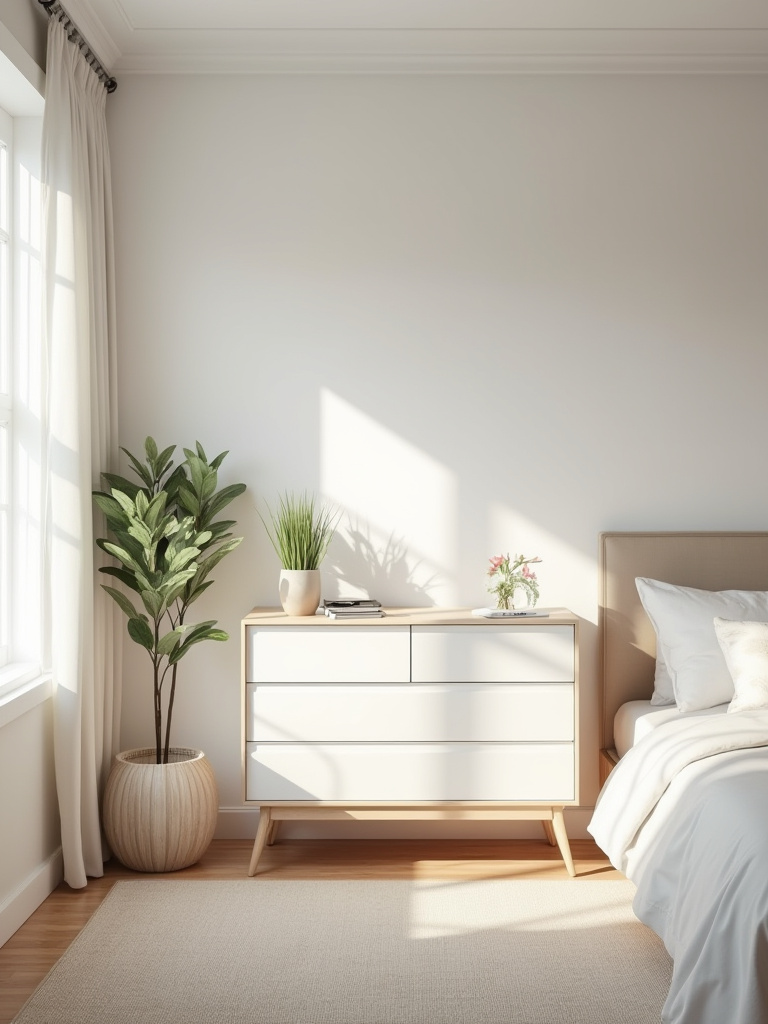
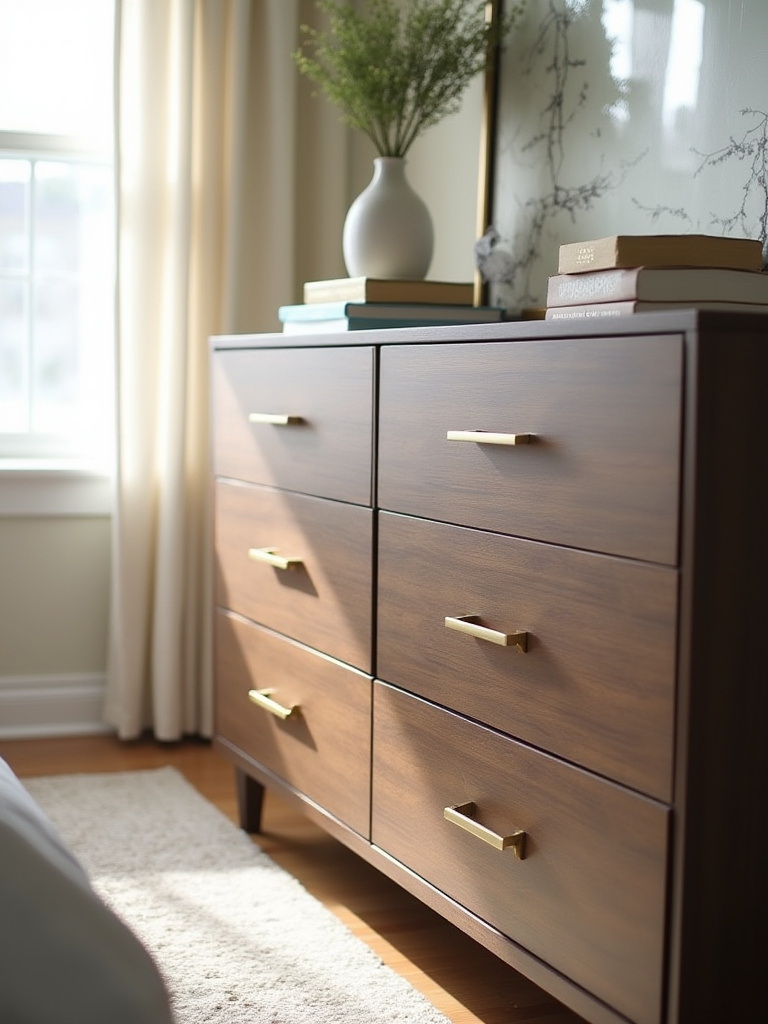
10. Transform Dressers with New Hardware or Decorative Contact Paper
Think of hardware as jewelry for your furniture. You can take the most boring, basic dresser—hello, IKEA Malm—and make it look like a high-end designer piece just by swapping out the hardware. It’s a five-minute job that has an enormous impact. Look for unique pulls and knobs on Etsy, at Anthropologie (wait for a sale!), or even in your local hardware store.
If the surface of the piece is the problem, decorative contact paper is your secret weapon. It’s come a long way from the bubbly floral shelf liner in your grandma’s kitchen. You can get realistic-looking marble, wood grain, or bold geometric patterns. Here’s the pro-tip: use a hairdryer. A little bit of gentle heat makes the vinyl more pliable, helping you smooth it around corners and get rid of air bubbles for a seamless finish. It’s a low-cost, low-commitment way to experiment with a bold trend.
This idea of low-commitment, high-impact style leads us directly to the walls.
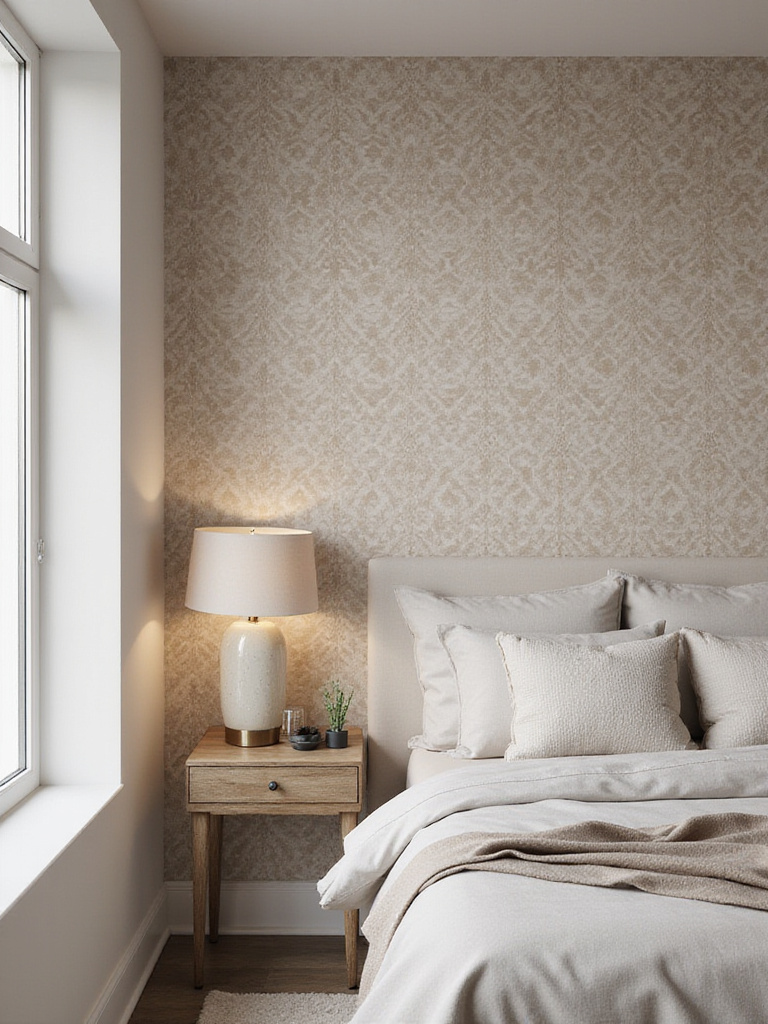
11. Utilize Removable Wallpaper for a Non-Permanent accent wall
Removable wallpaper is a game-changer, especially for renters or anyone who’s a little bit commitment-phobic about pattern. It allows you to create a jaw-dropping accent wall that looks incredibly luxe, and you can peel it right off when you’re ready for a change. It’s perfect for injecting a huge dose of personality behind your bed or on a long, boring wall.
But here’s the reality check: it’s not as easy as slapping on a sticker. For it to look good, your wall needs to be smooth and clean. Application takes patience, a smoothing tool, and preferably, a friend. Don’t try to hang a long panel by yourself; it will get stuck to itself, you will get frustrated, and things will be thrown. But if you take your time and work slowly, the payoff is huge. It’s a surefire way to make your bedroom look professionally designed.
Once your walls and furniture are looking great, it’s time to soften the edges with textiles and light.
Affordable Textiles, Lighting & Ambiance
This is the sensory part of the design. It’s how you make a room feel good, not just look good. This is all about texture, warmth, and creating a mood. These are the layers that turn a bedroom into a true retreat.
12. Refresh Your Bedding with High-Impact Pillows & Throw Blankets
Your bed is the biggest piece of furniture in the room. If it looks amazing, the whole room looks amazing. But you don’t need a crazy-expensive duvet to get there. The secret is in the layers. Specifically, pillows and throws. This is where you can play with color, texture, and pattern without a major commitment.
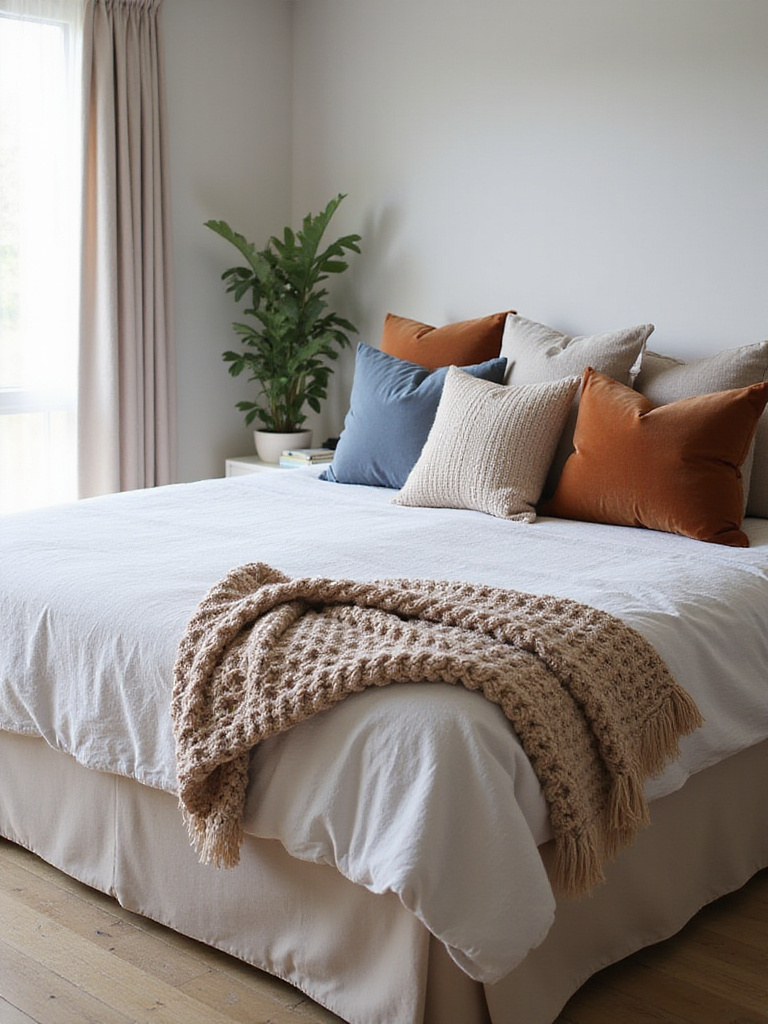
Please, I beg you, step away from the sad, flat pillows that come in a “bed-in-a-bag” set. The shortcut to a luxe-looking bed is to buy pillow covers and pair them with good quality inserts that are slightly larger than the cover itself. This makes them look plump and expensive. Get a mix of textures—velvet, linen, chunky knit—and don’t be afraid to splurge on one “hero” throw blanket that feels amazing. It’s the finishing touch that invites you to curl up and relax.
With your bed looking cozy, let’s turn our attention to the windows.
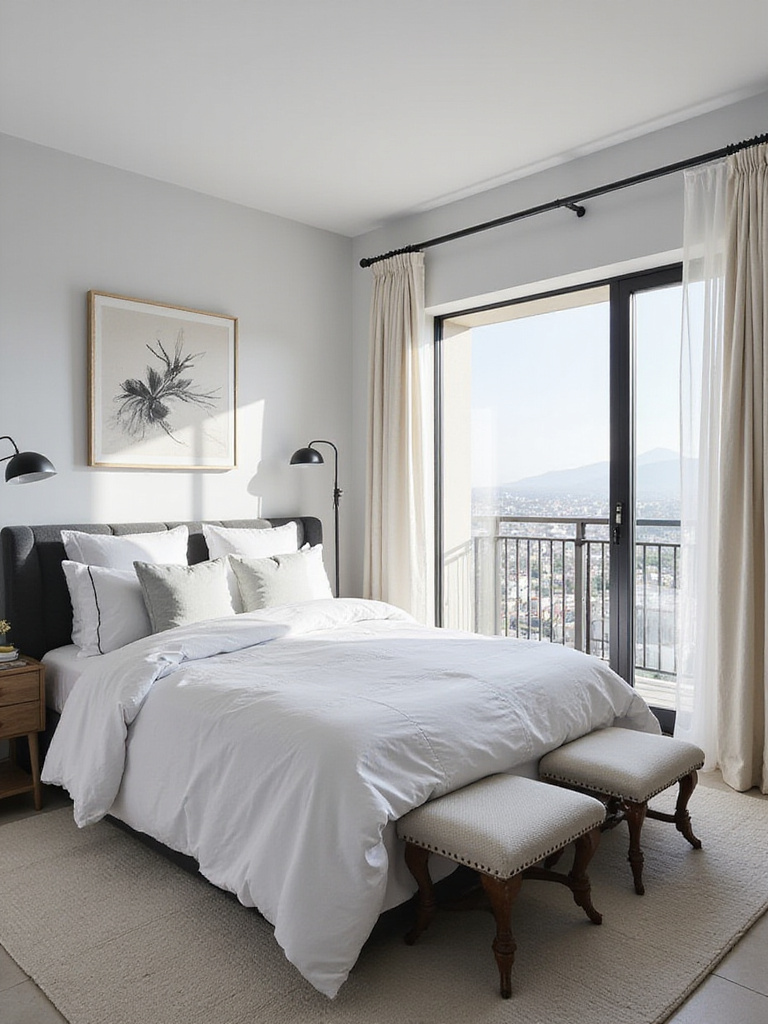
13. DIY Curtains or Blinds for Instant Privacy and Style Control
Nothing makes a room feel cheaper or more temporary than naked windows or flimsy plastic blinds. The right window treatments can add softness, control light, and make a room feel taller and more polished. But custom curtains can cost a fortune. My favorite artist’s hack? Painter’s drop cloths. They have a beautiful, heavy, linen-like texture, they’re incredibly cheap, and you can find them at any hardware store.
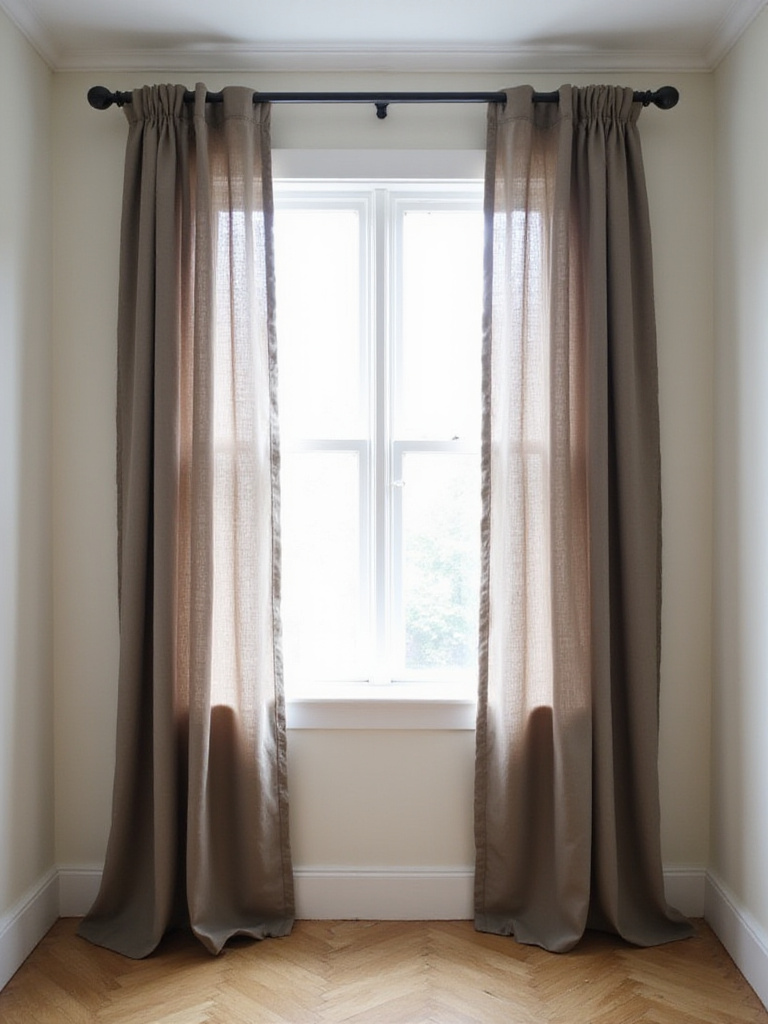
The real trick, though, is how you hang them. This is the one thing everyone gets wrong. Don’t mount the rod right on the window frame. Go “high and wide.” Mount the curtain rod at least 4-6 inches above the top of the window frame and extend it 6-12 inches on either side. This makes your windows look bigger and your ceilings look higher. Let the curtains just kiss the floor. It’s a simple change in geometry that makes a world of difference.
Curtains add softness to the walls, but the floor needs some love too.
14. Source Affordable Area Rugs to Define Zones and Add Warmth
My biggest pet peeve? The tiny rug. You know the one. The little postage-stamp-sized rug floating in the middle of a room, with all the furniture huddled fearfully around its edges. A rug’s job is to anchor a space and define a zone. If it’s too small, it just makes the room feel disjointed and smaller.
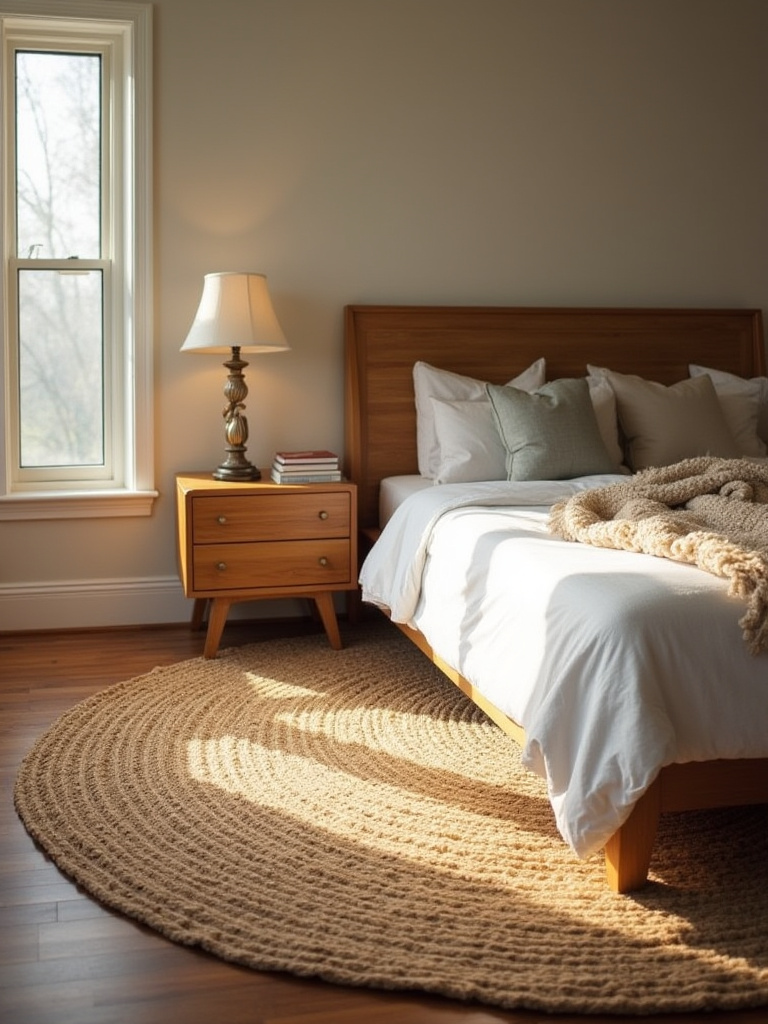
Here’s the rule: at a minimum, the front legs of your major furniture pieces (the bed, an accent chair) should be sitting on the rug. In a bedroom, you want the rug to extend at least 18-24 inches around the sides and foot of the bed, so your feet have a soft, warm place to land in the morning. A great shortcut if you can’t afford a huge rug is to layer. Buy a large, inexpensive natural fiber rug (like jute or sisal) to define the space, then layer a smaller, plusher, more colorful rug on top. It adds texture, personality, and solves the scale problem.
With the room feeling cozier underfoot, it’s time to look up and fix the lighting.
15. Enhance Lighting with Budget-Friendly Lamps or String Lights for Ambiance
Can we all agree to stop using the “big light”? That single, harsh overhead fixture is the enemy of good ambiance. A beautifully designed room relies on “light layering”—having multiple sources of light at different heights to create a warm, inviting glow. You need light for tasks (like reading in bed), and you need light for mood (like soft, ambient light).
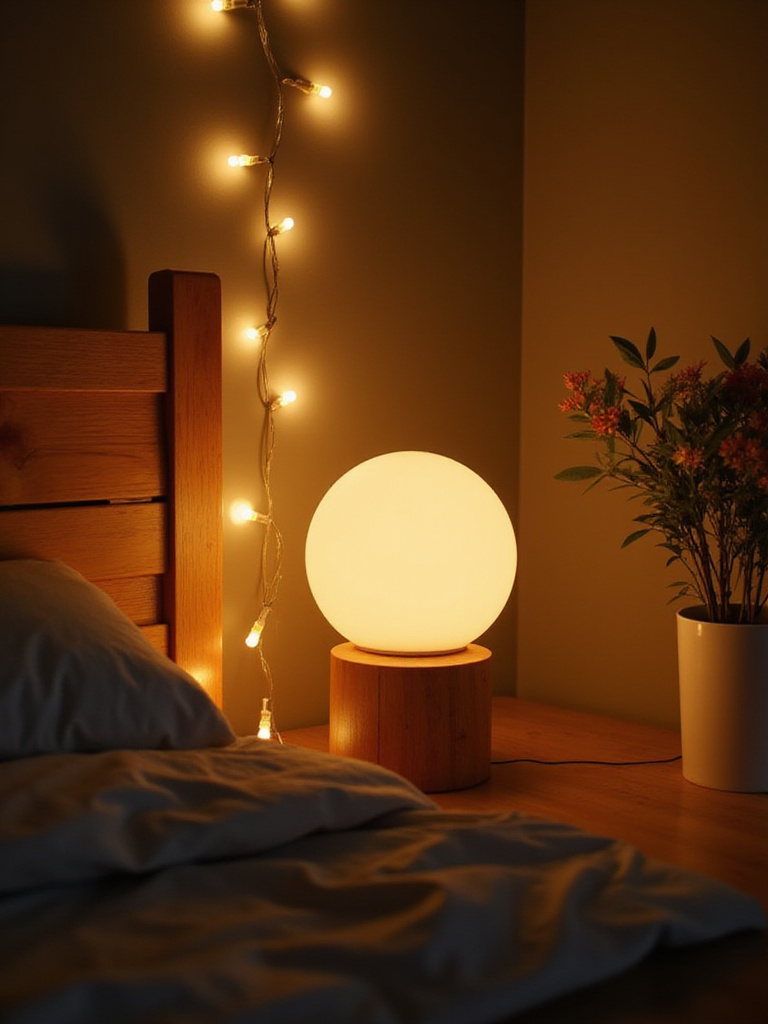
This doesn’t mean you need to hire an electrician. A few well-placed lamps can work wonders. Find a floor lamp for a dark corner, a stylish lamp for your nightstand, and maybe even a small clip-on light for a bookshelf. My favorite trick for instant, affordable magic is string lights. Tucked behind a headboard or draped around a mirror, they create the softest, most beautiful glow. Always choose bulbs with a “warm white” tone (around 2700K). It’s the difference between a cozy sanctuary and a sterile laboratory.
Soft lighting plays beautifully with reflective surfaces, which brings us to our next trick.
16. Incorporate Large Mirrors to Expand small spaces Visually
A large mirror is the oldest trick in the design book because it just plain works. It’s basically a magic wand for small, dark rooms. A mirror reflects light and the view, creating the illusion of depth and making any space feel bigger and brighter. It’s like adding a window where you can’t actually have one.

The key is placement. Putting a big mirror directly across from a window will literally double your natural light. But for the love of all that is good, do not aim a mirror at a cluttered corner or the messiest part of your room—it will just amplify the chaos. My favorite move is a tall, full-length floor mirror just leaned against the wall. It feels casual, modern, and requires zero holes in the wall. It’s an instant fix for a cramped space.
Now that we’ve made the room feel bigger and brighter, let’s make sure it stays organized and personal.
Savvy Storage & Personalized Finishing Touches
You’ve set the stage, you’ve added the drama, now it’s time for the final details. This is what makes a room not just beautiful, but livable. It’s about smart, functional storage and the little personal touches that tell your story.
17. Implement Vertical Storage Solutions to Maximize Space Efficiency
When you live in a small space, you have to think like a city planner: when you can’t build out, you build up. Your walls are some of your most valuable, underutilized real estate. Getting things off the floor and onto the walls is the fastest way to make a room feel more spacious and organized.
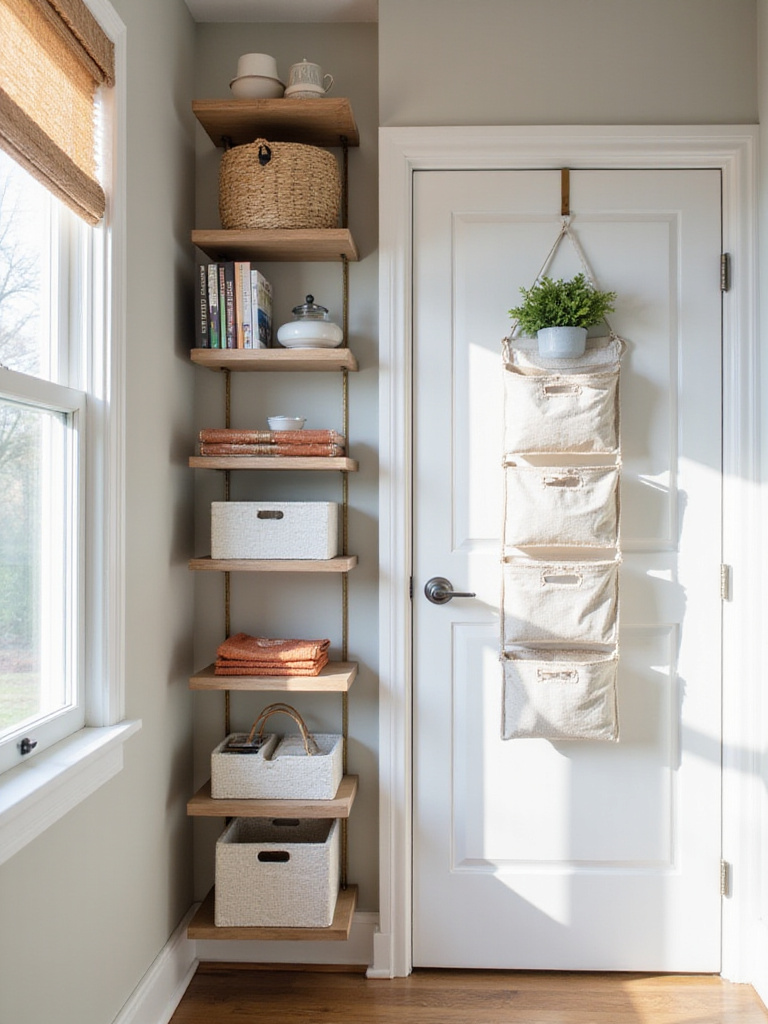
Think floating shelves above your dresser, a tall, narrow bookcase in a corner, or even simple picture ledges to hold small books and art. I love pegboards for creative spaces—you can customize them with hooks and small shelves to hold everything from art supplies to jewelry. Don’t overlook the space above your door for a high shelf to store things you don’t need every day. Vertical storage draws the eye upward, making the room feel taller while keeping your floor clear and your mind calm.
Now that you have all this great new shelving, you have to style it right.
18. Style Open Shelves with Curated Personal Items for Character
Please don’t go out and buy a bunch of generic, meaningless objects just to fill your shelves. Open shelving is not just for storage; it’s a gallery for your life. It’s a chance to display the things that represent who you are—your favorite books, a piece of pottery you made, a collection of rocks from a memorable trip, a framed photo that makes you smile. This is what gives a room soul.
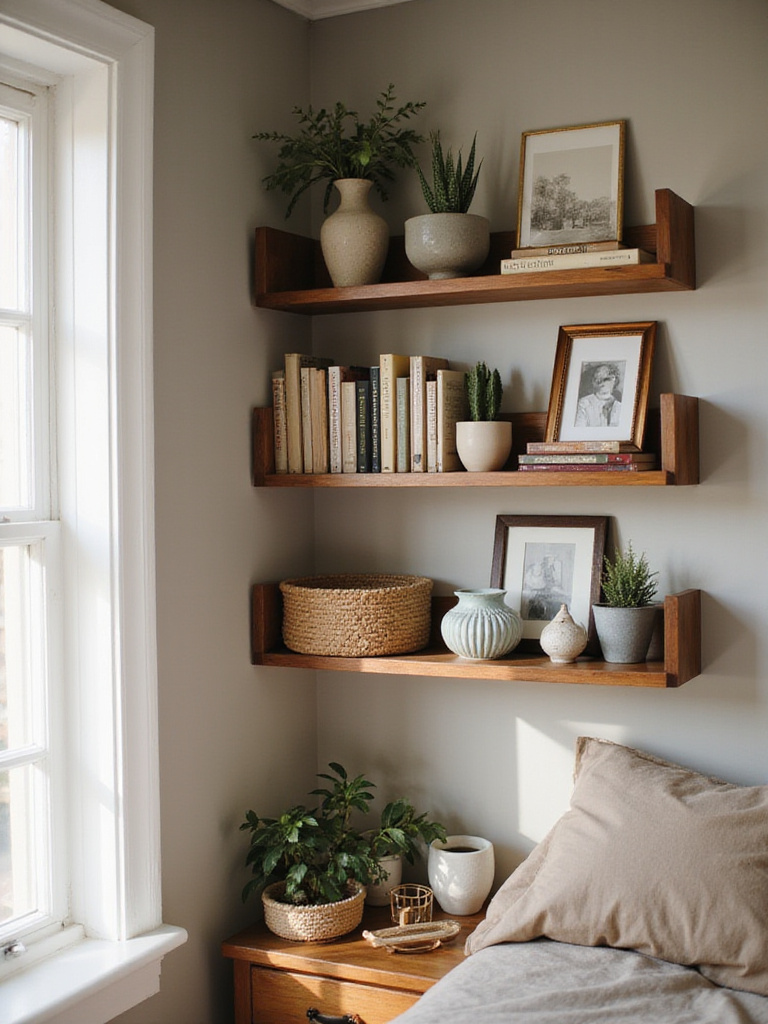
The designer’s trick to making it look “styled” instead of “stuffed” is to follow a few simple rules of composition. Group items in odd numbers, like threes or fives. Vary the height and texture of objects in each grouping. And most importantly, leave some breathing room—what artists call negative space. Don’t cram every inch of the shelf. A little empty space allows the eye to rest and makes the objects you’ve chosen feel more special and intentional.
Shelves are a great place for your favorite objects, but every room needs a little bit of life.
19. Add Greenery with Low-Maintenance Houseplants for Freshness
A plant is the quickest, cheapest way to breathe life and energy into a room. It adds an organic shape, a pop of color, and literally purifies the air you breathe. It makes a space feel cared for and alive. And you don’t need a green thumb to make it happen. There are tons of beautiful plants out there that thrive on neglect.
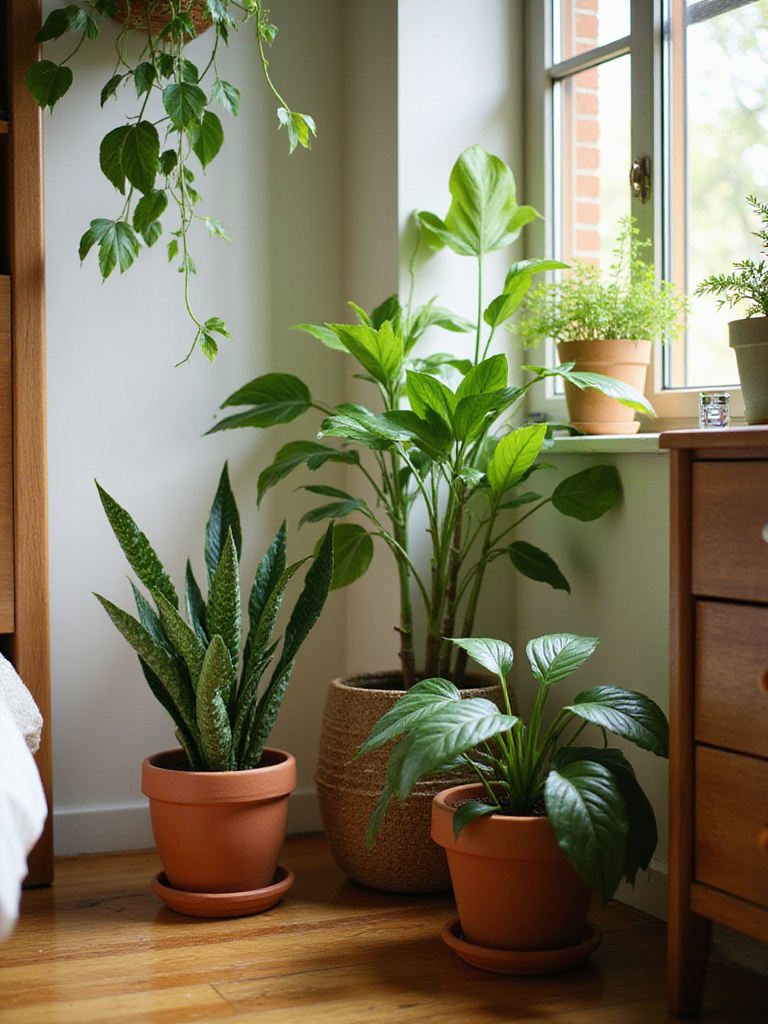
If you’re a beginner, start with the classics: a Snake Plant, a ZZ Plant, or a Pothos. These guys are tough as nails and can tolerate low light and infrequent watering. A common mistake is overwatering—show your love by leaving them alone. A little plant on your nightstand or a trailing pothos on a high shelf instantly softens the room and connects it to the natural world. Plus, you can easily take cuttings from a Pothos to grow new plants for free. It’s the gift that keeps on giving.
The life from a plant complements the stories told by your other decorative pieces.
20. Group Decorative Accessories for a High-End, Intentional Look
Have you ever noticed how designers arrange things in little clusters on a dresser or coffee table? That’s called a vignette, and it’s a powerful trick for making your stuff look more important and expensive. Grouping disparate items together turns them from “clutter” into a “collection.” It’s all about creating a small, contained story.
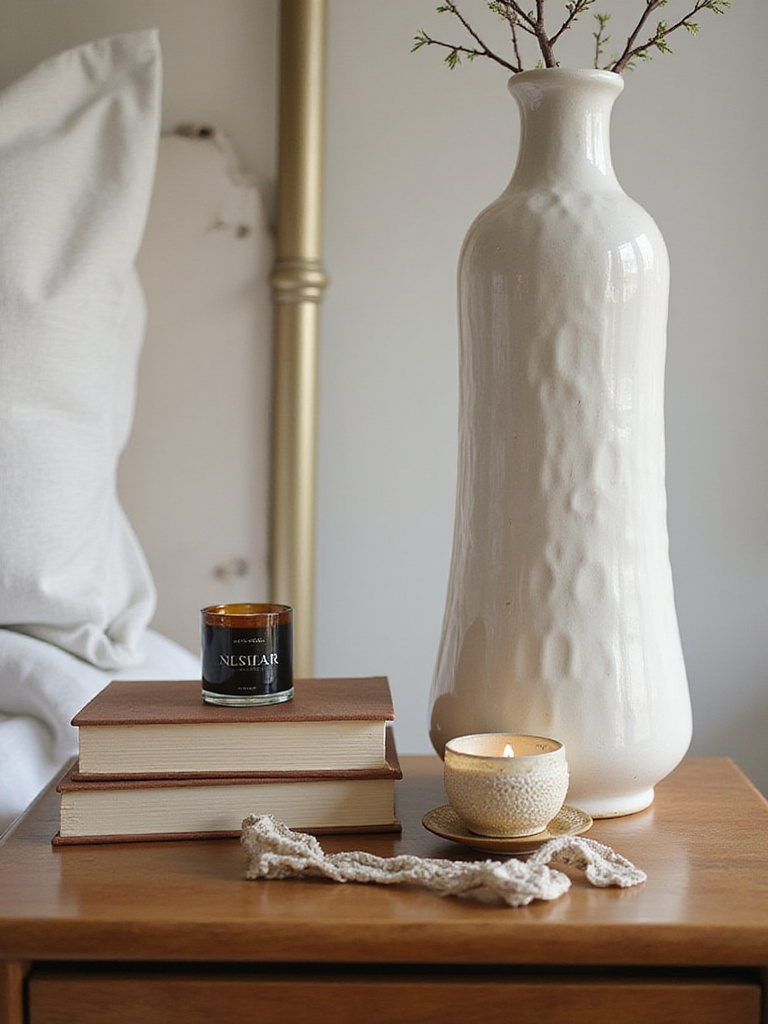
Find a surface—a nightstand, the top of a dresser—and start with a tray or a stack of books to anchor the grouping. Then, add a few objects of varying heights and textures. Think a small lamp, a candle, a little dish for your rings, and a small plant or vase. The key is to create a cluster so that the items relate to each other instead of being spread out all over the surface. It’s an instant way to make your room feel thoughtfully styled and pulled-together.
This intentional grouping makes a room feel finished, just like the right window treatments.
21. Refresh Window Treatments for Enhanced Natural Light and Privacy Control
We talked about hanging curtains, but it’s worth a second look because controlling light is so critical to how a room feels and functions. Your bedroom has different needs throughout the day. You might want bright, diffused light while you’re working or getting ready, but you need absolute darkness for a good night’s sleep. Layering your window treatments is the key to getting both.
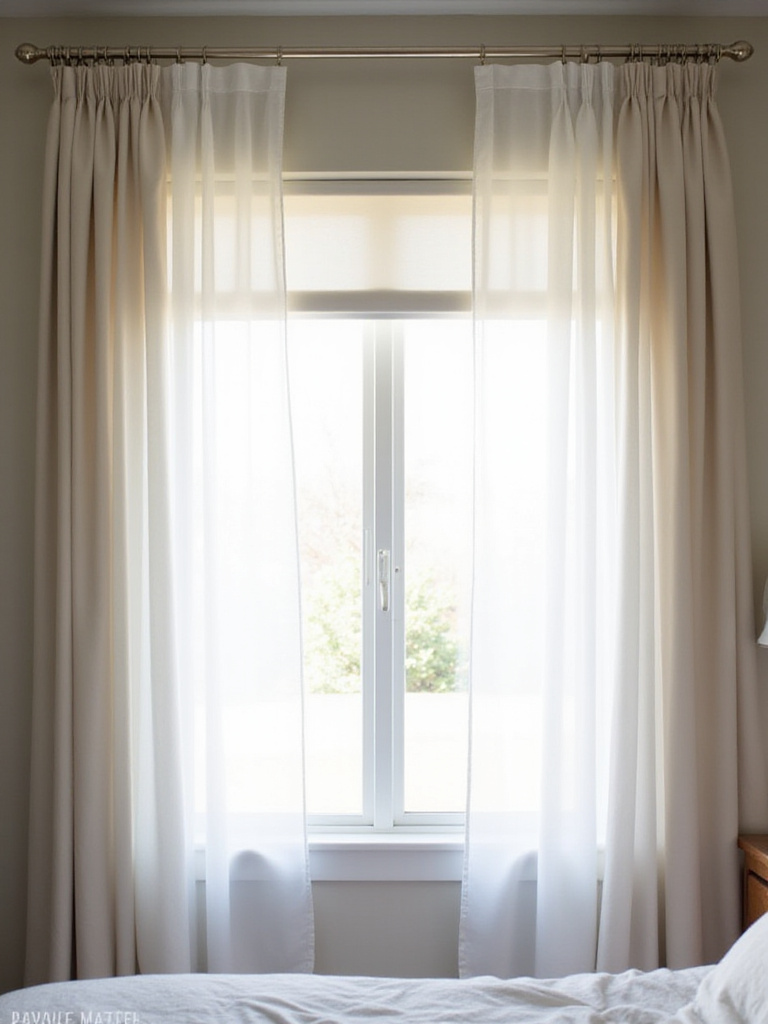
A brilliant and budget-friendly solution is to install a double curtain rod. On the rod closest to the window, hang simple, inexpensive sheer curtains. They’ll give you privacy during the day while letting all that beautiful natural light flood in. On the outer rod, hang blackout curtains. You can pull them closed at night for a pitch-black, cave-like environment that’s perfect for sleeping. This simple, two-part system gives you complete control and makes your bedroom work for you 24/7.
Conclusion
See? A bedroom that feels like a five-star retreat and a fully-functioning creative studio isn’t about the money. It’s about vision, resourcefulness, and the willingness to see your space as a canvas. By starting with a solid plan, getting clever with DIY, and layering in texture, light, and personality, you can absolutely create the room you’ve been dreaming of without draining your bank account.
Don’t feel like you have to do all 21 of these things at once. Pick one. Just start somewhere. Maybe this weekend you’ll finally tackle that decluttering project, or maybe you’ll hunt down the perfect sample pot of paint. Every small, intentional step you take will bring you closer to a space that doesn’t just house you, but truly restores and inspires you. Now go make something beautiful.


