Picture this: You’re standing at your patio door, coffee in hand. Right now, it might be a sad slab of concrete or a bare balcony. But I want you to see it for what it is: a blank canvas. An opportunity. You don’t need a sprawling yard or some magical “green thumb” to create an outdoor space that feels like a sanctuary and an extension of your creative studio. You just need a better way of thinking about it.
People get so caught up in buying the “right” plants that they forget the most important part—designing a space. It’s not about collecting individual plants; it’s about composing a scene that makes you feel something. So let’s talk about how to actually do that, skipping all the textbook jargon and getting straight to what works. This is how you turn that blank canvas into a masterpiece you can live in.
Laying the Groundwork: Smart Planning & Assessment (Part 1)
Alright, first things first. Before you even think about going to a nursery, we have to do the un-sexy work. This is the equivalent of stretching your canvas and sketching your composition. Get this right, and everything else is a thousand times easier. Ignore it, and you’re just setting yourself up for a plant graveyard.
1. Accurately Assess Sunlight Exposure for Plant Success
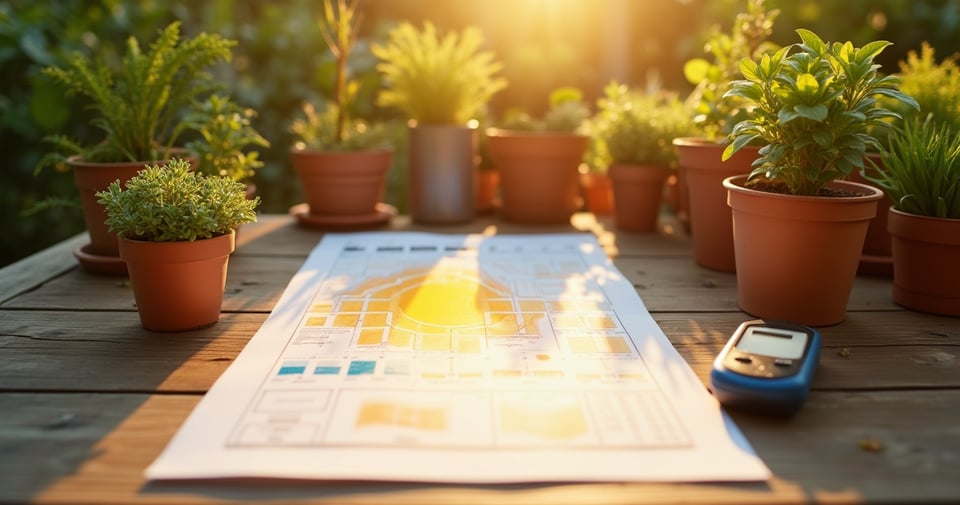
“You know what people always ask me? ‘Why did my full-sun plant die on my sunny patio?'” It’s because “sunny” isn’t a measurement. The blistering afternoon sun in July is a totally different beast than the gentle morning sun in May. Misjudging your light is the number one killer of plants, period. Don’t guess. You have to become a light detective.
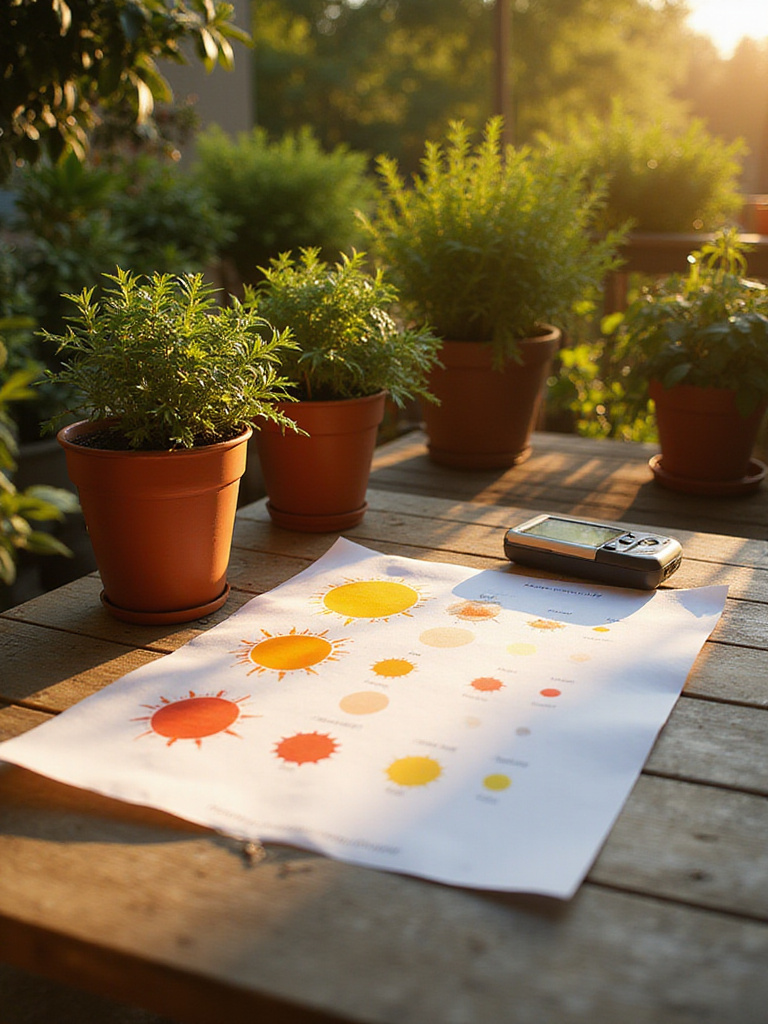
The shortcut I wish I knew earlier is to use your phone. Go out on your patio and take a picture of the same spot every hour for a full day, from morning to evening. The next day, you’ll have a perfect visual timelapse—a sun map. You’ll see exactly which corner gets blasted from 1 p.m. to 4 p.m. and which spot is in cool shade after lunch. Now you can match plants to reality, not to a vague idea of “sun.”
The next section covers what to do with that sun map information, but for now, just become an expert on your own light.
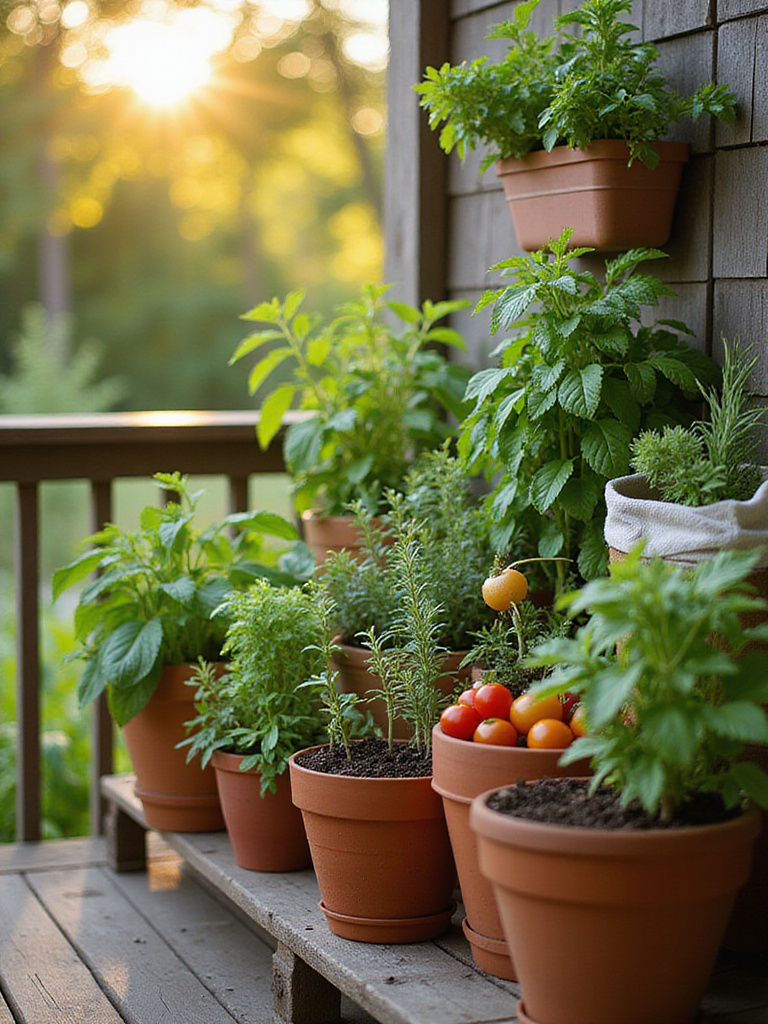
2. Evaluate Patio Space and Layout to Avoid Overcrowding
Can we talk about why everyone gets this wrong? They buy a dozen beautiful plants and cram them onto the patio, and suddenly their serene oasis feels as cramped and stressful as a crowded subway car. Your patio needs negative space. It needs room to breathe, just like a good painting. Overcrowding looks bad, blocks pathways, and, critically, it kills plants by preventing air from circulating, which is an open invitation for diseases.
I once worked with a client who had a gorgeous but tiny balcony. She’d bought so many huge pots that you had to turn sideways to get to the chair. We took half of them away, went vertical with a few key shelves, and suddenly the space felt twice as big and a million times more relaxing. The trick is to take blue painter’s tape or chalk and actually draw circles on the ground where you plan to put your pots. Then try to walk around. If it feels like an obstacle course, you have too much.
Now that we know our light and our space, let’s talk about the most personal factor of all: you.
3. Determine Your Watering Commitment Level for Sustainable Care
I have a confession to make: I used to think I could be one of those people who tenderly waters their plants every single morning. I had this romantic vision. Then life happened. I’d get a big commission, pull an all-nighter in the studio, and forget about the plants for three days straight. I killed a lot of thirsty divas that way. You have to be brutally honest with yourself about how much time you actually have.
Are you a “check-in-daily” person or a “remember-on-Sunday” person? There’s no wrong answer, but there are definitely wrong plants for your answer. If you travel a lot or are just forgetful, embrace succulents, lavender, and ornamental grasses. They thrive on neglect. If you love a daily ritual, then you can handle those lush ferns and tropical flowers. Mismatching your personality to your plants’ needs is a recipe for heartbreak and wasted money.
This isn’t about being a good or bad gardener; it’s about good matchmaking.
4. Identify Your Desired Aesthetic to Create a Cohesive Look
Okay, this is my favorite part because this is where the artist in you gets to play. The biggest BS out there is the idea that you can just go to the nursery, pick a bunch of pretty flowers, and it’ll all work out. No. That’s how you get a chaotic, clashing mess. You need a concept, a mood board, a vibe. Are you going for a lush, overgrown English cottage look? Or a sleek, modern minimalist vibe with just a few dramatic plants in cool pots?
Before I start any project, I make a little Pinterest board. I’m looking at color palettes, textures, and pot materials. Do I want the warm, earthy feel of terracotta, or the sharp, clean lines of black metal planters? I once helped a friend whose patio was just a random collection of impulse buys. We took everything out, decided on a “Modern Mediterranean” theme—terracotta, olive trees, lavender, white-washed wood—and suddenly it looked intentional, stylish, and a thousand times more expensive. Your aesthetic is your north star.
Once your prep work is solid, you can start building your masterpiece with confidence.
Laying the Groundwork: Smart Planning & Assessment (Part 2)
We’re still in the prep phase, but now we’re getting into the nitty-gritty that separates the thriving oases from the sad, struggling ones. These two points are your secret weapons for building a resilient foundation.
5. Research Plant Hardiness Zones for Your Local Climate
This sounds technical, but it’s dead simple. A hardiness zone just tells you the coldest temperature it gets in your area in the winter. If you buy a plant that can’t handle that cold, it will die. Full stop. It’s like trying to wear a linen shirt in a blizzard; it’s just not designed for the conditions.
Everyone at the big box store assumes you know this, but so many people don’t! The shortcut is to just Google “USDA Plant Hardiness Zone” and type in your zip code. It’ll give you a number, like “7b” or “5a”. When you go to the nursery, look at the plant tags. If you’re in zone 6, don’t buy a perennial that says it’s only hardy to zone 8. It’s a waste of money. Stick to plants rated for your zone or colder, and you won’t have to watch your investment turn to mush with the first frost.
And once a plant is in its pot, its roots are even more exposed. Which brings us to the next crucial point…
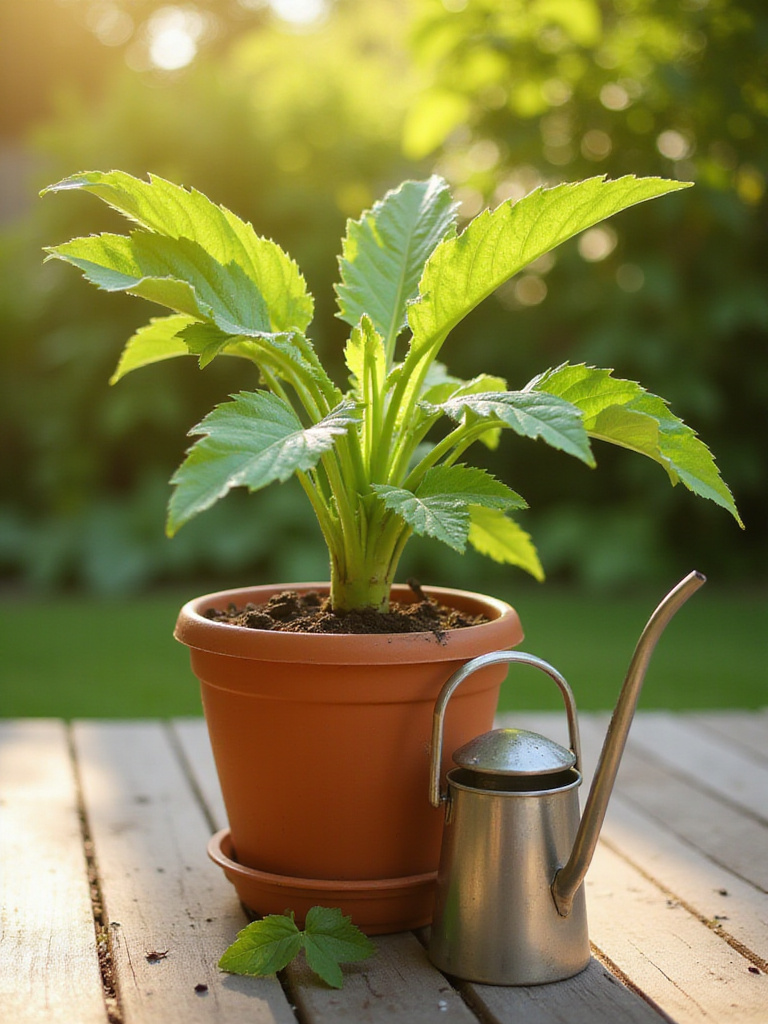
6. Plan for Adequate Drainage Solutions to Prevent Root Rot
Let’s just get this out of the way: The idea that putting a layer of gravel or rocks at the bottom of a pot helps with drainage is a total, complete myth. A lie. It actually makes things worse by creating a pool of stagnant water right where the roots are trying to grow. This is the single piece of BS advice that has killed more container plants than anything else on earth.
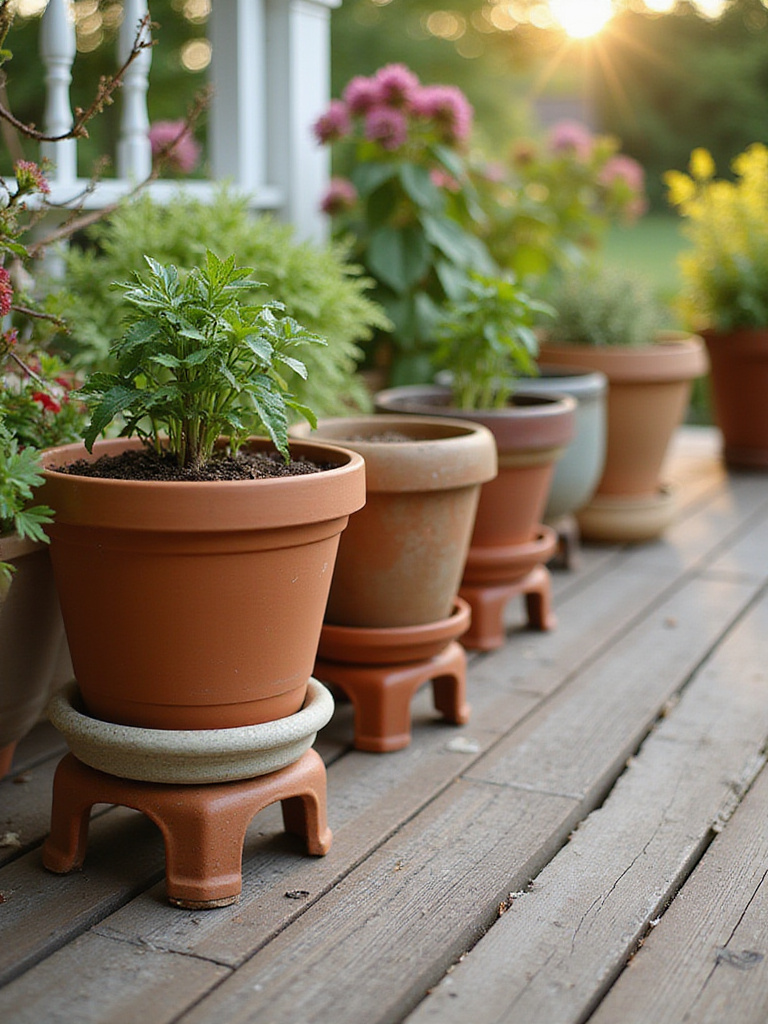
Healthy roots need to breathe. When they sit in water, they suffocate and rot. It’s that simple. All you need are two things: 1) pots with plenty of drainage holes, and 2) a light, fluffy potting mix (not heavy garden soil). If a pot you love only has one tiny hole, drill more. And prop the pot up on little “pot feet” or even a few flat stones so water can actually escape instead of getting trapped underneath. Proper drainage isn’t a suggestion; it’s a non-negotiable law of container gardening.
Now, let’s talk about the fun part—actually picking your plants and pots.
Choosing Wisely: Plant & Container Selection (Part 1)
This is the phase where your vision starts to come to life. You’ve done your homework, you have your plan, and now you get to be the curator of your own living art gallery. But choosing wisely is key.
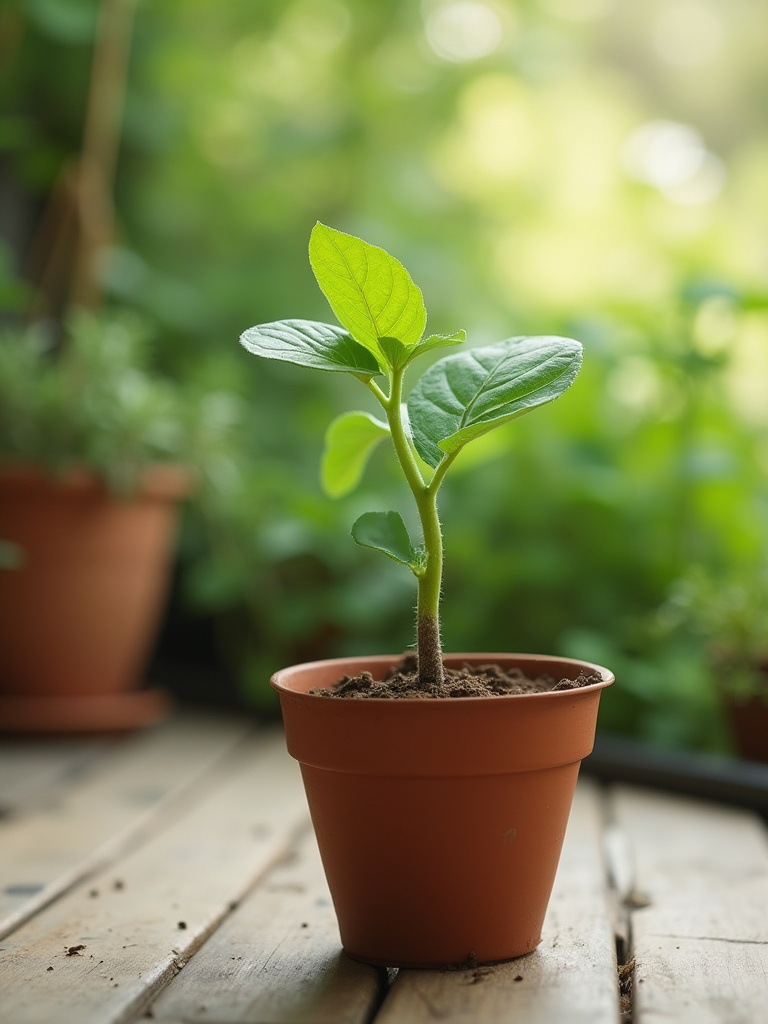
7. Select Container-Friendly Plant Varieties for Optimal Growth
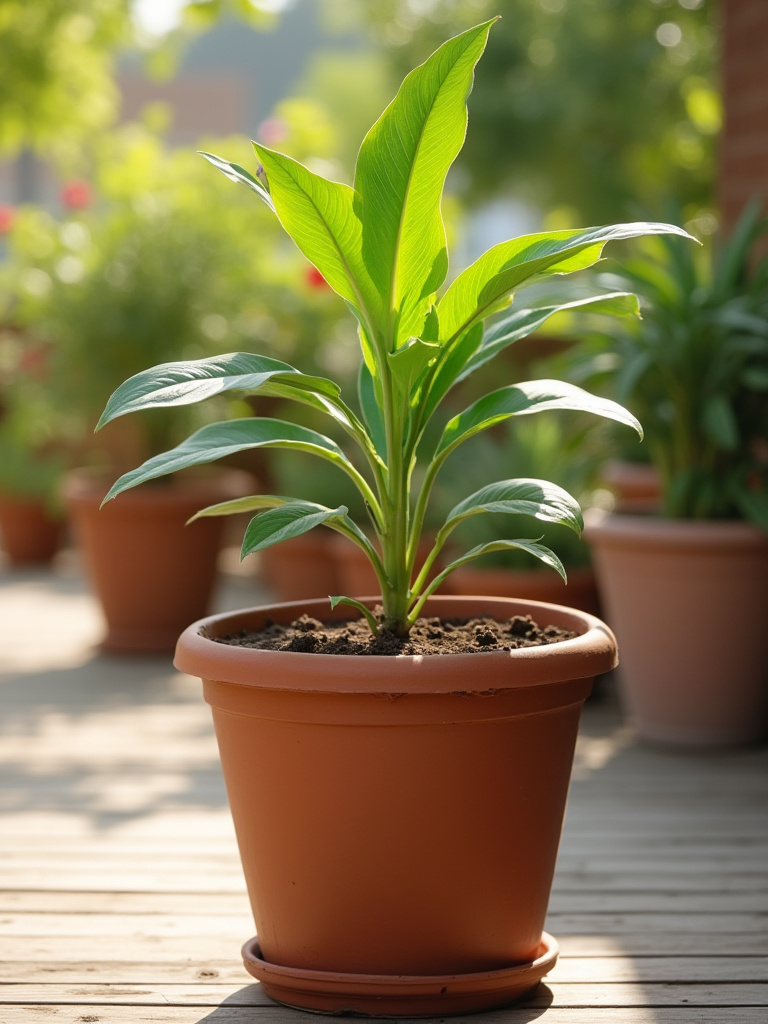
You wouldn’t try to raise a Great Dane in a studio apartment, right? The same logic applies to plants. Trying to cram a standard-sized plant that wants to grow six feet wide into a 12-inch pot is just cruel. It will become stressed, stunted, and sick. You need to look for the magic words on the plant tag: “compact,” “dwarf,” or “patio.”
These are varieties specifically bred to be happy in containers. They’ll give you all the beautiful flowers or delicious vegetables without trying to take over your entire patio. I learned this the hard way with tomatoes. My first year, I planted a standard ‘Better Boy’ tomato in a pot. It turned into a ten-foot monster vine that produced three tomatoes and then died. The next year, I planted a ‘Patio Princess’ variety and got buckets of tomatoes from a tidy little two-foot plant. Work smarter, not harder.
But the variety of the plant is only half the battle. The pot itself is just as important.
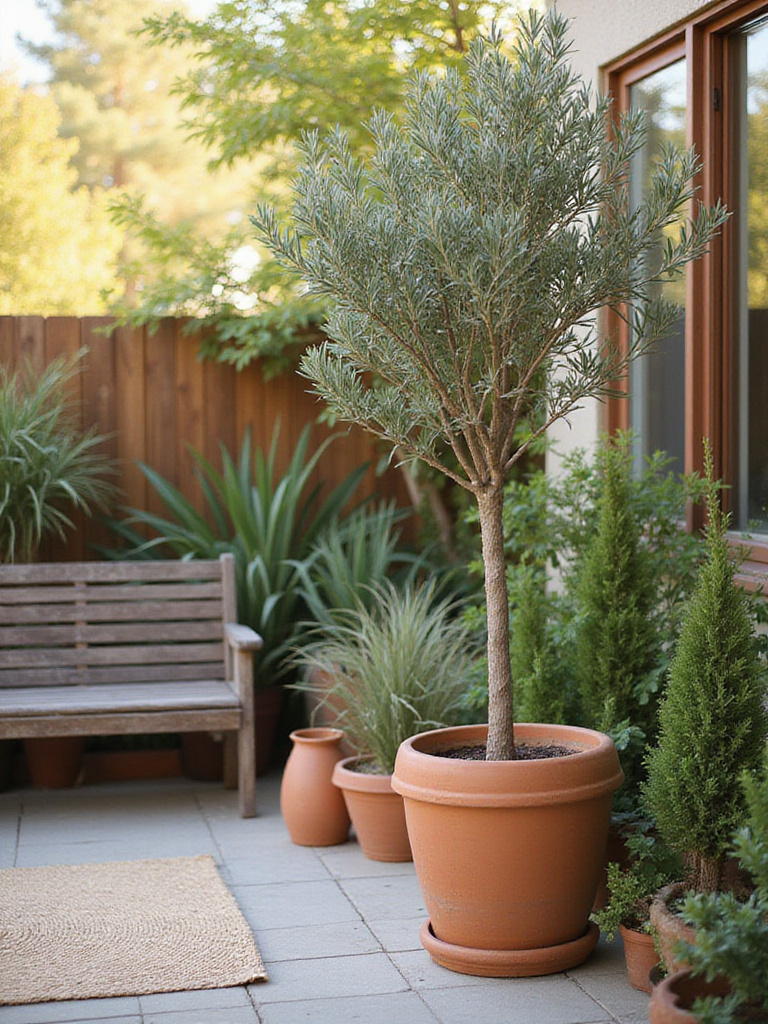
8. Choose Appropriately Sized Planters to Support Root Development
A pot isn’t just a holder; it’s the entire universe for your plant’s roots. Choosing one that’s too small is like forcing your plant to wear shoes that are three sizes too tight. The roots have nowhere to go, they get tangled up, and the plant slowly chokes itself. We call this being “root-bound,” and it’s a one-way ticket to a sad, stunted plant.
The rule of thumb I always tell my clients is to pick a pot that’s about 2-4 inches wider in diameter than the plant’s current root ball. This gives it enough room to grow for a season without being so big that the soil stays wet for too long, which could lead to rot. You’re looking for that Goldilocks pot—not too big, not too small. It’s the frame for your artwork; it needs to support the piece without overwhelming it.
And that pot better have one specific feature…
9. Prioritize Planters with Ample Drainage Holes for Healthy Roots
I know I’m sounding like a broken record, but I see this mistake constantly. People fall in love with a beautiful decorative pot that has no drainage holes. They think, “I’ll just be careful not to overwater it.” No. You can’t. Without an escape route for excess water, you’re creating a swamp at the bottom of your pot. I call these pots “plant coffins.”
If you absolutely must have that beautiful pot with no holes, use it as a cachepot. That’s a fancy designer term for a decorative outer pot. Keep your plant in its cheap plastic nursery pot (which has great drainage!), and just slip that inside the pretty one. When you water, take the plastic pot out, let it drain completely in the sink or on the grass, and then put it back. It’s one extra step that will save your plant’s life.
With the right pot secured, it’s time to think about what goes inside it.
10. Use Premium Potting Mix for Essential Nutrient Supply
Let me tell you, all soil is not created equal. Using cheap, heavy “potting soil” or, even worse, digging up dirt from your yard, is a huge mistake. Garden soil is dense, full of clay, and compacts like concrete in a pot, which, you guessed it, suffocates the roots. You have to use a product specifically labeled “potting mix.”
Think of it this way: you wouldn’t use cheap, chalky kids’ paint for a professional oil painting, would you? The potting mix is your medium. A good quality mix is light and fluffy because it contains things like peat moss, coco coir, perlite, and vermiculite. These ingredients hold moisture without getting waterlogged, allowing plenty of oxygen to get to the roots. Spending a few extra dollars on a bag of premium potting mix is the best investment you can make for the health of your patio plants.
You’re curating your living art gallery. Let’s make sure you introduce your new pieces correctly.
Choosing Wisely: Plant & Container Selection (Part 2)
Okay, you’re at the nursery, armed with your knowledge. Now it’s about making smart combinations and bringing your new acquisitions home without killing them from shock. These next two steps are the pro moves.
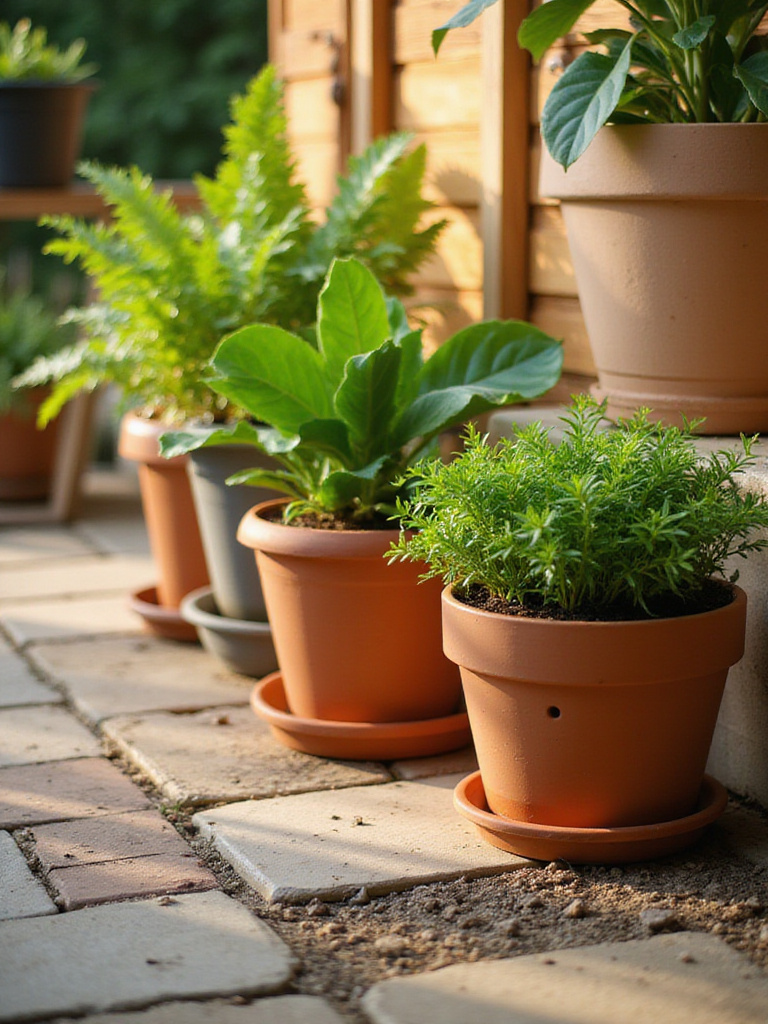
11. Group Plants with Similar Environmental Needs Together
I love designing mixed containers—it’s like creating a mini-landscape in a single pot. But the biggest mistake people make is what I call the “Franken-pot”: they put a sun-loving, drought-tolerant succulent right next to a shade-loving, water-guzzling fern. It’s impossible to keep them both happy. One is always either drowning or dying of thirst.
The secret is to create plant cliques. Put the sun-worshippers together in one pot. Put the shade-dwellers who like to stay moist in another. It makes your life so much easier. You can water an entire zone of your patio the exact same way, knowing that everyone in that group wants the same thing. Think of it as seating your dinner guests: you wouldn’t put two people who can’t stand each other at the same table. Do the same for your plants.
Once they’re grouped, you have to introduce them to their new home gently.
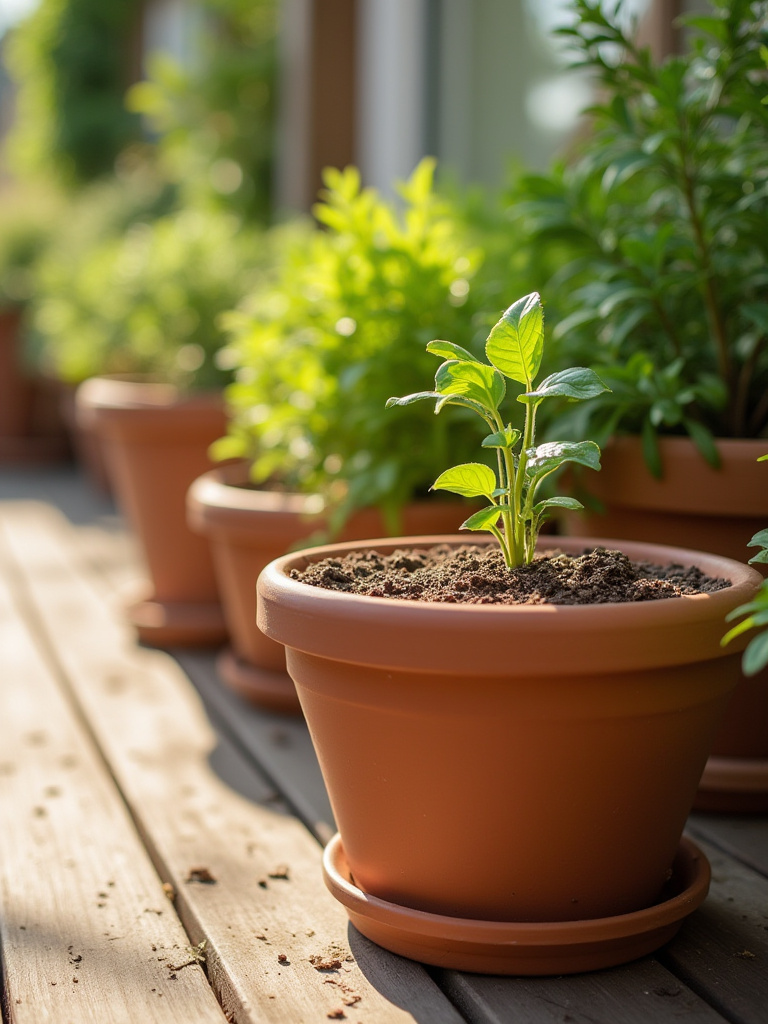
12. Gradually Acclimate New Plants to Their Outdoor Environment
You can’t just take a plant from the cushy, temperature-controlled nursery and plop it onto your sun-drenched, windy patio. It’s like taking a tourist from Ohio and dropping them on a Miami beach in August without sunscreen. They will get scorched. This shock can kill even the healthiest plant. You have to “harden them off.”
It sounds complicated, but it’s not. It just means introducing them to the real world gradually. Start by putting your new plants in a shady, protected spot on your patio for just an hour or two on the first day. The next day, give them a couple more hours and a little bit of gentle morning sun. Over the course of a week, slowly increase their exposure to the sun and wind. You’re letting them build up a tolerance. It’s a little extra work upfront that saves you from the heartache of watching your brand new, expensive plant shrivel up and die.
Now comes the really fun part: arranging everything to look amazing.
Enhancing Appeal: Styling & Arrangement Techniques (Part 1)
This is where your inner artist takes over. We’ve built the foundation, and now we get to play with form, color, and composition to turn your collection of pots into a stunning, cohesive design.
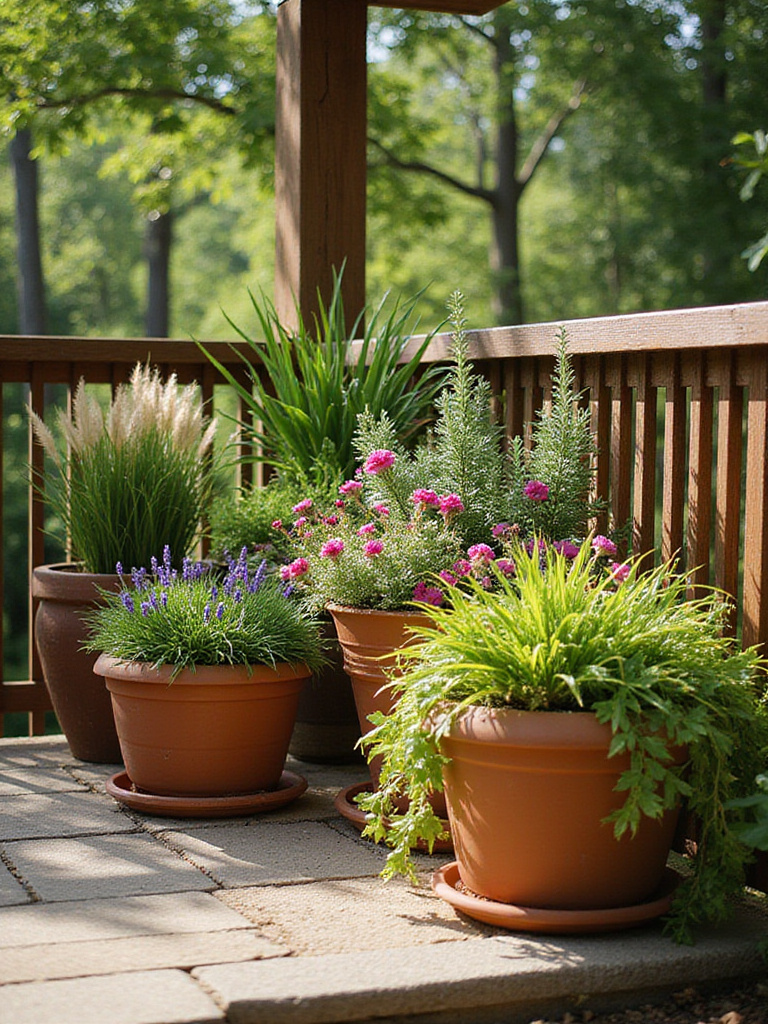
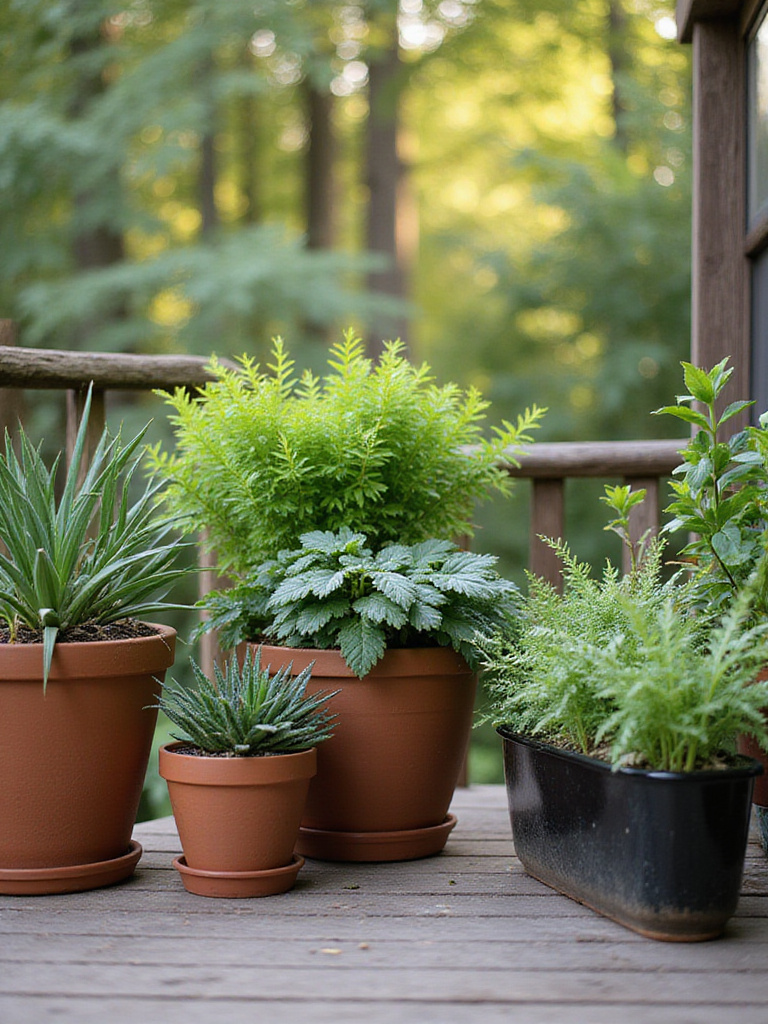
13. Create Visual Dynamics with Varying Plant Heights
A patio with every plant at the same height is boring. It’s visually flat. It’s like a choir where everyone sings in the exact same note. To create real interest and make your space feel lush and dynamic, you have to play with different levels. Think foreground, mid-ground, and background, just like in a landscape painting.
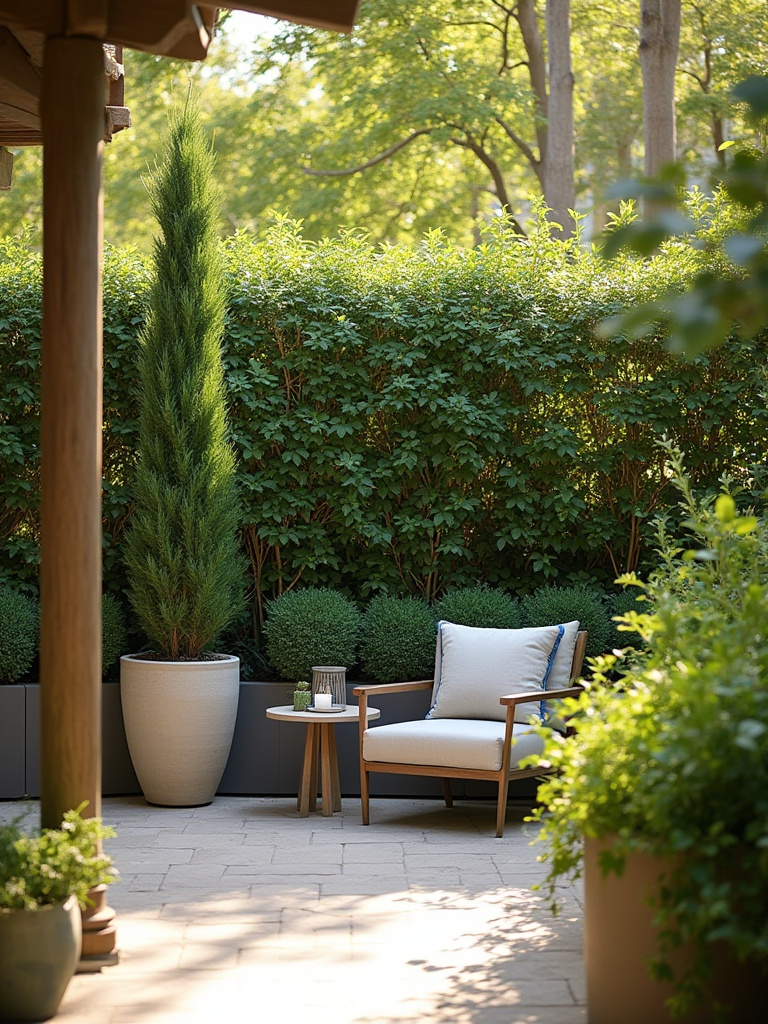
The absolute best shortcut for this is the designer’s trifecta: “Thriller, Filler, and Spiller.” For every large pot or grouping, you want:
- A Thriller: A tall, dramatic plant that serves as the focal point (like a spiky Cordyline or an ornamental grass).
- A Filler: Mounded, bushy plants that fill in the middle and hide the thriller’s ankles (like Petunias or Coleus).
- A Spiller: A trailing plant that cascades over the edge of the pot, softening the lines (like Sweet Potato Vine or Creeping Jenny).
Using this simple formula instantly makes your containers look professional and thoughtfully designed.
Speaking of those spillers…
14. Incorporate Trailing Plants for Softness and Elegance
Trailing plants are my secret weapon. They are the single easiest way to make a container garden look lush, abundant, and romantic. They blur the hard edges of pots and railings, connecting the container to the space around it. They add a sense of movement and grace that you just can’t get from upright plants alone.
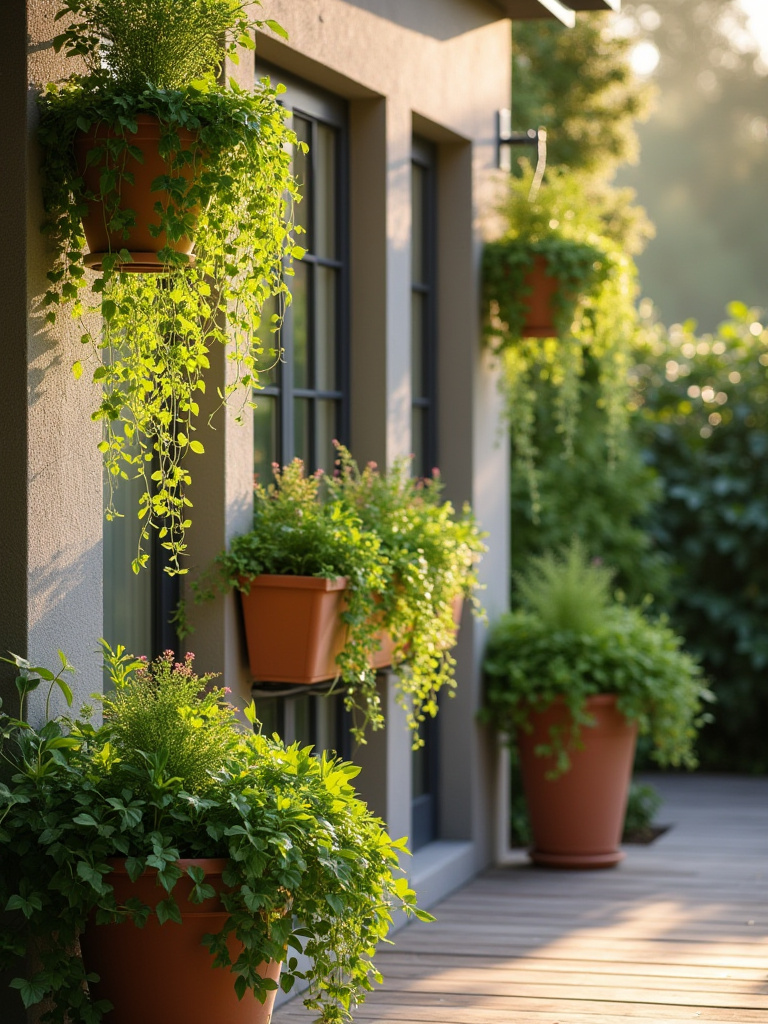
Think about how English Ivy cascades down a wall or how a wave petunia flows out of a hanging basket. That’s the effect you’re going for. Placing them in window boxes, hanging baskets, or at the front edge of a tall planter creates a waterfall of color and texture. It makes the entire space feel softer, more organic, and way more inviting. Without spillers, your patio is just a collection of pots. With them, it’s an oasis.
Next, let’s talk about the painter’s most important tool.
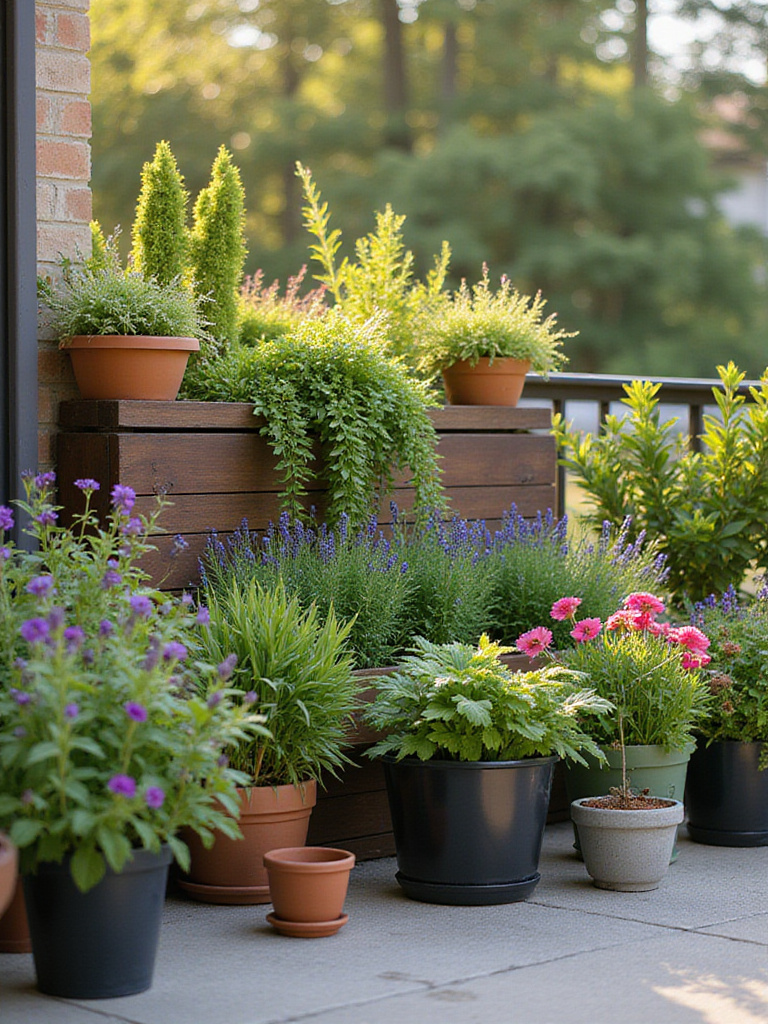
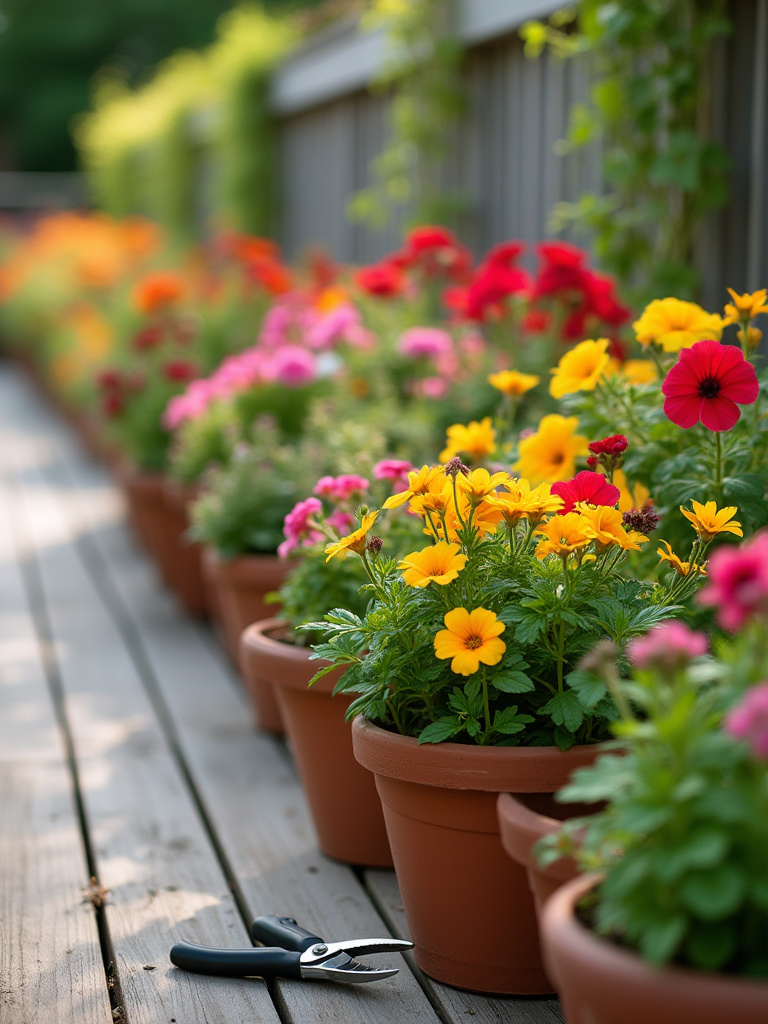
15. Harmonize Bloom Colors for an Eye-Catching Palette
Remember that aesthetic we talked about? Your color palette is a huge part of that. Resist the urge to buy one of every color, which I call the “bag of jellybeans” approach. It just looks chaotic and amateur. Instead, choose a simple, intentional color scheme. It will make your design look more sophisticated and impactful.

You can go with a monochromatic scheme (all different shades of purple, for example), which is always chic. Or try an analogous scheme with colors that are next to each other on the color wheel, like yellows, oranges, and reds, for a fiery, energetic feel. My personal favorite is a simple complementary scheme, like deep purples and bright chartreuse greens. The contrast makes both colors pop. The BS to avoid is thinking more color is always better. Often, less is more.
And don’t forget that the pots themselves are part of your color scheme.
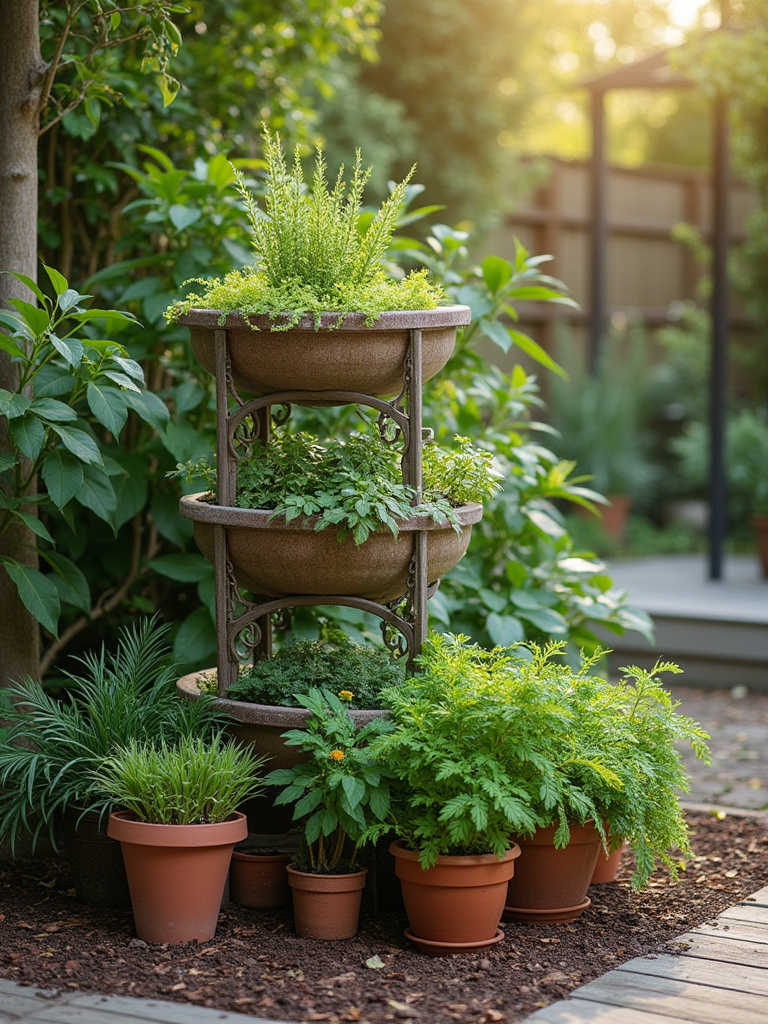
16. Integrate Decorative Planters and Stands for Added Flair
The pot is not just a container; it’s a piece of sculpture in your garden. The materials you choose—the raw texture of terracotta, the sleek shine of glazed ceramic, the industrial feel of galvanized metal—all contribute to your overall aesthetic. Don’t let your beautiful plants be let down by ugly plastic pots.
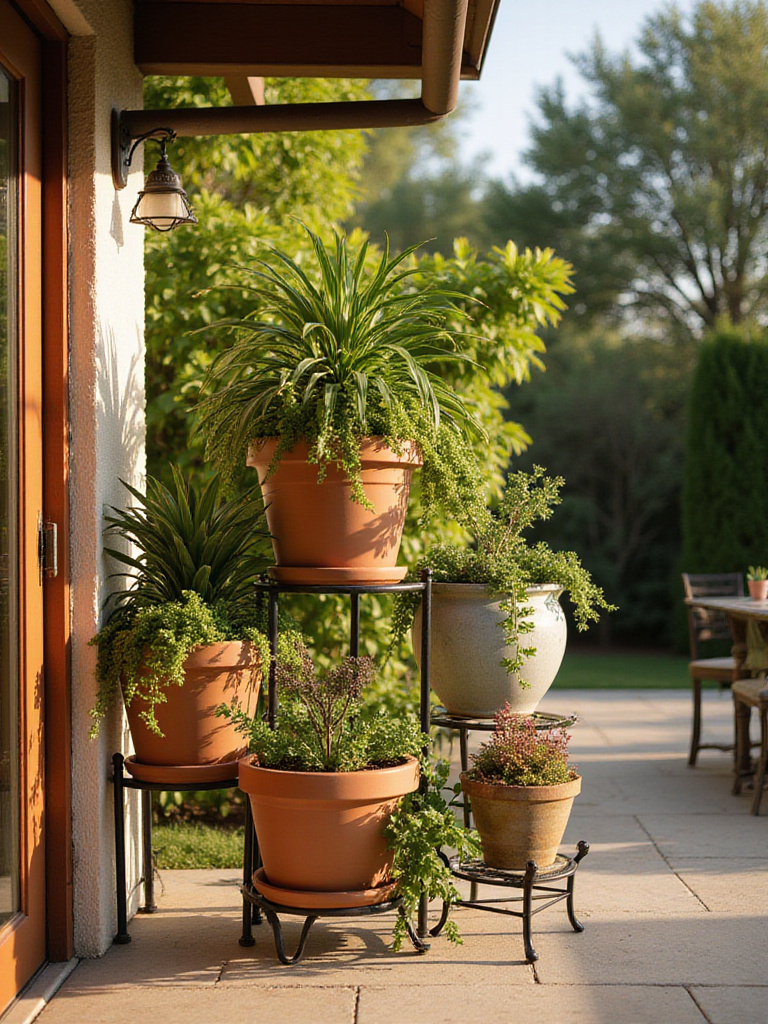
Plant stands are another game-changer, especially for small spaces. They instantly create those varying heights we talked about, lifting smaller plants up so they don’t get lost and creating a layered, jungle-like effect. Grouping a few plants of different sizes on a tiered stand in a corner can create a powerful focal point without taking up much floor space. It’s an interior design trick that works just as well outside.
Now, let’s layer in even more interest by making our patio beautiful and useful.
Enhancing Appeal: Styling & Arrangement Techniques (Part 2)
A truly great space engages all the senses. It’s not just about what you see, but what you can smell, touch, and even taste. And in our modern world, maximizing every square inch of our space for both beauty and function is the ultimate goal.
17. Add Edible Herbs and Vegetables for Functional Beauty
Why have a plant that just looks pretty when you can have one that looks pretty and you can eat? Integrating herbs and edible flowers into your ornamental plantings is one of my favorite tricks. A pot of basil isn’t just a beautiful green plant; it’s the key to fresh pesto. A trailing rosemary plant doesn’t just soften a pot’s edge; its fragrance when you brush past it is incredible, and you can grab a sprig for your roast chicken.
Many vegetables are surprisingly beautiful. The deep purple leaves of some basil varieties, the bright yellow flowers of a zucchini plant, or a ‘Bright Lights’ Swiss Chard with its neon pink and yellow stems can be just as stunning as any traditional annual flower. Place a pot of mixed herbs right by your door or next to your grill. It’s practical, it saves you money, and it brings a whole new sensory dimension to your patio experience.
When space is really tight, you have to think differently about where to put everything.
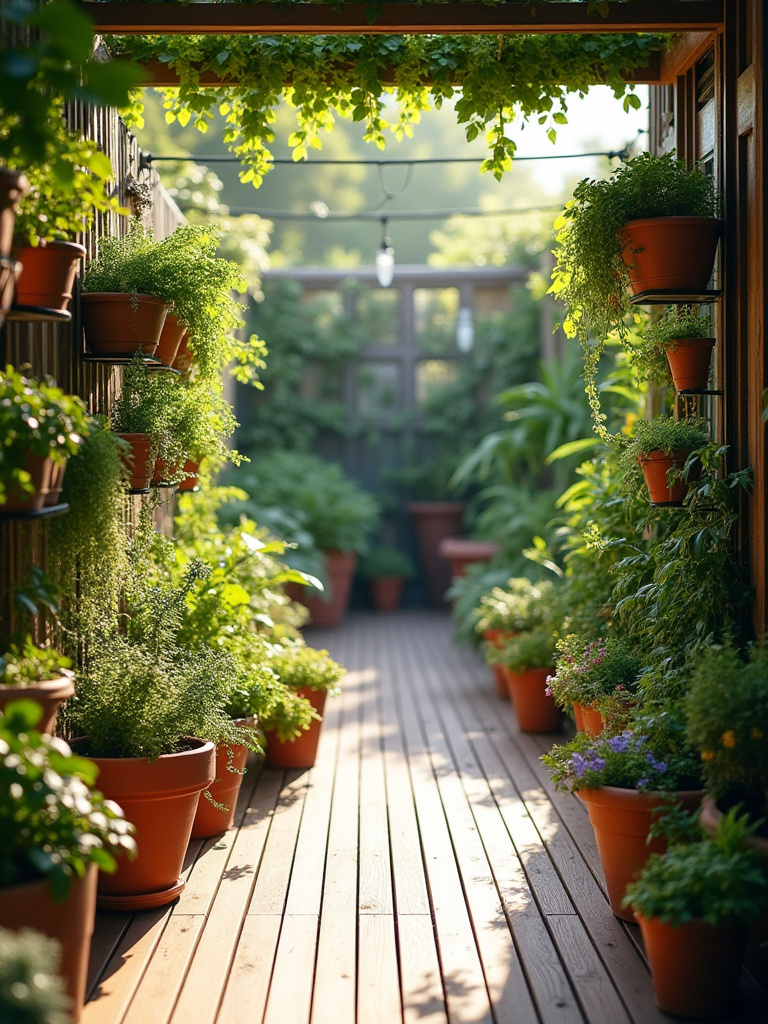
18. Utilize Vertical Gardening for Space Optimization
When you run out of floor space, the only way to go is up. Vertical gardening is a total game-changer for balconies and small patios. It transforms a blank, boring wall into a living, breathing work of art. You’re using the Z-axis of your canvas, adding a whole new layer of depth and immersion.

This can be as simple as putting up a trellis for a climbing vine like clematis or jasmine, or as structured as installing a wall-mounted pocket planter system for a wall of herbs and lettuce. I’ve even seen clients on a budget create incredible vertical gardens by securing a wooden pallet to a wall and tucking small pots into the slats. It instantly makes a small space feel bigger and more lush because you’re surrounded by green, not just looking down at it.
Once your masterpiece is created, you have to maintain it.
Sustaining Vibrancy: Maintenance & Optimization Strategies (Part 1)
Creating the oasis is the exciting part. Keeping it alive and beautiful is the ongoing practice. Don’t worry, this doesn’t have to be a chore. A few consistent habits are all it takes to keep your living artwork thriving.
19. Master Proper Watering Techniques to Avoid Extremes
Let’s be real, most plants die from one of two things: drowning or dehydration. People either love their plants to death with too much water or they completely forget them. Watering on a strict schedule, like “every Monday,” is a mistake because a plant’s needs change daily based on the weather.
Here’s the only technique you ever need to know: the finger test. Stick your index finger two inches down into the soil. Is it dry? Water it. Is it damp? Leave it alone. That’s it. When you do water, do it deeply and thoroughly until you see water running out of the drainage holes. This encourages deep, strong roots. Shallow, frequent sips of water only create weak, shallow-rooted plants that will wilt at the first sign of a heatwave.
Watering is important, but plants can’t live on water alone.
20. Implement a Consistent Fertilization Schedule for Peak Performance
The soil in a pot has a limited supply of nutrients. After a month or two, your hungry plants will have eaten everything available. You have to be the one to restock the pantry. Fertilizing is not optional for container plants; it’s essential for keeping them healthy and producing flowers or fruit.

Don’t overthink it. The easiest way is to mix a slow-release granular fertilizer into your potting mix when you first plant. It’s like a multi-vitamin that slowly feeds your plant for a few months. For heavy feeders like petunias and tomatoes that are putting on a big show, you can supplement that with a weekly or bi-weekly dose of a liquid “bloom boost” fertilizer, mixed at half-strength. Think of it as giving your hardest-working artists an extra energy drink.
A little bit of food and water goes a long way. So does a good haircut.
21. Regularly Prune and Deadhead to Encourage More Blooms
This feels counterintuitive to beginners, but cutting parts off your plants actually makes them grow more. “Deadheading”—which is just a fancy word for pinching or snipping off dead flowers—is the most important task for keeping your flowering annuals looking good all summer. When a flower fades, the plant’s energy goes into making seeds. If you remove the dead flower, you trick the plant into thinking it needs to produce more flowers to complete its mission.
Pruning back leggy stems also encourages the plant to become bushier and fuller instead of sparse and gangly. I know it can feel scary to cut your plant back, but trust me, it’s a creative act. You are literally sculpting your plant, guiding its growth to create a more beautiful form. Use a clean, sharp pair of scissors or pruners and you’ll be amazed at the results.
This regular check-in also helps you do one more crucial thing…
22. Proactively Monitor for Pests and Diseases for Early Intervention
The best way to deal with bugs and diseases is to catch them before they become a full-blown invasion. Make it a habit to really look at your plants when you water them. Turn over a few leaves. Look at the new, tender growth. Are there tiny webs? Sticky spots? Weird dots?
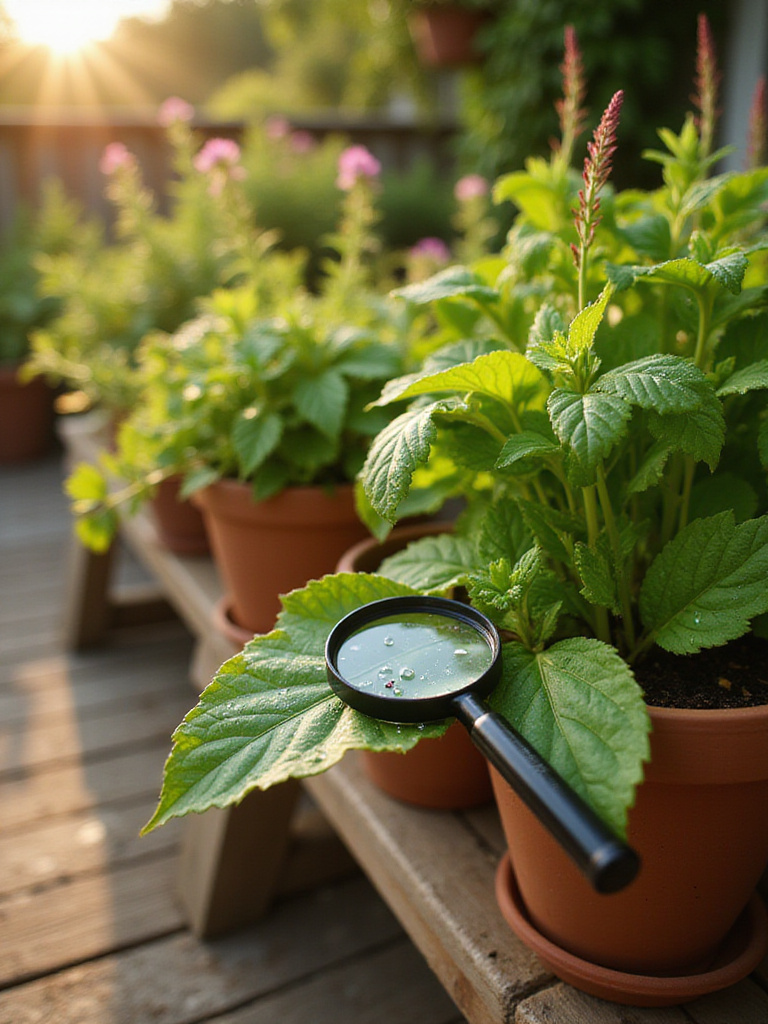
Most common pests, like aphids or spider mites, can be taken care of with a simple blast of water from the hose or a spray of insecticidal soap if you catch them early. The secret tool I tell everyone to get is a pack of yellow sticky traps. They’re just pieces of yellow sticky paper you hang near your plants. Flying pests are attracted to the color, and it acts as your early warning system. If you see a few gnats stuck to the trap, you know it’s time to investigate before they lay eggs.
Let’s wrap up with a couple of pro-level tips for long-term success.
Sustaining Vibrancy: Maintenance & Optimization Strategies (Part 2)
As your garden grows and seasons change, a couple of key skills will ensure your patio oasis lasts for more than just one summer. This is how you protect your investment and keep your plants happy for the long haul.
23. Understand Overwintering Strategies for Perennials and Tropicals
It’s heartbreaking to spend a whole season nurturing a beautiful plant only to have it die in the winter. For perennials (plants that are supposed to come back every year), the roots are much more vulnerable in a pot than in the ground. Your best bet is to move the pot into an unheated garage or shed once it goes dormant. This protects the roots from the freeze-thaw cycle that can kill them.
For tropical plants like hibiscus or mandevilla, you have to treat them like houseguests. Before the first frost, bring them inside to a sunny window. They’ll probably pout and drop some leaves, but they’ll survive. Just be sure to inspect them very carefully for pests before you bring them in, or you could end up with a bug infestation in your living room. A little prep in the fall means you’ll have beautiful, mature plants to bring back out next spring.
But sometimes, a plant just needs a bigger home.
24. Recognize When and How to Repot Root-Bound Plants
After a season or two, a happy, growing plant will fill its pot with roots. You’ll know it’s time for a bigger home when you see roots growing out of the drainage holes, or when the plant dries out so fast you have to water it constantly. It’s time to repot.
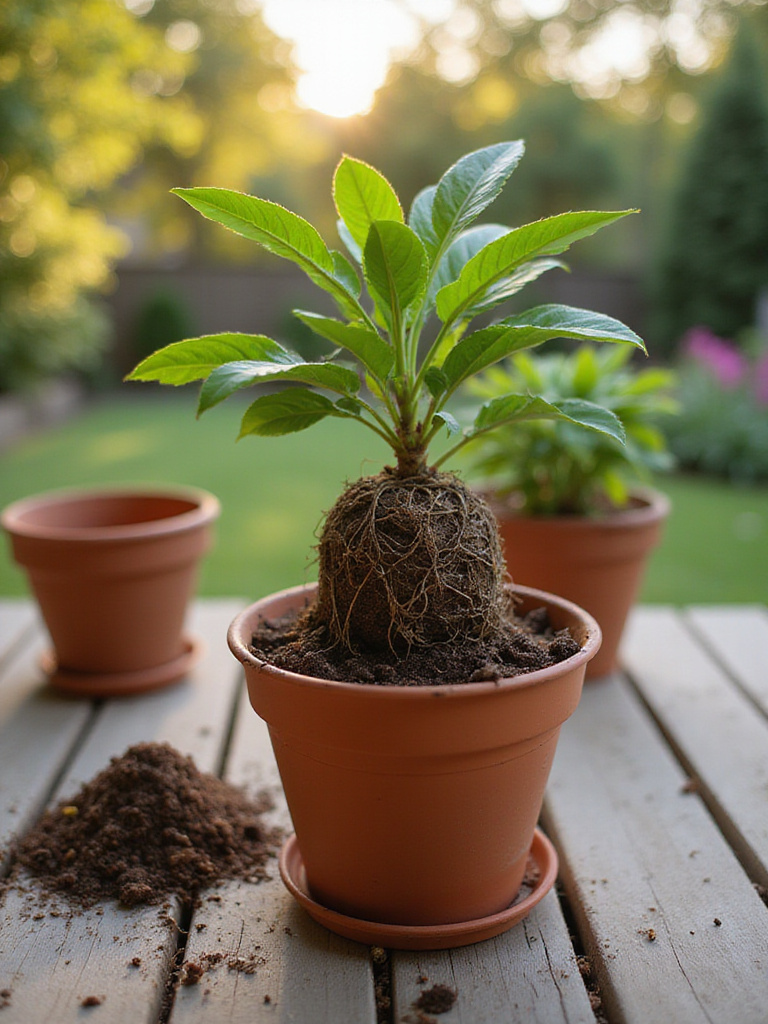
Choose a new pot that’s just one size up (2-4 inches wider). Gently slide the plant out of its old pot. If the roots are a dense, tangled mess, don’t be afraid to rough them up a bit. Take a clean knife and slice down the sides of the root ball in a few places and tease the bottom roots apart. This encourages the roots to grow outwards into the new soil instead of continuing to circle. It feels brutal, but it’s the kindest thing you can do for a root-bound plant.
Conclusion
See? It’s not about magic or some innate talent. Creating a beautiful patio oasis is about looking at your space with an artist’s eye and making a series of smart, intentional choices. It’s about composition, color, texture, and light. It’s about building a relationship with your space and your plants, understanding what they need, and guiding their growth.
Don’t get overwhelmed by trying to do all 24 of these things at once. Just pick one or two that resonate with you. Start with making a sun map, or focus on getting the “thriller, filler, spiller” combo right in one big pot. The point is to begin. That blank canvas of a patio is waiting for you. Go make some art you can live in.


