You know the question I get asked most often about designing for small homes? “Kai, my kitchen is tiny. I have to give up on the dream of an island, right?”
Everyone seems to think an island is a luxury reserved for huge, open-plan spaces. But that’s a failure of imagination, not a limitation of space. The problem isn’t the size of your kitchen; it’s the lack of intention. A small space doesn’t ask you to have less; it asks you to be smarter. It demands that every object, every surface, has a clear purpose. An island, chosen with mindfulness, isn’t an obstacle. It’s a focal point of calm and function in the heart of your home.
Let’s cut through the noise. This isn’t about just buying a smaller island. It’s about understanding the flow of energy in your kitchen—what the Japanese call nagare—and choosing a solution that enhances it. It’s about creating pockets of empty space, or Ma, which are just as important as the object itself. Let’s talk about how to do it right.
Strategic Planning & Space Assessment (Part 1)
Before you even open a single browser tab to shop, we need to pause. This first phase is the most critical. It’s about listening to your space and understanding its rhythm. Most people skip this, get excited, buy something that looks good online, and then spend years bumping their hips on a piece of furniture that creates more stress than it solves. We’re not going to do that. This is the mindful work that ensures your island serves you, not the other way around.
1. Measure Your Kitchen’s Walkways Precisely
Forget the numbers for a second. Walk into your kitchen and open the dishwasher. Now open the oven. Can you still move? The official advice says you need 36 to 42 inches of walkway, and that’s a good starting point. But this is about more than a tape measure. It’s about the dance of daily life. The real measure of success is creating a space where movement feels fluid and effortless, not constricted.
The biggest mistake people make is measuring a static space. But a kitchen is dynamic. Doors swing, people bend, and children run through. The shortcut I always give clients is to use painter’s tape or cardboard boxes to create a full-scale mock-up of your potential island. Live with it for a day. Cook a meal around it. You’ll learn more from that simple act than you ever will from a digital floor plan. It tells you the truth about how the island will impact the energy and flow of your home.
2. Determine Primary Function: Prep, Dining, or Storage?
Your island cannot be everything to everyone, especially in a small footprint. Trying to make it a prep station, a dining table for four, and a major storage unit is the fastest way to create a clumsy, compromised object that excels at nothing. You must be ruthless and decide on its single, primary purpose. Its ikigai, if you will. Is its main reason for being to give you a beautiful butcher block for chopping? Is it to provide a serene spot for your morning tea? Or is it to finally give you a home for your pots and pans?
I once worked with a client who was adamant about squeezing seating, a prep sink, and deep drawers into an island for their 100-square-foot kitchen. It was an exercise in frustration. We took a step back, and I asked them, “What is the one thing that causes you the most stress in this kitchen right now?” The answer was immediate: “I have nowhere to chop vegetables.” So, we designed a beautiful, slender island with a simple, uncluttered surface and two shallow drawers for knives. It solved the real problem and brought a sense of peace to their cooking process. Everything else was just noise.
3. Assess Existing Layout for Obstructions and Flow
Your kitchen already has a story. It has paths that are worn into it by habit—the triangle between the stove, the sink, and the refrigerator. Your job is not to fight that story, but to work with it. Before you even think about placing an island, you need to map this invisible web of movement. Where do you stand when you’re waiting for water to boil? Where does your partner stand to grab a drink from the fridge?
The biggest BS I see in design blogs is the idea that you can just plop an island in the middle of any layout. That’s how you create a dam in a river. The flow stagnates. It creates frustration. Be honest about radiators, low-hanging lights, or doorways that create pinch points. An island should guide and enhance the natural flow of your kitchen, like a smooth stone in a stream, not a boulder that forces everyone to awkwardly maneuver around it.
4. Visualize Traffic Paths and Workflow Triangles
This goes deeper than just obstructions. The work triangle is a classic concept for a reason: it’s about efficiency and ergonomics. The path between your sink, stove, and refrigerator should be clear and unimpeded. The island must exist in harmony with this triangle, not sever one of its connections. Imagine you’re carrying a pot of boiling water from the stove to the sink. You don’t want to be navigating a tight corner around an island.
Again, the painter’s tape mock-up is your best friend here. Walk the triangle. Pretend to cook a meal. If you find yourself constantly backtracking or taking extra steps, the island placement is wrong. An island in a small kitchen should reduce the number of steps you take, not add to them. It should centralize your workspace, creating a calm, contained zone where everything you need is within arm’s reach.
Strategic Planning & Space Assessment (Part 2)
Now that we’ve mindfully observed the space, we move to the practical foundations: money and rules. This isn’t the exciting part, but overlooking it is how projects spiral out of control and create massive stress. A serene kitchen cannot be built on a foundation of financial anxiety or code violations. Getting this right now ensures the entire process remains calm and intentional.
5. Set a Realistic Budget for Island and Installation
People get so focused on the cost of the island itself that they forget everything else. The real cost includes delivery, potential assembly fees, and—most importantly—installation, especially if you want to add electricity or a sink. That simple outlet can easily add hundreds of dollars for an electrician’s time. A budget isn’t a restriction; it’s a tool for clarity. It forces you to make conscious choices.

The most common mistake is failing to budget a contingency fund of at least 15%. Something always comes up. The floor isn’t level, or the wall needs reinforcement. Having that buffer is the difference between a minor adjustment and a major crisis. My shortcut advice? Repurpose. A beautiful old console table or a sturdy dresser can be converted into an island for a fraction of the cost of a new build, and it brings soul and history into your space. It’s the wabi-sabi approach—finding beauty in imperfection and giving an old object new purpose.
6. Research Local Building Codes for Clearance Requirements
This is the absolute most boring part, but it is non-negotiable. Building codes exist for safety. They dictate the minimum walkway clearances and electrical requirements. You might think your 30-inch path is fine, but if your local code requires 36 inches, your project could fail inspection. This can lead to costly rework or, in the worst-case scenario, being forced to remove the island entirely.

Don’t just Google “kitchen clearance codes.” Go directly to your local municipality’s website or give their building department a call. Every region is slightly different. A friend of mine once installed a gorgeous island, only to find out it was a half-inch too close to his stove, violating a local fire safety code. It was a heartbreaking and expensive fix. A five-minute phone call at the beginning could have saved him thousands of dollars and immense frustration. Do the work upfront.
Smart Island Selection & Integration (Part 1)
Now for the rewarding part. With our foundational work done, we can choose an island that fits the spirit and dimensions of your kitchen. The focus here is on intelligence and light. We want designs that add function without adding visual weight. The goal is to select an island that feels like it’s breathing with the room, not suffocating it.
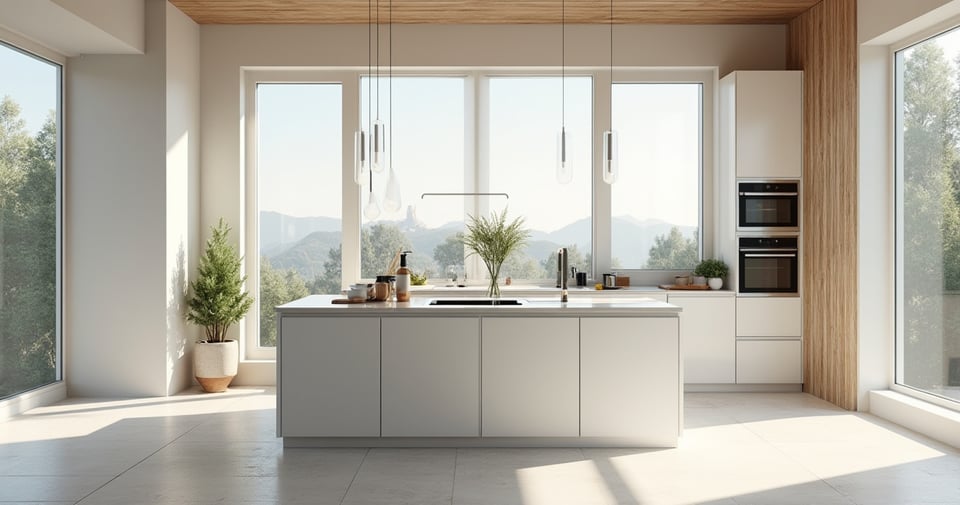
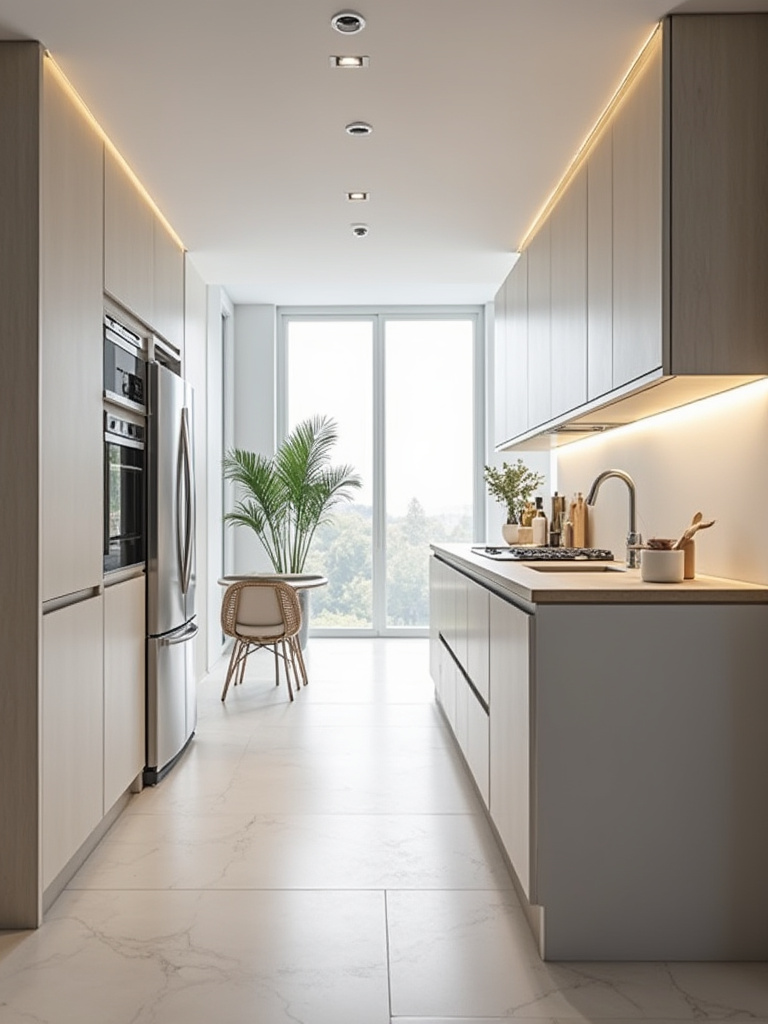
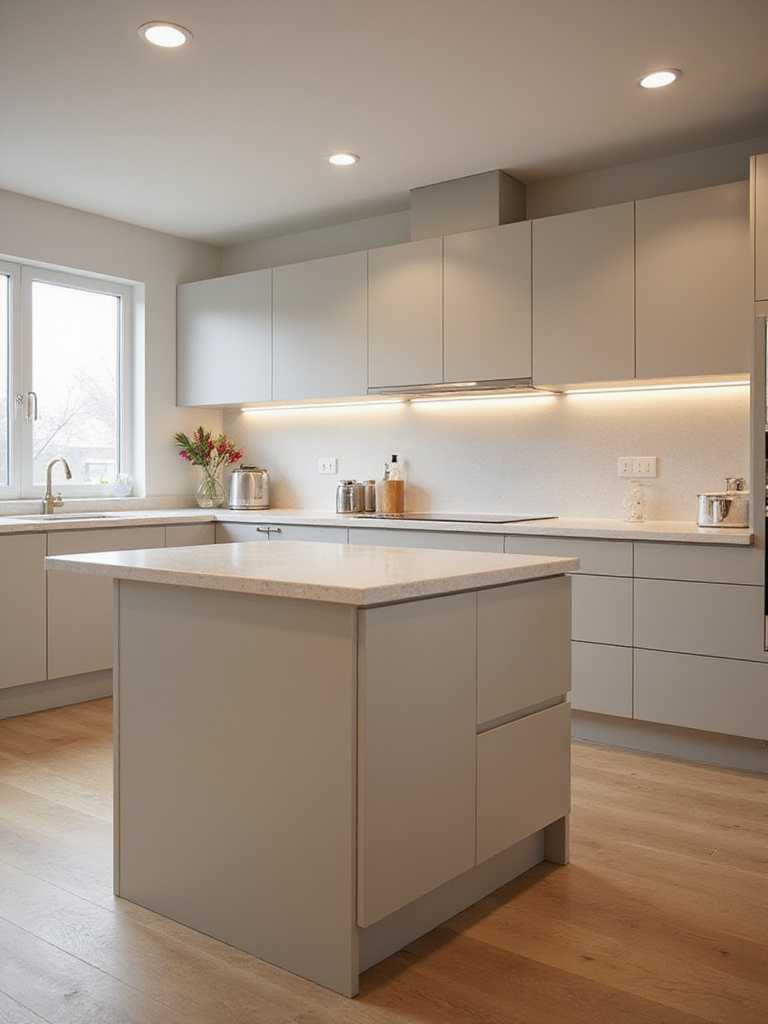
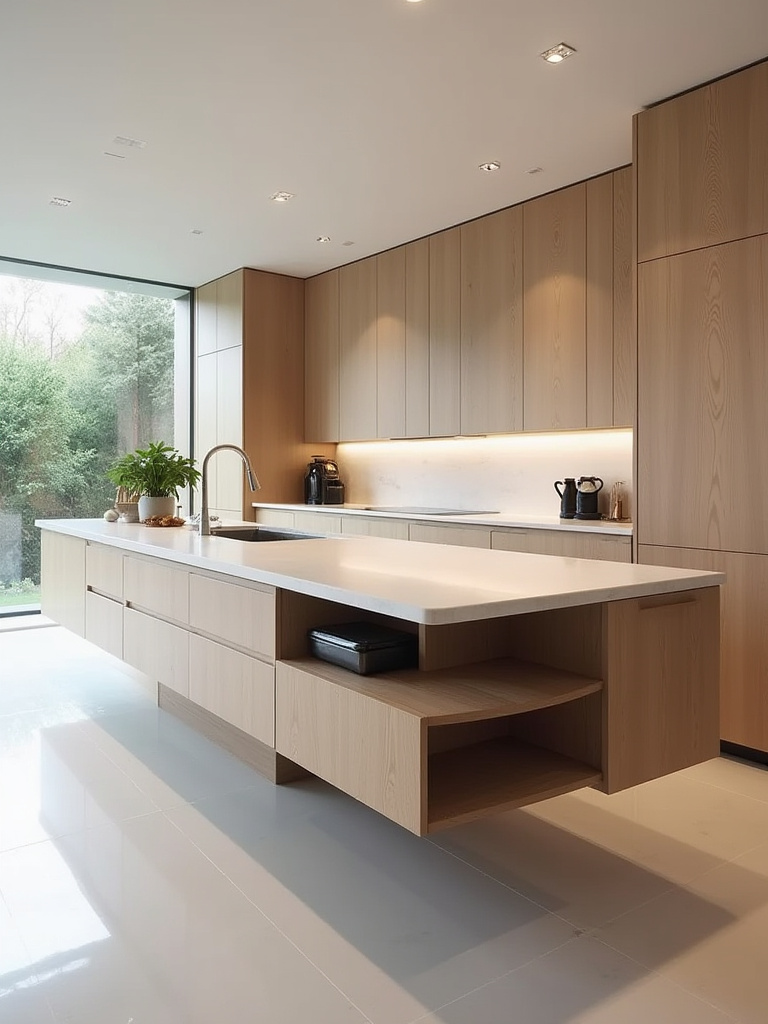
7. Opt for a Slimline or Narrow Island Design
Standard counters are deep because they need to accommodate bulky appliances. Your island doesn’t have that constraint. A “slimline” island, often just 18-20 inches deep, can be the perfect solution. It gives you that much-needed landing and prep space without devouring your precious walkway. Shaving off those 6-8 inches from a standard depth doesn’t feel like a compromise; it feels like a revelation.
I’ve seen clients transform their galley kitchens with this simple shift in perspective. A narrow island acts as a functional spine, a central point of activity that still allows for fluid movement on either side. Think of it as a respectful addition that honors the existing space. It’s a whisper, not a shout. Choose one with clean lines and minimal hardware to further reduce its visual footprint.
8. Consider a Rolling Cart or Portable Island for Flexibility
A fixed island is a permanent commitment. A high-quality rolling cart is a dynamic tool. For the truly small or multi-purpose kitchen, this is often the most intelligent choice. It gives you a prep surface when you need one and can be pushed against a wall to serve as a bar or storage unit when you need open floor space. It’s the ultimate in adaptable design.
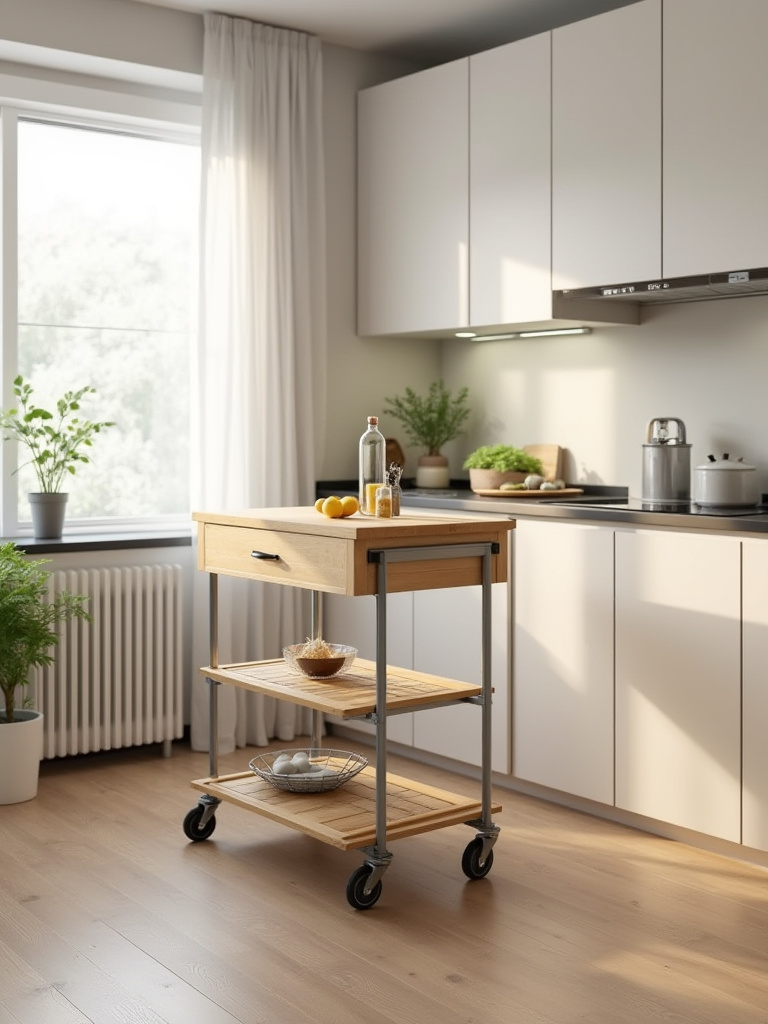
But here’s the truth no one tells you: the single most important feature is the quality of the casters. Don’t cheap out here. Flimsy, plastic wheels will wobble, scratch your floors, and the locks will fail. You want large, rubberized casters with a “total lock” system that freezes both the wheel and the swivel. A cart that you can lean on with confidence while kneading dough is a tool. A wobbly one is a hazard.
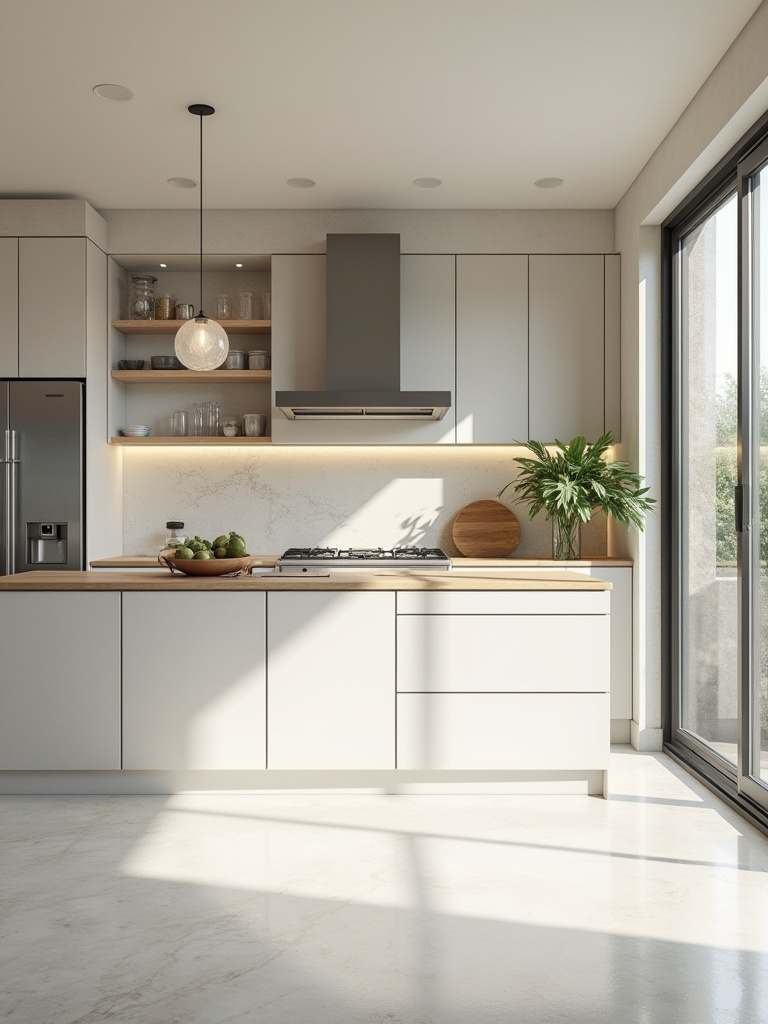
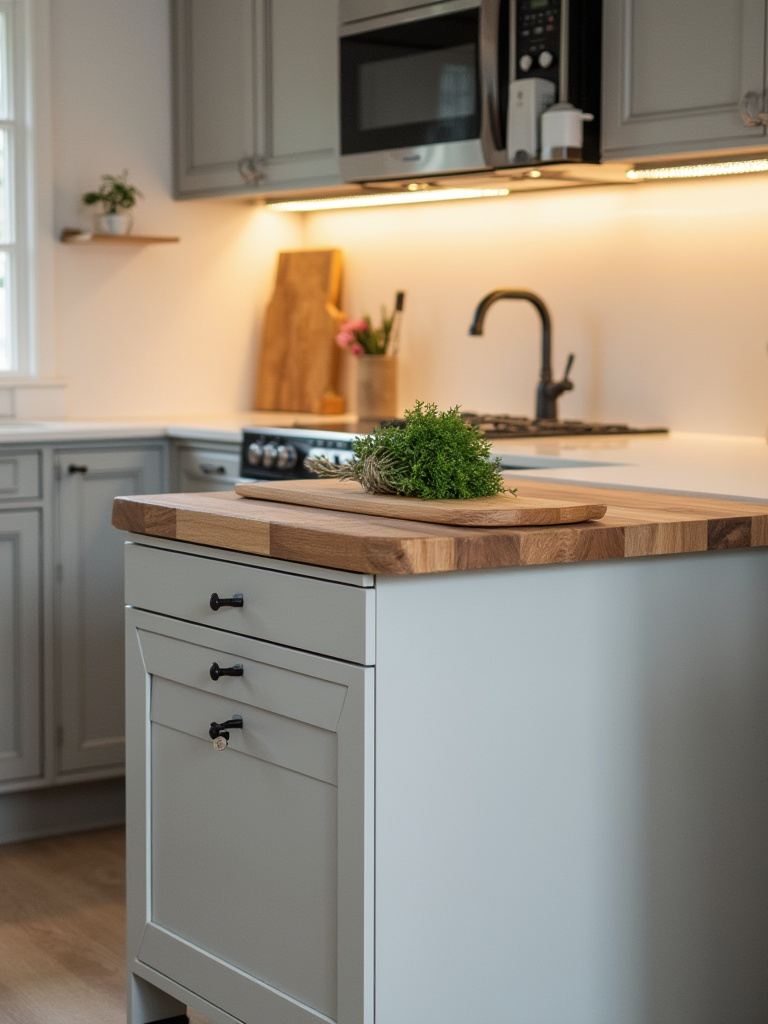
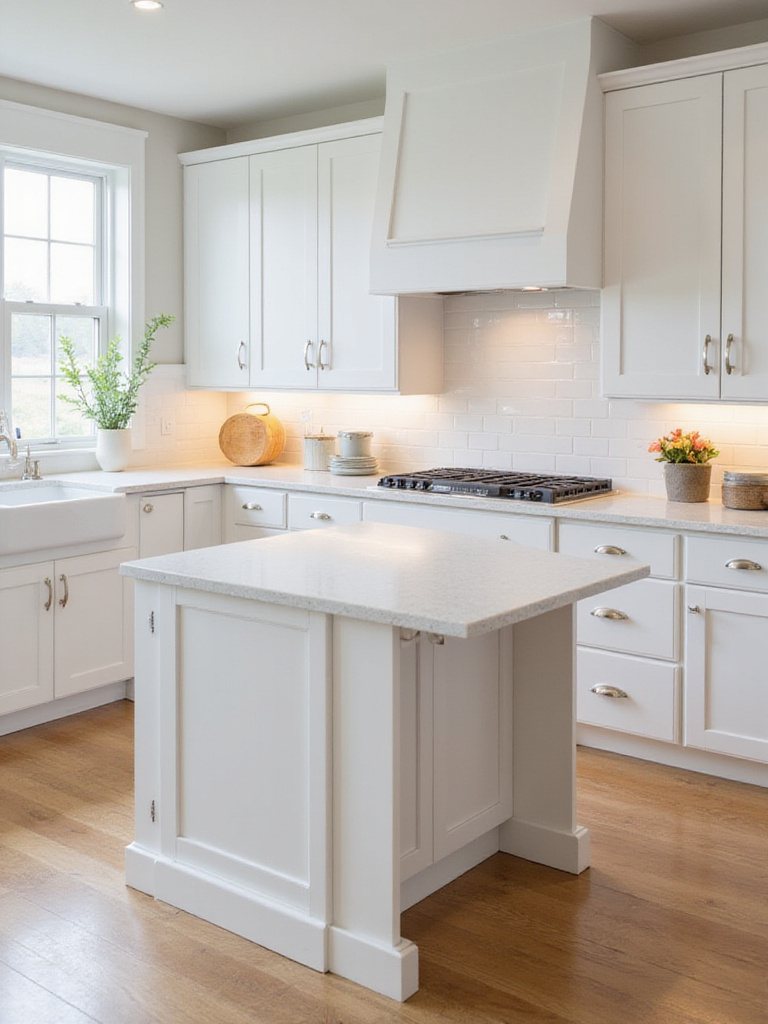
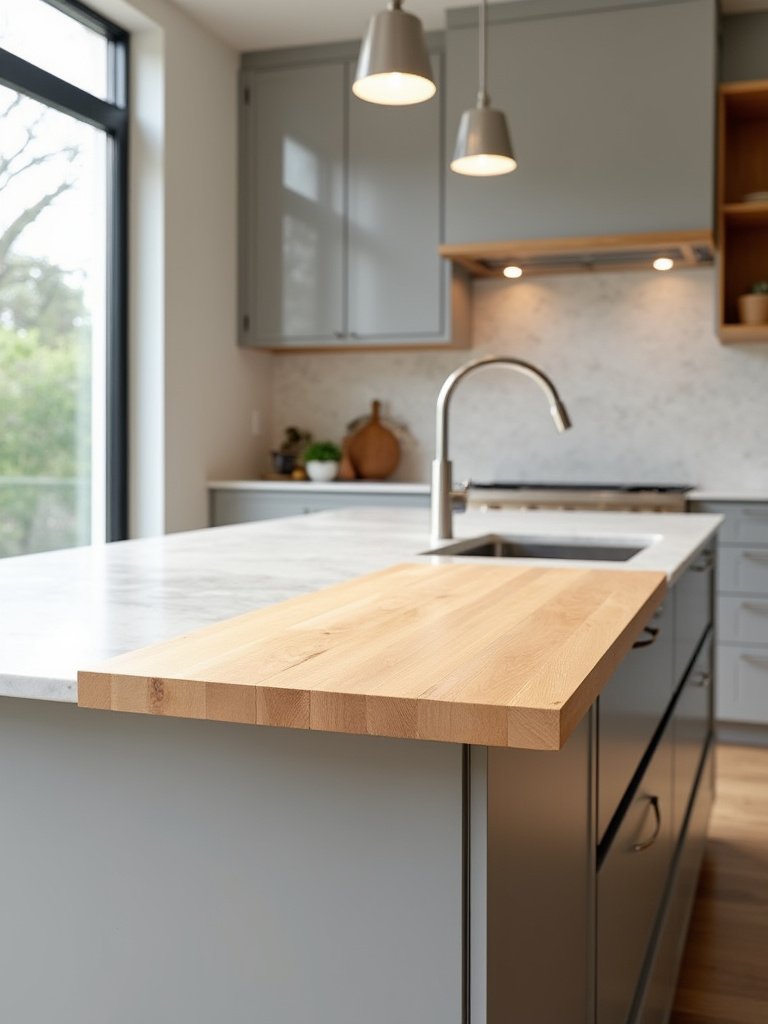
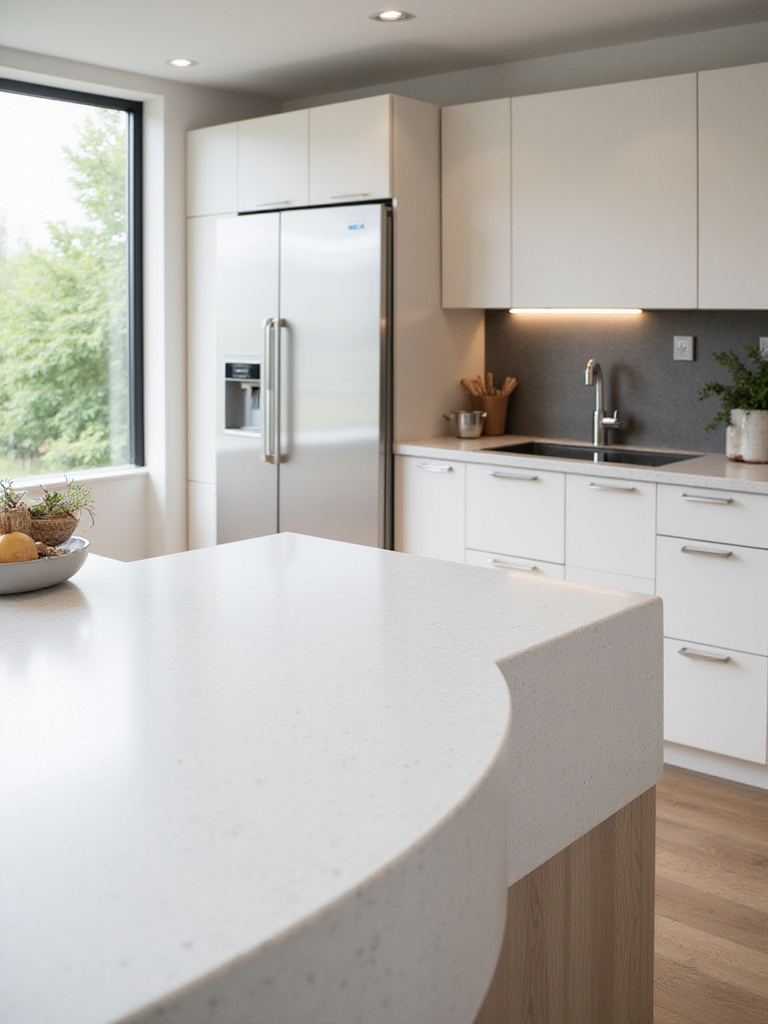
9. Choose Butcher Block or Light-Colored Countertops to Open Space
The surface of your island is a huge visual plane. In a small kitchen, a dark, heavy material like black granite can feel like a black hole, sucking all the light out of the room. A light-colored countertop—think pale quartz, white laminate, or a warm butcher block—does the opposite. It reflects light, making the entire kitchen feel brighter and more expansive.

Butcher block, in particular, adds warmth and a natural texture that can soften the hard edges of a modern kitchen. It brings a sense of life into the space. A well-oiled maple or birch top is not only beautiful but also functional—it’s a built-in cutting board. This choice isn’t just about aesthetics; it’s about manipulating light and perception to create a feeling of spaciousness and calm.
10. Select Islands with Integrated Fold-Out or Drop-Leaf Extensions
This is where furniture design gets brilliantly clever. A drop-leaf or fold-out extension offers the best of both worlds. For daily use, you have a compact island that respects your space. When you have guests or are tackling a large cooking project, you can instantly expand your surface area. It’s function on demand.
The key is to invest in a piece with a robust, high-quality hinge mechanism. A flimsy extension that droops or feels unstable is useless. When you’re considering one, test it out. It should feel solid and secure when extended. This is a perfect example of how technology and thoughtful mechanics can solve ancient problems of space and hospitality.
Smart Island Selection & Integration (Part 2)
We continue our journey into smart selection, now focusing on the finer details that elevate an island from merely functional to truly integrated. These elements—openness, stability, and subtle utility—are what make a piece feel custom-designed for your space and your life, enhancing both its usefulness and its serene presence.
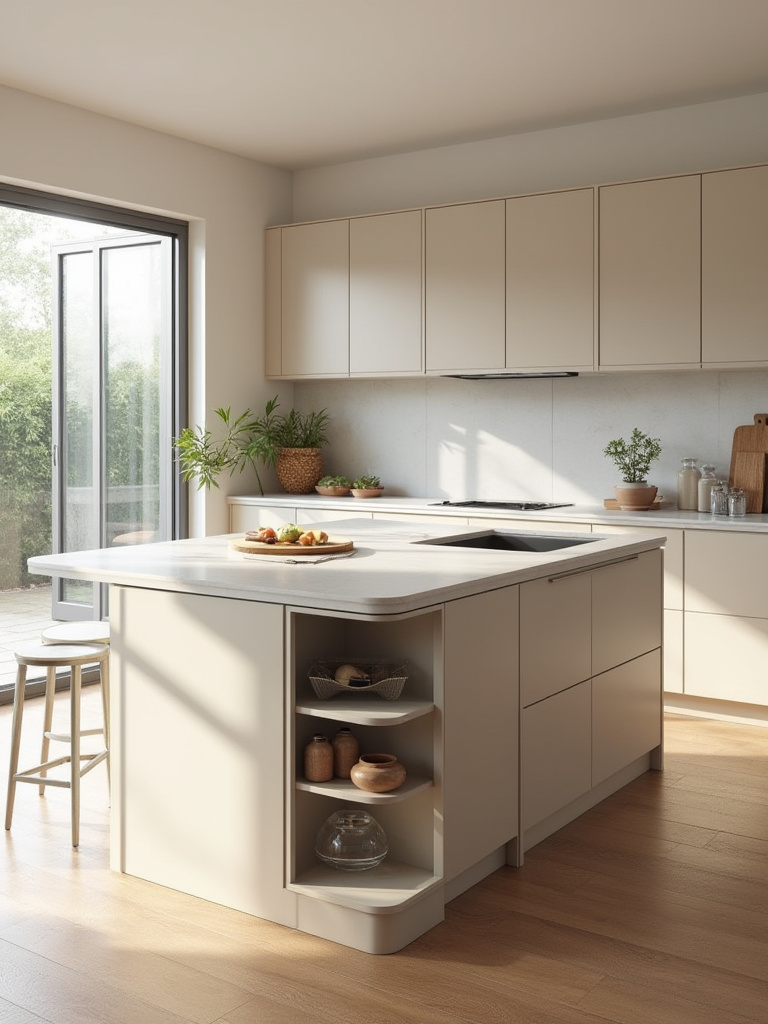
11. Prioritize Islands with Open Shelving for Airiness
A solid, blocky island can be a visual dead weight in a small kitchen. An island with open shelving does the opposite. It allows light and sightlines to pass through, creating a sense of depth and openness. It prevents the island from feeling like a wall in the middle of your room. This design choice embraces the principle of Ma, or negative space, allowing the island to feel lighter and less imposing.

The trick is to be mindful of what you display. Open shelving is not an invitation for clutter. It’s an opportunity for curation. Use it for your most beautiful and frequently used items: a stack of clean white plates, your favorite cookbooks, or a single beautiful pot. This turns everyday objects into a statement of intentional, organized living.
12. Ensure Stable Casters for Portable Options if Moving Frequently
We touched on this before, but it bears repeating because it’s the detail everyone gets wrong. If you are choosing a portable island, the casters are not an afterthought—they are the entire foundation of its functionality and safety. An island you plan to move daily requires casters that are designed for that level of work.
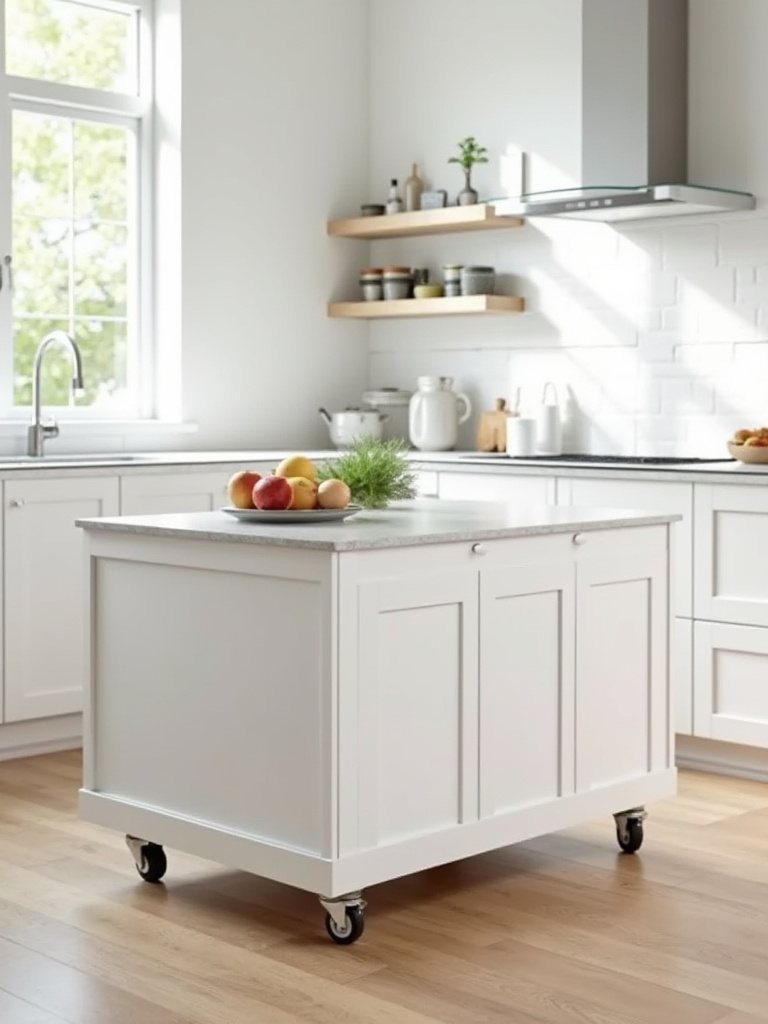
Think about it like the tires on a car. You wouldn’t put bicycle tires on a truck. Look for large-diameter (3-4 inches) wheels and, I cannot stress this enough, a total-lock mechanism that prevents both rolling and swiveling. This provides the stability you need to use the surface for real work without it shifting under pressure. Investing in great casters turns a portable cart from a wobbly table into a reliable mobile workstation.
Enhancing Functionality & Aesthetic Appeal (Part 1)
An island is more than a block of wood and stone. It’s an opportunity for clever integration. This is where we bring in modern functionality in a quiet, seamless way. These additions are about enhancing the island’s utility without creating visual chaos, ensuring it works as hard as you do.
13. Integrate Hidden Power Outlets for Small Appliances
Cords are the enemy of a serene space. They are visual clutter. An island loses half its utility if you have to run an extension cord across the floor every time you want to use a mixer. Integrating hidden power outlets is one of the most impactful upgrades you can make. It transforms the island into a true, self-sufficient workstation.
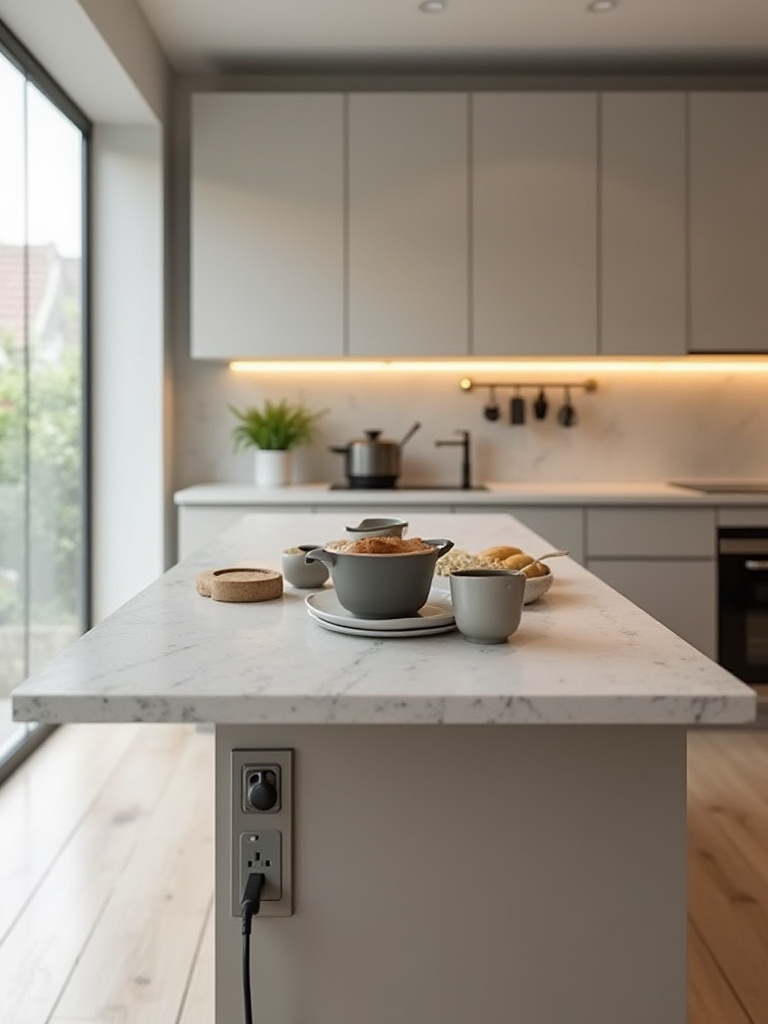
The most elegant solutions are pop-up towers that sit flush with the countertop when not in use, or outlets tucked discreetly onto the side panels.
“A pop-up power tower with both standard AC and USB-C ports is the modern kitchen’s secret weapon. It offers function on demand while preserving the clean, unbroken lines that create a sense of calm.”
Consult a licensed electrician for this. Safe and compliant wiring is crucial, but the result is a seamless blend of technology and tranquility.
14. Utilize Built-in Hooks or Rails for Utensils and Towels
The sides of an island are often wasted space. Installing a simple, elegant rail or a few well-placed hooks transforms this vertical surface into highly efficient storage. It keeps your most-used utensils or a dish towel off the counter and within easy reach, freeing up precious drawer and surface space.

The key is minimalism. Choose a sleek metal rail and a few S-hooks. Don’t overcrowd it. This isn’t about hanging every gadget you own; it’s about providing a graceful home for the 3-4 tools you reach for constantly. It’s a nod to the efficiency of a professional kitchen, where every tool has its place and is ready for action.
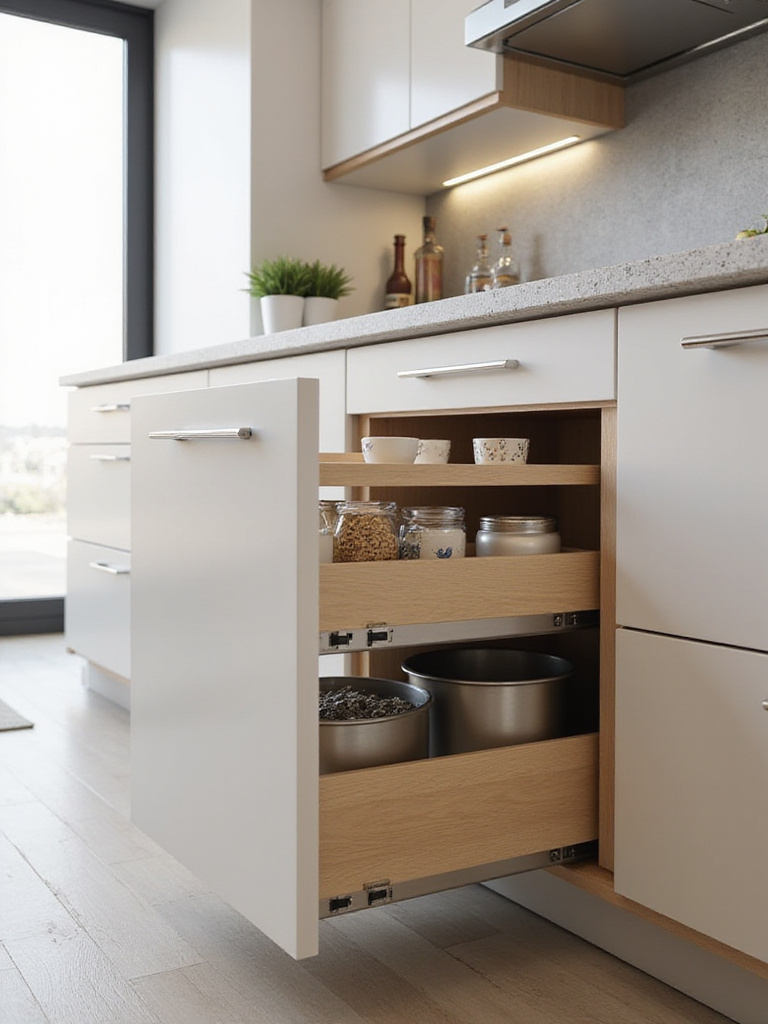
15. Add Smart Storage Inserts for Organized Drawers
Opening a drawer to find a jumbled mess of utensils is a small but significant moment of daily stress. Smart storage inserts are the answer. They are the internal architecture that brings order to chaos. They allow you to practice the “one-touch” rule: you can open the drawer, grab what you need, and close it, all in one smooth motion without hunting.
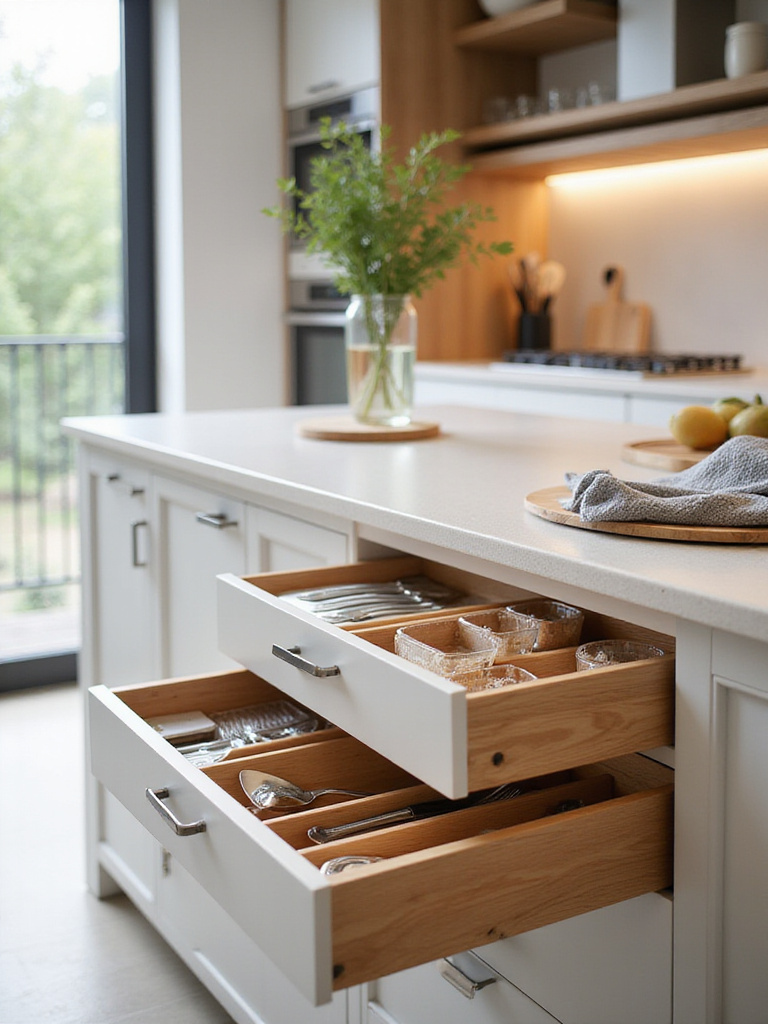
Customizable inserts are best. Look for bamboo dividers you can adjust or modular trays that can be configured to fit your specific tools. For deep drawers, a two-tiered system or a vertical pegboard-style insert for storing pot lids or plates on their side is a game-changer. An organized drawer is a small, private moment of zen in your day.
16. Incorporate a Small Under-Mount Sink for Prep (if plumbing allows)
For those who cook frequently, a small prep sink on the island can be revolutionary. It creates a dedicated zone for washing produce or rinsing hands, freeing up your main sink for larger dishes. This separates the ‘dirty’ and ‘clean’ zones of your kitchen, dramatically improving workflow and hygiene.
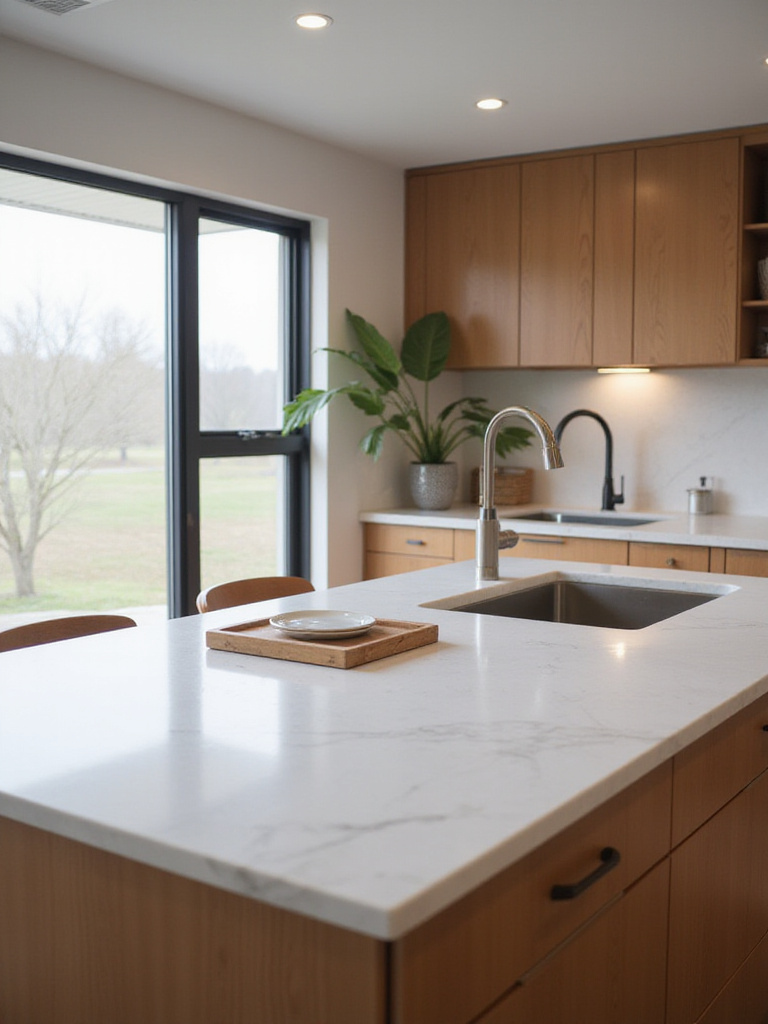
If plumbing is feasible, an under-mount style is essential for small kitchens. Because it sits below the counter, there’s no lip or edge, which creates a seamless, easy-to-clean surface and preserves every precious inch of counter space. It’s a significant investment, but for the right kitchen, it can fundamentally change the way you cook.
Enhancing Functionality & Aesthetic Appeal (Part 2)
Our final touches focus on the human elements: comfort and light. An island is a place where people gather, even in a small kitchen. These considerations ensure it’s not just a workspace but an inviting, comfortable hub that enhances the overall atmosphere of your home.
17. Select Bar Stools that Tuck Completely Under the Island
Bar stools are notorious space hogs. In a small kitchen, a stool that sticks out is a permanent tripping hazard and a visual barrier. The solution is simple and absolute: choose backless or low-profile stools that tuck completely underneath the counter overhang. When not in use, they should disappear, returning the floor space to the room.
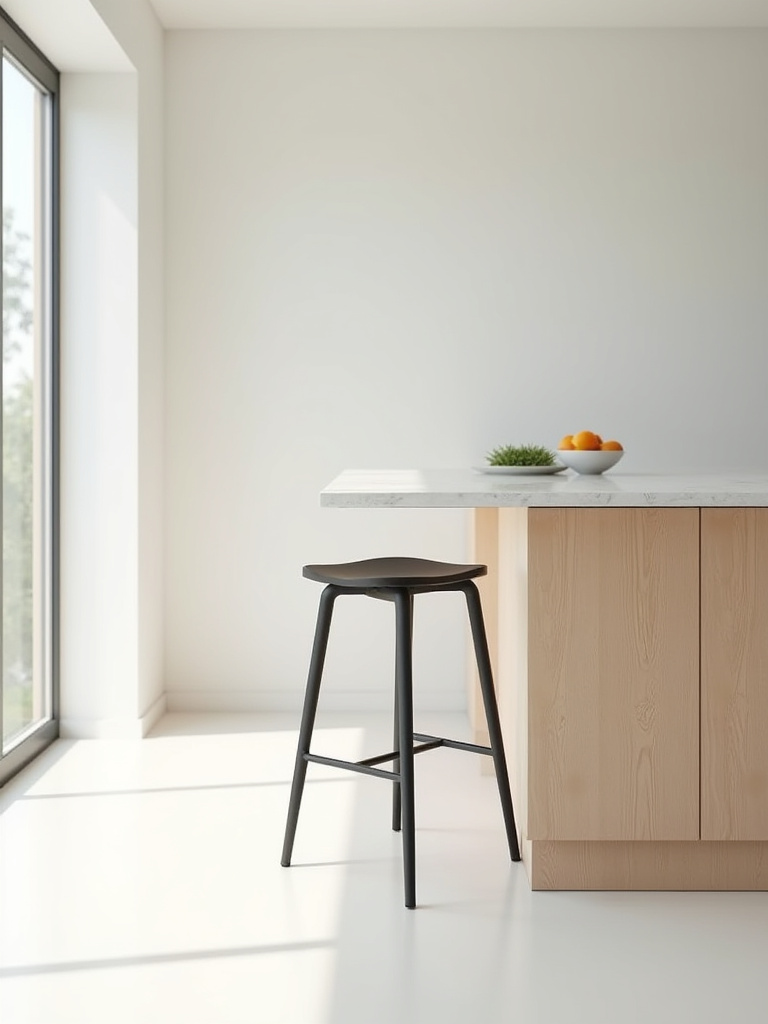
This is the principle of Ma in practice. By allowing the stools to vanish, you honor the empty space and restore the clean lines of the island and the open flow of the walkway. Look for simple, lightweight designs in materials like thin metal or clear acrylic to further reduce their visual weight. This small, disciplined choice has a massive impact on how large and navigable your kitchen feels.
18. Layer Lighting: Task Pendants and Ambient Undercabinet Lighting
One harsh overhead light creates a flat, sterile environment. Layered lighting creates depth, mood, and function. For an island, this means two key layers. First, task lighting: one or two small, beautiful pendant lights directly over the island to illuminate your work surface without glare. This provides focused light exactly where you need it for chopping or reading a recipe.
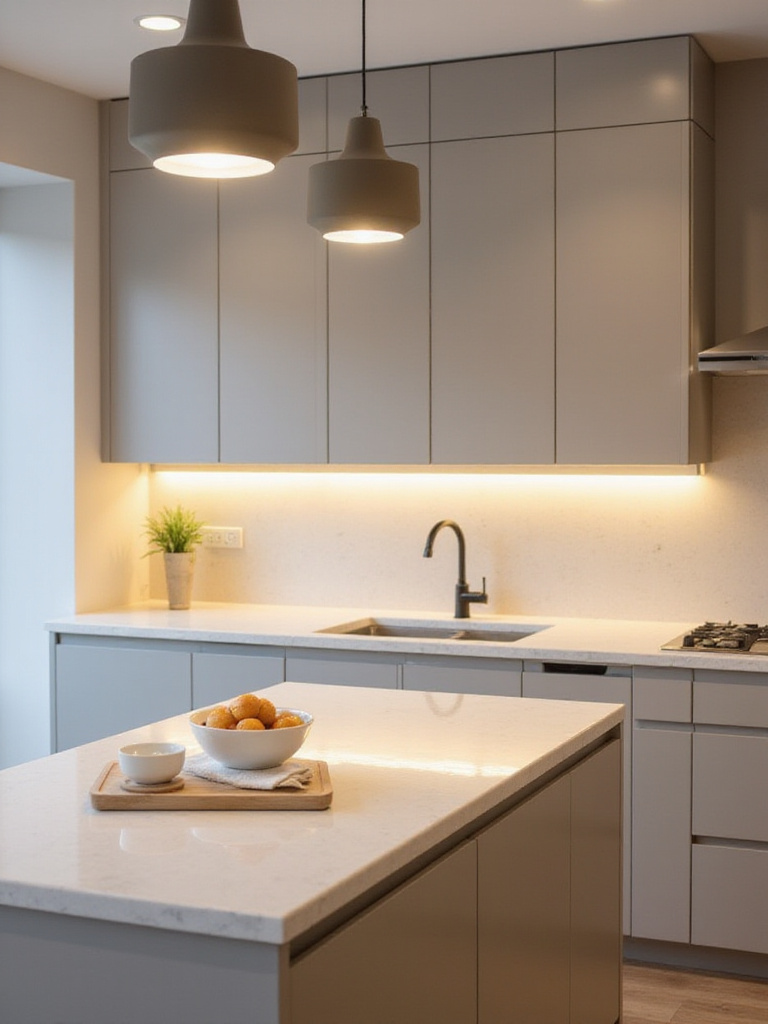
Second, ambient lighting: add subtle LED strips under your main kitchen cabinets. This washes the perimeter walls with a soft glow, making the entire room feel larger and reducing the harsh contrast between the bright island and dark corners. Putting both sets of lights on dimmer switches gives you complete control over the room’s energy, allowing you to go from bright and focused for cooking to soft and inviting for a quiet evening.
Maximizing Utility & Long-Term Optimization (Part 1)
A well-chosen island is a long-term relationship. These strategies are about ensuring it continues to serve you efficiently day after day. It’s about establishing systems and integrating features that maintain order and maximize utility, preventing your island from slowly devolving into a cluttered drop-zone.
19. Designate Specific Zones for Different Tasks on the Surface
Even a small island surface can be zoned. You don’t need tape on the counter; this is a mental and habitual designation. One end might be the “beverage zone,” home to a coffee machine or electric kettle. The center is the “prep zone,” which should be kept clear at all times. The other end could be the “landing zone” for groceries before they are put away.

By assigning these roles, you create an invisible structure that prevents clutter from taking over. Everyone in the household knows that the prep zone is sacred and must be kept clear. It’s a simple discipline that makes the island infinitely more usable. An item without a home will land on your island; by creating specific zones, you inherently encourage items to be in their proper place.
20. Explore Pull-Out Shelves or Hidden Trash Bins within Island Cabinetry
The space inside an island cabinet can be a dark, deep cavern where items go to be forgotten. Pull-out shelves are the solution. They bring the contents of the cabinet out to you, making every item accessible. This is especially useful for heavy pots or small appliances. It eliminates kneeling and blindly searching in the back of a cabinet.
Even more impactful is an integrated pull-out trash and recycling bin. It gets the bulky, unsightly bins off your kitchen floor, which is a massive win for space and aesthetics in a small kitchen. Centralizing your waste management right where you do your prep work (the island) is a huge boost to workflow efficiency. It’s a clean, seamless, and incredibly practical solution.
21. Install Integrated Chopping Boards for Seamless Workflow
This is one of my favorite high-impact, low-profile solutions. A pull-out chopping board, installed directly below the island countertop, gives you an instant, stable prep surface without ever taking up an inch of counter space. When you’re done, it slides away and disappears. Some designs even incorporate a hole with a bin underneath for sweeping away scraps.
It’s an incredibly elegant piece of engineering that solves the constant problem of finding, using, washing, and storing a bulky cutting board. I had a client in a tiny city studio install one, and she called it the single most life-changing feature of her kitchen renovation. It’s the kind of thoughtful detail that elevates a small space into a masterpiece of efficiency.
22. Maintain a Clutter-Free Surface for Maximum Usability
This isn’t a design choice; it’s a practice. A cluttered island is an unusable island. Its potential as a workspace is nullified. The most important thing you can do to maximize your island’s utility is to be ruthless about keeping its surface clear. It requires discipline from everyone in the household.
Establish a “launch pad” elsewhere—a small bowl by the door for keys, a dedicated inbox for mail. The island is not a drop zone. The rule should be: if it doesn’t belong in the kitchen, it doesn’t belong on the island. A clear surface provides visual peace and ensures it is always ready for its primary function. It’s the daily practice of respecting the space you’ve created.
Maximizing Utility & Long-Term Optimization (Part 2)
Finally, for those with truly unique challenges, we look to bespoke solutions. When off-the-shelf options fail to honor the specific architecture of your space, a custom approach isn’t a luxury; it’s a necessity. This is about creating a perfect, harmonious fit that feels inevitable.
23. Consider Custom-Built Floating Islands for Unique Spaces
For a narrow galley kitchen or a space with an awkward layout, a standard island is impossible. A floating island, anchored securely to the wall, is a stunning solution. It provides counter and storage space without any legs or base, leaving the floor underneath completely open. This creates an incredible sense of spaciousness and makes cleaning the floor a breeze.
This is an advanced solution that requires professional consultation to ensure your wall can support the load. But the effect is breathtaking. It feels light, modern, and almost sculptural. A custom floating island can be built to the exact dimensions and shape needed to turn an otherwise unusable corner or wall into the functional heart of your kitchen, proving that with enough intention, any space can be perfected.
Conclusion
So, can your small kitchen have an island? Absolutely. We’ve just explored 23 ways to do it with intention and intelligence. The dream isn’t about replicating a huge island from a magazine; it’s about finding the right-sized, right-function solution that brings flow, calm, and utility to your kitchen. It’s about choosing a piece that respects your space instead of dominating it.
An island can be the functional and spiritual center of your small kitchen—a place for creation, connection, and calm. You are now equipped with the principles and ideas to make a mindful choice. So take a deep breath, go back to your kitchen, and really look at it. Measure it, mock it up with tape, and envision what you truly need. Your kitchen’s potential is not defined by its square footage, but by the clarity of your vision. Go create a space that works beautifully.


